If you're producing AI-generated content at scale, manually copying drafts into WordPress, formatting them, and hitting publish is a workflow bottleneck you can't afford. Every hour spent on copy-paste cycles is an hour not spent on strategy, optimization, or the next content opportunity your competitors are quietly capturing.
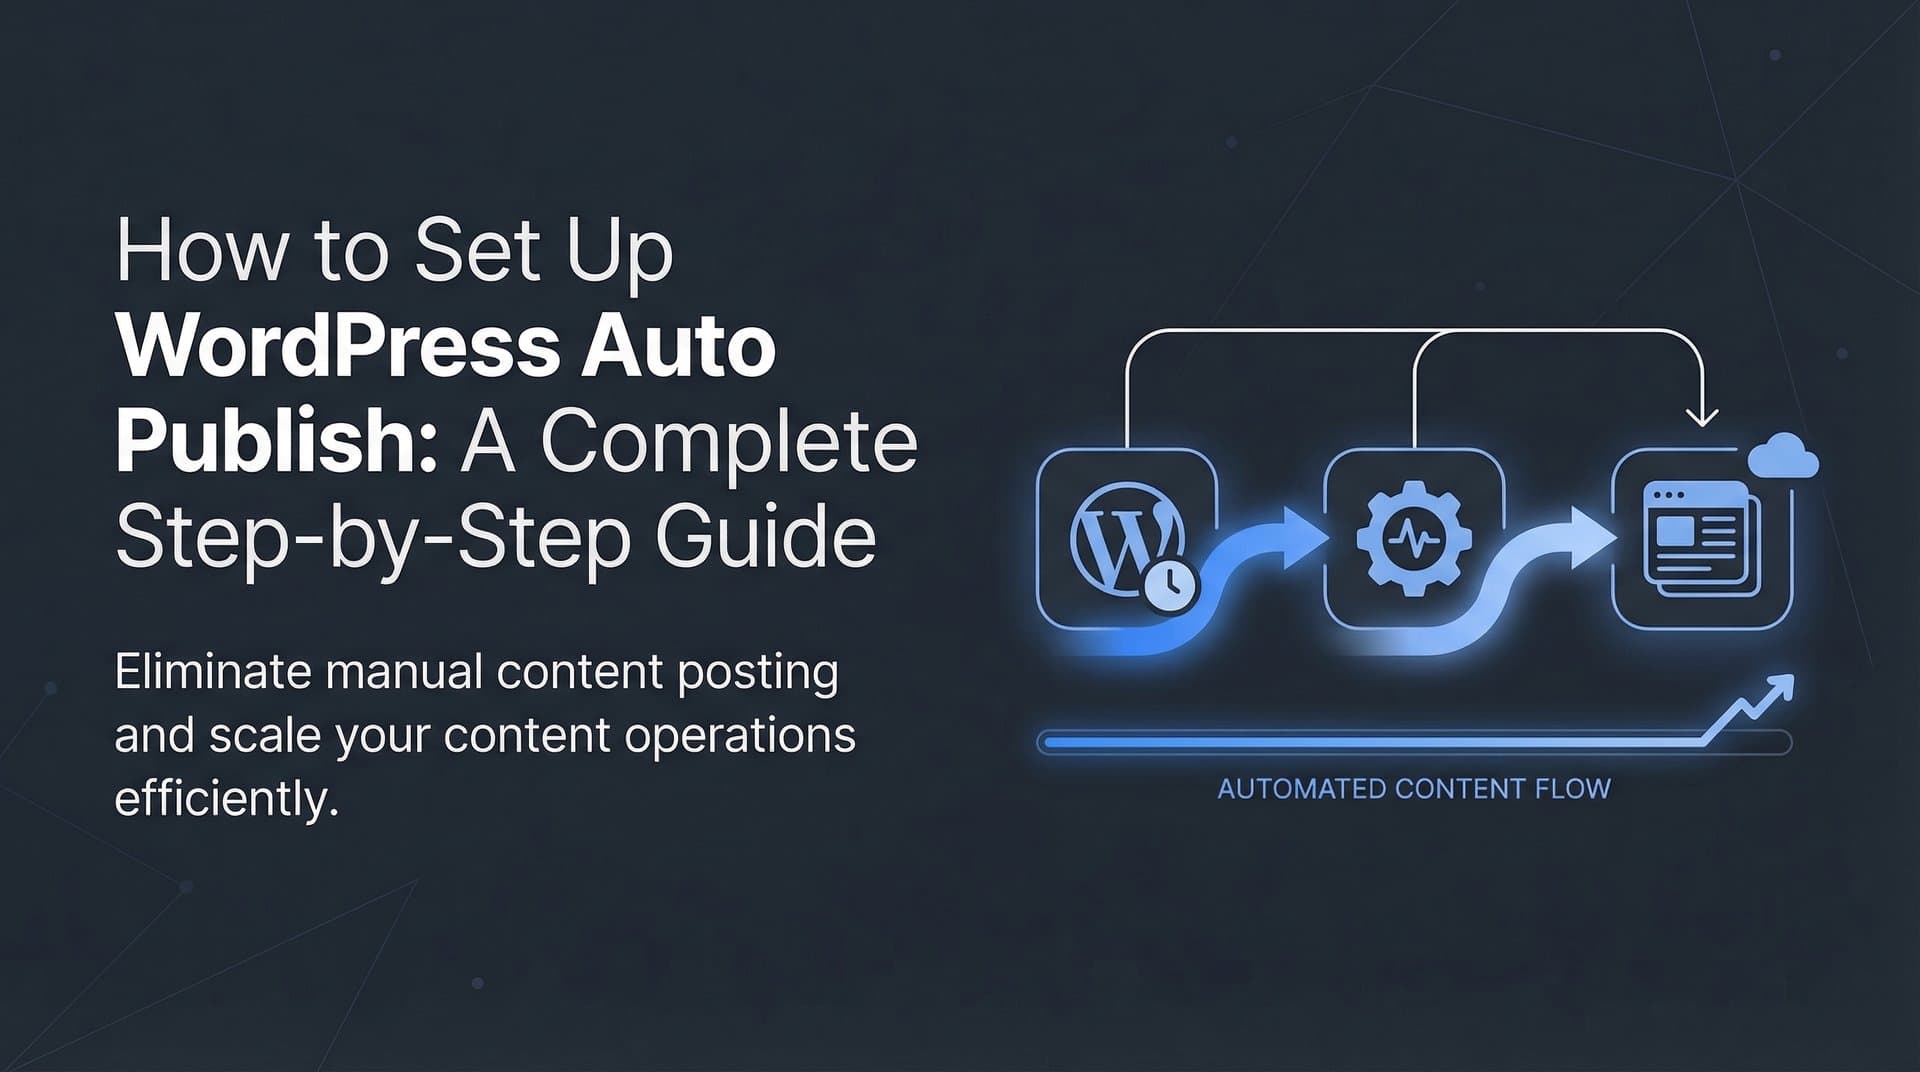
WordPress AI publishing integration eliminates that friction by connecting your AI content pipeline directly to your CMS. Articles go from generation to live without the manual handoff, and every published piece gets submitted for indexing immediately. That's the system we're building in this guide.
Specifically, you'll set up Sight AI's CMS auto-publishing capabilities to create a closed-loop pipeline: content generation, WordPress publishing, IndexNow indexing, and AI visibility monitoring. By the end, you'll have a fully automated workflow that generates SEO and GEO-optimized articles, pushes them to WordPress, and tracks whether they're actually getting your brand mentioned in AI search responses.
This guide is built for marketers, founders, and agency teams who are serious about scaling organic and AI search visibility. Before you start, confirm you have three things in place: a WordPress site with REST API access enabled, admin credentials or an application password, and a Sight AI account with content generation and publishing features active.
Each step builds on the last, so work through them in order. Let's get your AI content pipeline running.
Step 1: Prepare Your WordPress Site for API Access
Before Sight AI can push content to your WordPress site, your site needs to be ready to receive it. That means verifying REST API access, generating the right credentials, and confirming your user permissions are set correctly. This step takes about ten minutes, but skipping it properly is the most common reason integrations fail.
Verify REST API access: The WordPress REST API has been available by default since WordPress 4.7, so in most cases it's already active. To confirm, open a browser and navigate to yourdomain.com/wp-json/wp/v2/posts. If you see a JSON response with post data, the API is live. If you get an error or a blank page, a security plugin is likely blocking it.
Generate an Application Password: This is the credential Sight AI will use to authenticate with your site. In your WordPress admin, go to Users → Profile and scroll to the Application Passwords section. Enter a name like "Sight AI" in the field, click Add New Application Password, and copy the generated key immediately. WordPress will not show it again.
Confirm user role permissions: The WordPress account you're connecting needs the publish_posts capability. Editor and Administrator roles both have this. Contributor does not. If you're creating a dedicated API user for this integration, assign it the Editor role at minimum.
Security plugin conflicts: This is the most common pitfall. Plugins like Wordfence, iThemes Security, and similar tools sometimes block REST API access by default as a broad security measure. If your /wp-json/ endpoint returns an error, check these plugins first. You can either whitelist the Sight AI IP range in the plugin settings or disable the specific REST API restriction without removing the plugin entirely. Check the plugin documentation for the exact setting name, as it varies by tool.
Success indicator: A clean JSON response at your /wp-json/wp/v2/posts endpoint and an Application Password copied and stored securely. You're ready for Step 2.
Step 2: Connect Sight AI to Your WordPress Instance
With your WordPress site prepped, it's time to establish the connection inside Sight AI. This is where you hand over the credentials and define the default publishing behavior for everything that flows through the integration.
Inside Sight AI, navigate to Settings → Integrations → CMS Connections. Select WordPress from the list of available integrations. You'll be prompted for three fields: your site URL, your WordPress username, and the Application Password you generated in Step 1.
Enter your site URL exactly as it appears in your WordPress general settings, including the protocol (https://). Use the WordPress username associated with the account that owns the Application Password, not your display name. Paste the Application Password into the designated field.
Run the connection test: Sight AI will attempt a test POST to your REST API to confirm write access. This isn't just a ping, it's a real authentication check. If the test fails, the most common causes are a mistyped site URL, using the wrong username format, or a security plugin blocking the request. Revisit Step 1 if you hit issues here.
Map your default publishing settings: Once connected, configure three defaults that apply to all content pushed through this connection. First, choose your default post status: Draft means content lands in WordPress for review before going live, Published means it goes live immediately. Start with Draft if this is your first time running the integration. Second, assign a default category so posts are never uncategorized. Third, set author attribution to the appropriate WordPress user.
Agency teams managing multiple sites: You can add multiple WordPress connections in Sight AI and label each one by client name or domain. This makes it straightforward to route specific content campaigns to the correct site without reconfiguring the integration each time.
Success indicator: A green "Connected" status next to your site URL in the integrations panel. If you see this, the pipeline is open and ready to receive content.
Step 3: Configure Your AI Content Generation Pipeline
The connection is live. Now you need to configure what actually flows through it. This step is where your content strategy meets the technical setup, and where GEO optimization gets built into the pipeline from the start rather than bolted on afterward.
In Sight AI's Content Writer, start by selecting your article type. For WordPress AI publishing integration workflows and similar technical topics, guides and explainers tend to perform well for both traditional SEO and AI search visibility. These formats give AI models like ChatGPT and Perplexity structured, citable content to draw from when generating responses about your topic area.
Input your target keyword and let the agents work: Sight AI's 13+ specialized AI agents handle structure, semantic optimization, and entity coverage automatically. This is where the semantic SEO with AI approach gets applied at scale. Each agent contributes a different layer: some focus on topical depth, others on question coverage, others on entity relationships. The output is content structured to satisfy both traditional search crawlers and the retrieval patterns of large language models.
If you want to understand what each agent is doing under the hood, the AI content agents explained resource breaks down the role of each one in the pipeline.
Set your content parameters: Define word count range, tone, target audience, and whether to include FAQ sections. FAQ sections are worth enabling for almost every content type. AI models frequently pull from FAQ-structured content when generating responses, which increases the likelihood your brand gets surfaced in AI search answers. This is one of the core principles of GEO (Generative Engine Optimization): structuring content so language models are likely to recommend it.
Enable Autopilot Mode for recurring generation: If you want Sight AI to generate content on a schedule based on keyword clusters or content gap findings, Autopilot Mode handles that automatically. You define the cluster and frequency, and the system generates and queues content without manual triggers.
Reference your content gap data: Before finalizing your keyword inputs, pull your AI content gap analysis findings. Publishing content that fills gaps competitors haven't addressed is how you build topical authority faster. Topics where you're absent from AI search responses are your highest-priority targets.
One important note: Review the generated draft before enabling fully automated publishing, especially for brand-sensitive topics. The first few cycles through any new pipeline are worth auditing manually to confirm tone, accuracy, and brand alignment before you set it to run on autopilot.
Step 4: Set Up Auto-Publishing Rules and Scheduling
Content generation and CMS connection are both configured. Now you define the rules that govern how and when content moves from Sight AI to your live WordPress site. Getting this right protects content quality while removing the manual bottleneck.
Define your auto-publish rules by content type: In Sight AI's publishing settings, you can specify which content types publish immediately versus which go to Draft for review. A practical starting configuration: high-confidence evergreen content on well-defined topics publishes directly, while content on brand-sensitive or rapidly-evolving topics lands in Draft first. This gives you a safety net without requiring you to review everything manually.
Configure your publishing schedule: Spreading posts across the week rather than bulk-publishing them in a single session signals more natural content velocity to search engine crawlers. Standard SEO guidance recommends consistent cadence over volume spikes. In Sight AI's scheduler, you can set a daily or weekly publishing cap and define which days and times posts go live. A steady rhythm of a few posts per week typically performs better than twenty posts published in a single day.
Set taxonomy mapping rules: Sight AI can automatically assign WordPress categories and tags based on content type or keyword cluster. Define these mapping rules once and they apply to every piece of content that flows through the pipeline. This keeps your WordPress taxonomy clean without requiring manual categorization on every post.
Enable featured image generation: Posts that publish without a featured image create a poor user experience and can look incomplete in social sharing previews. Enable featured image generation in Sight AI's publishing settings, or specify a default fallback image for posts where generation isn't applicable. Either way, no post should go live without visual assets.
Configure internal linking rules: Sight AI can automatically insert contextually relevant internal links during content generation, which strengthens your site architecture without requiring manual effort on every post. This is one of the most underutilized features in automated publishing pipelines. For a deeper look at how this works, the automated internal links guide covers the configuration options in detail.
Recommended starting configuration: Set all content to Draft status for the first two weeks. Audit the output quality, check taxonomy assignments, verify internal links are relevant, and confirm featured images are generating correctly. Once you're confident in the output, switch to direct publishing for your approved content types.
Step 5: Activate IndexNow for Instant Search Discovery
Publishing content to WordPress is only half the equation. If search engines don't know the content exists, it won't rank, and it won't get crawled into the training data and retrieval indexes that influence AI search responses. IndexNow is the protocol that closes this gap.
IndexNow is an open protocol supported by Microsoft Bing, Yandex, and other compatible search engines. When a new URL is submitted via IndexNow, those search engines are notified immediately rather than waiting for their next crawl cycle to discover the content. For a publishing pipeline generating content at scale, this is a meaningful acceleration in time-to-index.
Generate your IndexNow API key: In Sight AI, navigate to Indexing → IndexNow Setup. Generate your IndexNow API key from this panel. Sight AI will provide you with the exact filename and file content you need for the next step.
Add the key file to your WordPress root directory: IndexNow verification requires a key file hosted at your domain root. The file name matches your API key, and the file content is the key itself. Upload this file to your WordPress root directory via FTP, SFTP, or your hosting provider's file manager. Once it's in place, IndexNow-compatible search engines can verify your ownership of the domain.
Enable Auto-Submit on Publish: Back in Sight AI's IndexNow settings, enable the Auto-Submit on Publish toggle. From this point forward, every time Sight AI pushes content to WordPress, the new URL is automatically submitted to Bing, Yandex, and other IndexNow-compatible engines. No manual submission required.
Google and sitemap auto-updates: Google doesn't currently participate in the IndexNow protocol directly. For Google discovery, Sight AI's sitemap auto-update feature ensures your sitemap reflects new URLs in real time. Google's crawler picks these up during its next crawl cycle. For a more detailed walkthrough of the sitemap side of this setup, the how to create XML sitemap guide covers the configuration. If you want to understand how to accelerate Google's discovery of new content more broadly, how to make Google crawl your site is worth reading alongside this step.
Success indicator: New posts appearing in Bing Webmaster Tools' URL submission log within minutes of publishing. If you see URLs appearing there shortly after Sight AI publishes to WordPress, the IndexNow pipeline is working correctly.
Step 6: Monitor AI Visibility and Content Performance
Your pipeline is live. Content is generating, publishing to WordPress, and getting submitted for indexing automatically. Now comes the part that most publishing pipelines skip entirely: understanding whether the content is actually driving AI search visibility for your brand.
Publishing is only half the equation. The other half is knowing whether AI models like ChatGPT, Claude, and Perplexity are surfacing your brand when users ask questions about the topics you've published about. Without this data, you're publishing into a black box.
Track your AI Visibility Score: In Sight AI's AI Visibility dashboard, you can see how often your brand appears in AI model responses across the platforms your audience uses. This isn't website traffic data, it's direct visibility into whether your content is influencing what AI search tools recommend. Your AI Visibility Score aggregates this into a single metric you can track over time.
Review sentiment analysis: It's not enough to know you're being mentioned. How you're described matters. Sight AI's sentiment analysis shows whether AI models are recommending your brand positively, neutrally, or in a context that might not serve your positioning. If you're being mentioned but the framing is off, that's a signal to adjust your content strategy.
Set up prompt tracking for core topics: Define the prompts that represent your most important topic areas, such as the questions your target audience is most likely to ask AI models. Sight AI's prompt tracking shows you which AI-generated answers include your brand and which competitors are being recommended instead. This is where you identify gaps in your current content coverage.
Close the loop back to your publishing pipeline: If a topic cluster is missing from your AI mentions, that's your next content priority. Use the visibility data to inform your keyword inputs in Step 3. Topics where competitors appear in AI responses but you don't represent the clearest content opportunities. If you're seeing a consistently low score on certain topics, the poor AI visibility score troubleshooting guide walks through the most common causes and fixes.
The compounding effect: Each piece of content published, indexed, and picked up by AI models adds to your topical authority. Over time, brands that consistently publish high-quality, well-structured content on a topic cluster become the default recommendation for AI models responding to queries in that space. The monitoring step is what lets you verify this is actually happening and course-correct when it isn't.
Your Pipeline Is Live: What Comes Next
Your WordPress AI publishing integration is now fully operational. You've verified REST API access, generated Application Password credentials, connected Sight AI to your WordPress instance, configured your content generation pipeline with GEO optimization enabled, set auto-publishing rules and a sustainable publishing schedule, activated IndexNow for fast search discovery, and established AI visibility monitoring.
The result is a closed-loop system: Sight AI identifies content opportunities, generates SEO and GEO-optimized articles, publishes them to WordPress, submits them for indexing, and tracks whether they're driving AI search mentions. Each component feeds the next.
Before you move on, run through this quick setup checklist to confirm everything is in place:
1. WordPress REST API active and tested at your /wp-json/wp/v2/posts endpoint
2. Application Password generated and connected successfully in Sight AI
3. Content generation pipeline configured with GEO optimization and FAQ sections enabled
4. Auto-publishing rules defined with Draft status for the initial audit period
5. IndexNow key file installed at your domain root with Auto-Submit on Publish enabled
6. AI Visibility dashboard active with prompt tracking configured for your core topics
The recommended starting approach: pick a focused keyword cluster of ten to fifteen related topics, run the pipeline for 30 days, and use your AI Visibility Score data to guide the next cycle. The compounding effect builds faster than most teams expect once the pipeline is running consistently.
Stop guessing how AI models like ChatGPT and Claude talk about your brand. Get visibility into every mention, track content opportunities, and automate your path to organic traffic growth. Start tracking your AI visibility today and see exactly where your brand appears across top AI platforms.