Publishing content consistently on WordPress can feel like a never-ending treadmill—write, format, schedule, publish, repeat. For marketers and agencies managing multiple sites or high-volume content strategies, this manual process quickly becomes a bottleneck that limits growth.
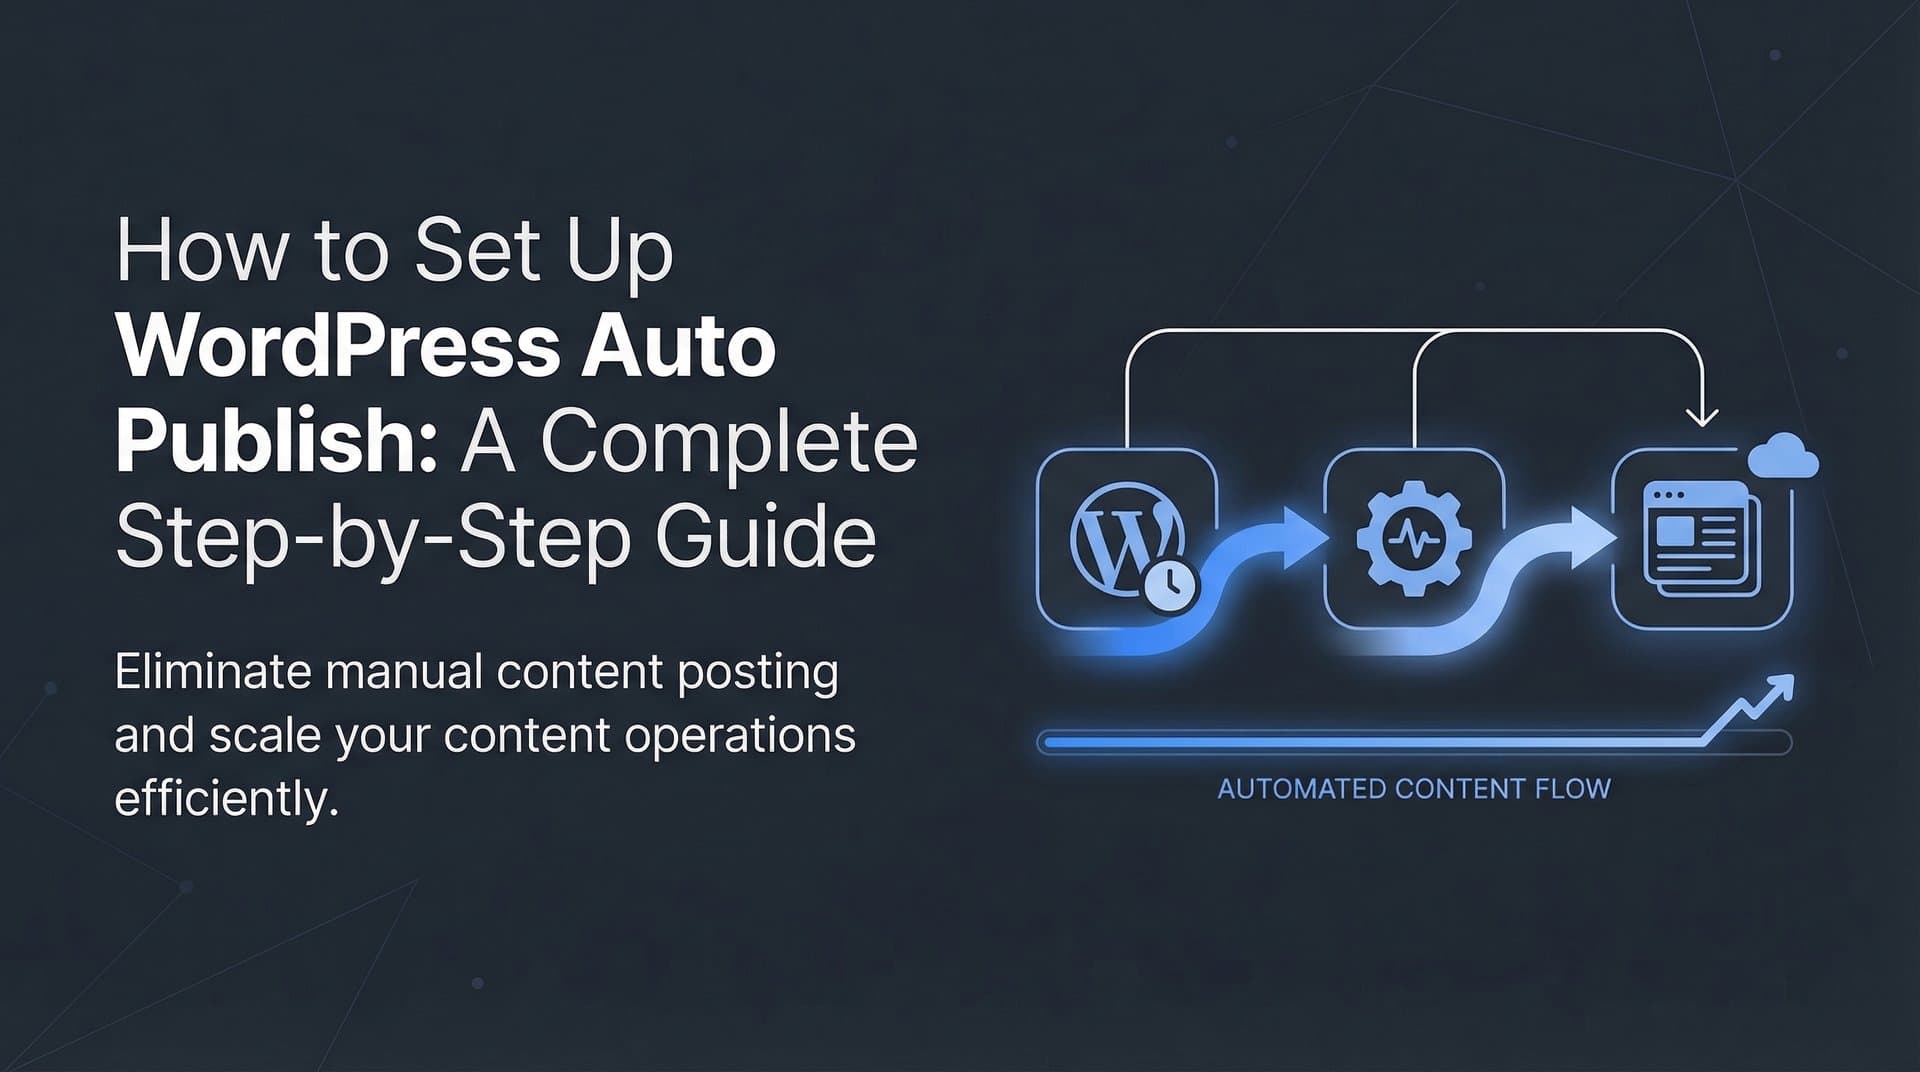
Content publishing automation transforms this workflow by connecting your content creation tools directly to WordPress, enabling hands-off publishing that maintains quality while dramatically increasing output. This guide walks you through setting up a complete automation pipeline, from choosing the right tools to configuring automatic publishing workflows that save hours each week.
Whether you're a solo marketer looking to reclaim your time or an agency scaling content operations for clients, you'll learn exactly how to implement automation that works reliably without sacrificing control over your content quality.
Step 1: Audit Your Current Publishing Workflow and Identify Automation Opportunities
Before automating anything, you need to understand exactly where your time goes. Grab a notebook and document every single action you take to publish a piece of content—from the moment you finish writing to the second it goes live on your site.
Most publishing workflows include these steps: copying content from your writing tool into WordPress, formatting paragraphs and headings, uploading and optimizing images, writing meta descriptions, selecting categories and tags, setting featured images, scheduling publication times, and finally hitting publish. Each step might only take a few minutes, but they add up fast when you're publishing multiple articles per week.
Here's where it gets interesting: not every task is a good candidate for automation. Manual steps that follow consistent patterns—like formatting, metadata entry, and scheduling—are perfect automation targets. Tasks requiring editorial judgment—like fact-checking, tone adjustments, or strategic positioning—should stay in human hands.
Track how long each publishing task takes for at least five articles to establish your baseline. You might discover that formatting alone consumes 15 minutes per post, or that finding and uploading images eats up 20 minutes. These numbers become your benchmark for measuring automation success.
Set specific, measurable goals for what you want automation to achieve. Instead of vague aspirations like "save time," aim for concrete targets: reduce per-article publishing time from 45 minutes to 15 minutes, increase publishing frequency from 2 posts weekly to 6 posts weekly, or eliminate weekend publishing work entirely. These goals will guide your tool selection and content publishing automation workflow design in the next steps.
Step 2: Select and Configure Your Automation Tools
The WordPress automation landscape offers three main approaches, each with different complexity levels and capabilities. Native WordPress tools like scheduled posts and block patterns handle basic automation but lack external integration power. Third-party workflow connectors like Zapier and Make bridge multiple platforms with visual workflow builders that require no coding. AI content platforms with direct CMS integrations, like Sight AI's content writer with auto-publishing capabilities, combine content generation and publishing in one streamlined system.
Your tool stack needs to cover several essential functions. You need a content source—whether that's an AI writing tool, a content management platform, or a document repository. You need a connection layer that moves content from source to WordPress, which might be a workflow automation platform or a direct API integration. You need WordPress itself configured to accept automated posts securely.
When evaluating tools, prioritize WordPress compatibility and API reliability. Check whether the tool supports the WordPress REST API, which has been the standard since WordPress 4.7. Verify it can handle WordPress's block editor (Gutenberg) content format if you're using modern WordPress versions. Look for WordPress content automation tools that explicitly mention WordPress integration in their documentation—this usually means they've solved common connection issues already.
Scaling capabilities matter more than you might think initially. A tool that works beautifully for 5 posts per month might struggle with 50 posts per month due to rate limiting or API call restrictions. Review pricing tiers and technical limits before committing to a platform.
Start configuration by ensuring your WordPress site has the REST API enabled—most modern WordPress installations have this active by default, but some security plugins disable it. Navigate to your WordPress site URL followed by `/wp-json/` to verify you see JSON data rather than an error message. If you see an error, check your security plugin settings or contact your hosting provider.
Set up authentication credentials that your automation tools will use to access WordPress. WordPress 5.6 introduced application passwords, which create specific passwords for automated systems without exposing your main login credentials. Navigate to Users → Your Profile in WordPress, scroll to Application Passwords, create a new password with a descriptive name like "Content Automation," and store it securely—you'll need it when configuring your automation platform.
Step 3: Connect Your Content Source to WordPress
Now comes the moment where your automation takes physical form: connecting your content creation system to WordPress. The exact steps vary by platform, but the underlying principles remain consistent across tools.
If you're using a workflow automation platform like Zapier or Make, create a new workflow (called "Zaps" in Zapier or "Scenarios" in Make) and select your content source as the trigger. This might be a new document in Google Docs, a completed article in your content management system, or a finished piece from an AI writing tool. Configure the trigger conditions—perhaps you want automation to fire when a document is moved to a specific folder or tagged as "Ready to Publish."
Add WordPress as your action platform. You'll be prompted to authenticate by entering your WordPress site URL, username, and the application password you created earlier. The automation platform will test the connection—if it fails, double-check your credentials and verify your WordPress REST API is accessible.
Field mapping is where you tell the automation which content goes where. Map your content title to the WordPress post title field, your body content to the post content field, and any excerpt or summary to the WordPress excerpt field. This is also where you configure categories and tags—you can map these directly from your content source if it includes categorization, or set default values that apply to all automated posts. Understanding CMS integration for content automation helps you configure these mappings correctly.
Featured image handling requires special attention. Some automation platforms can pull images from your content source and upload them to WordPress's media library automatically. Others require you to provide direct image URLs. If your content source doesn't include images, you might set a default featured image or leave this field empty for manual addition later.
Author attribution matters for multi-author sites. Configure which WordPress user account should be listed as the author for automated posts. This might be your own account, a generic "Editorial Team" account, or dynamically assigned based on who created the content in your source system.
Before enabling live publishing, run a test with the post status set to "draft." This creates a WordPress draft you can review to verify all fields mapped correctly, formatting transferred properly, and no unexpected issues appeared. Check the draft carefully—look for formatting problems, missing images, incorrect categories, or broken links. Fix any issues by adjusting your field mapping, then test again until the draft appears exactly as you want published posts to look.
Step 4: Build Your Automated Publishing Workflow
With your connection established and tested, it's time to design the workflow logic that determines when and how content gets published. This is where automation shifts from simple connection to intelligent system.
Start by defining your trigger conditions with precision. Do you want content published immediately when it appears in your source system? That works well for time-sensitive news or updates. Need content to publish on a schedule? Configure your automation to check for new content daily at a specific time, then publish everything queued up. Prefer manual approval before anything goes live? Set up a draft-first workflow where content lands in WordPress as drafts, you review and approve, then a second automation publishes approved drafts.
Post status configuration gives you control over the publication timeline. "Publish immediately" works when you trust your content source completely and have quality controls built into your content creation process. "Schedule for specific time" lets you batch-create content but maintain a consistent publishing calendar—your automation can set publication dates based on rules like "next available weekday at 9 AM" or "three days from now." "Save as draft" provides a safety net for review before anything becomes public.
Category and tag automation eliminates repetitive taxonomy work. You can set default categories that apply to all automated content, map categories directly from your content source if it includes categorization, or use conditional logic to assign categories based on content characteristics. For example, content containing certain keywords might automatically receive specific tags, or content from particular sources might be assigned to corresponding categories.
SEO metadata automation is where content publishing automation software truly shines for organic visibility. Configure your workflow to populate meta descriptions, focus keywords, and schema markup automatically. If you're using Yoast SEO or RankMath, these plugins expose API endpoints for setting SEO fields programmatically. You can pull meta descriptions from your content source, generate them from the first paragraph, or use AI tools to create them automatically during the publishing process.
Conditional logic handles different content types with appropriate settings. Blog posts might publish immediately with standard categories, while landing pages save as drafts for review, and product updates schedule for specific launch times. Set up branching workflows that check content type or source, then apply different rules accordingly. This flexibility prevents you from needing separate automation workflows for every content variant.
Step 5: Implement Quality Controls and Review Gates
Automation without quality controls is a recipe for publishing disasters. The goal isn't to remove humans from the process entirely—it's to focus human attention where it matters most while automating the repetitive mechanics.
Design approval workflows that match your risk tolerance and content volume. High-volume, lower-stakes content like product descriptions or routine updates might use light-touch review where content publishes automatically but notifications alert you to check published posts within 24 hours. Strategic content like thought leadership articles or client-facing materials needs pre-publication review where content lands as drafts, you receive immediate notifications, and nothing goes live until you explicitly approve it.
Notification systems keep you informed without requiring constant monitoring. Configure email or Slack alerts when new content arrives in WordPress as a draft, when automated publishing completes successfully, or when automation encounters errors. Include key details in notifications—post title, assigned categories, scheduled publication time—so you can quickly assess whether intervention is needed.
Draft-first workflows provide the strongest safety net for sensitive content. Configure your automation to create all posts as drafts initially, then set up a simple approval process. This might be as straightforward as changing post status from "draft" to "publish" manually, or you could create a second automation that publishes drafts when you add a specific tag like "approved" or move them to an "approved drafts" category. Many content workflow automation for agencies follows this exact pattern.
Content validation checks catch common issues before they become published problems. Set up rules that verify minimum word count requirements are met, required fields like meta descriptions are populated, featured images are present, and critical categories are assigned. If validation fails, your automation should halt and send an alert rather than publishing incomplete content. Many automation platforms let you add conditional checks that stop the workflow if certain criteria aren't met.
Establish rollback procedures for the inevitable moment when something goes wrong. Know how to quickly unpublish posts, revert to previous versions, or bulk-edit content that was published with errors. WordPress's revision system helps here—every automated post creates a revision history you can restore if needed. Document your rollback process so any team member can execute it quickly during an emergency.
Step 6: Automate Post-Publication Tasks for Maximum Visibility
Publishing content is just the beginning—getting that content discovered and indexed determines whether it actually drives traffic. Post-publication automation ensures your content reaches search engines and audiences quickly without manual intervention.
Configure automatic indexing with IndexNow to notify search engines immediately upon publication. IndexNow is a protocol supported by Bing, Yandex, and other search engines that lets you ping them directly when new content appears. WordPress plugins like IndexNow and Instant Indexing automate this notification process. Install the plugin, configure it with your API key, and enable automatic pinging for new posts. Your automation workflow can trigger the IndexNow notification as the final step in publishing, ensuring search engines learn about your content within minutes rather than waiting for traditional crawling.
Sitemap regeneration triggers keep your XML sitemap current for search engines. If you're using Yoast SEO, RankMath, or similar plugins, they typically regenerate sitemaps automatically when new content publishes. Verify this is enabled in your SEO plugin settings. For custom sitemap solutions, you might need to add a workflow step that triggers sitemap regeneration after publishing. Learn more about sitemap automation for content sites to optimize this process.
Social media sharing workflows extend your content's reach beyond organic search. Connect your WordPress publishing automation to social platforms using tools like Zapier or dedicated social media management platforms. When content publishes, automation can create social posts with the article title, excerpt, and link, then schedule them across Twitter, LinkedIn, Facebook, or other channels. Customize messaging for each platform—what works on LinkedIn might need adjustment for Twitter's character limits.
Internal linking automation connects new posts with existing content, strengthening your site's topical authority and helping readers discover related articles. WordPress plugins like Link Whisper or Internal Link Juicer can automatically suggest and insert relevant internal links based on keyword matching. Configure these plugins to run automatically when new posts publish, creating a web of connections without manual link-building work.
Analytics tracking configuration ensures you can monitor automated content performance. Verify Google Analytics or your preferred analytics platform is tracking automated posts correctly. Set up UTM parameters for social shares so you can distinguish social traffic from organic search. Configure goal tracking or conversion monitoring if your content is designed to drive specific actions. Create a dashboard that shows key metrics for automated content separately from manually published content so you can compare performance and optimize your automation strategy.
Step 7: Monitor, Optimize, and Scale Your Automation
Your automation is live and publishing content, but the work isn't finished. Successful automation requires ongoing monitoring, regular optimization, and thoughtful scaling as your needs grow.
Establish KPIs that measure automation success beyond just "content published." Track publishing volume to verify you're hitting your output goals. Monitor time savings by comparing your baseline metrics from Step 1 against current time investment—you should be spending significantly less time on mechanical publishing tasks. Measure error rates by logging failed publications, formatting issues, or quality problems that required manual intervention. Track content performance metrics to ensure automated content performs comparably to manually published content in terms of traffic, engagement, and conversions.
Set up monitoring dashboards that give you automation health visibility at a glance. Create a simple spreadsheet or dashboard that shows daily publishing counts, error logs, and performance trends. Many automation platforms include built-in monitoring that shows workflow execution history, success rates, and error details. Review these dashboards weekly to catch patterns—perhaps automation fails every Monday morning due to server maintenance, or certain content types consistently require manual fixes.
Review and refine workflows monthly based on accumulated data. Look for recurring issues that suggest workflow improvements. If featured images frequently fail to upload, investigate whether the image source or file size is causing problems. If certain categories are consistently misassigned, refine your categorization logic. If content regularly requires formatting fixes after publication, adjust your field mapping or content source formatting. Exploring bulk content publishing automation can help when you're ready to increase volume significantly.
Scale gradually rather than automating everything at once. Start with one content type or one publication frequency, verify it works reliably for several weeks, then expand scope. You might begin by automating only blog posts while keeping landing pages manual, or automate weekday publishing while manually handling weekend content. As confidence builds and kinks get worked out, incrementally increase what automation handles.
Document your workflows thoroughly for team training and troubleshooting reference. Create step-by-step guides that explain how your automation works, what each workflow does, where credentials are stored, and how to handle common issues. Include screenshots of workflow configurations, field mapping settings, and plugin configurations. This documentation becomes invaluable when onboarding new team members, troubleshooting unexpected problems, or rebuilding automation after platform changes.
Your Automation System Is Ready to Scale
With your WordPress publishing automation now configured, you've transformed a time-intensive manual process into a streamlined system that works around the clock. Quick implementation checklist: workflow audited and goals set, tools selected and connected, field mapping configured, quality gates established, post-publication automation active, and monitoring in place.
Start with a conservative approach—perhaps automating just one content type with draft-first publishing—then expand as you build confidence in your system's reliability. The time you reclaim can now be invested in strategy, content optimization, and understanding how your content performs across both traditional search and emerging AI platforms.
The natural evolution of content automation involves not just publishing existing content faster, but generating optimized content that feeds directly into your automation pipeline. Modern AI content tools can create SEO-optimized articles that align with your brand voice, target specific keywords, and publish automatically to WordPress without manual intervention at any stage.
But here's the thing: publishing content is only half the battle. Understanding how that content performs in AI search environments—how ChatGPT, Claude, and Perplexity talk about your brand—has become just as critical as traditional SEO metrics. Start tracking your AI visibility today and see exactly where your brand appears across top AI platforms, uncover content gaps that AI models are filling with competitor mentions, and optimize your automated content strategy for both search engines and AI models that increasingly shape how audiences discover brands.