Publishing content manually to WordPress is a time sink that pulls marketers away from strategy and creative work. Every hour spent copying, formatting, and clicking 'Publish' is an hour not spent optimizing campaigns or analyzing performance. If you're publishing even three articles per week, you're likely burning 3-5 hours on repetitive tasks—tasks that add zero strategic value to your content marketing efforts.
Automated content publishing eliminates this bottleneck by connecting your content creation workflow directly to your WordPress site. Articles go live on schedule without manual intervention. Your content maintains consistent formatting, SEO metadata populates automatically, and search engines get notified the moment something publishes.
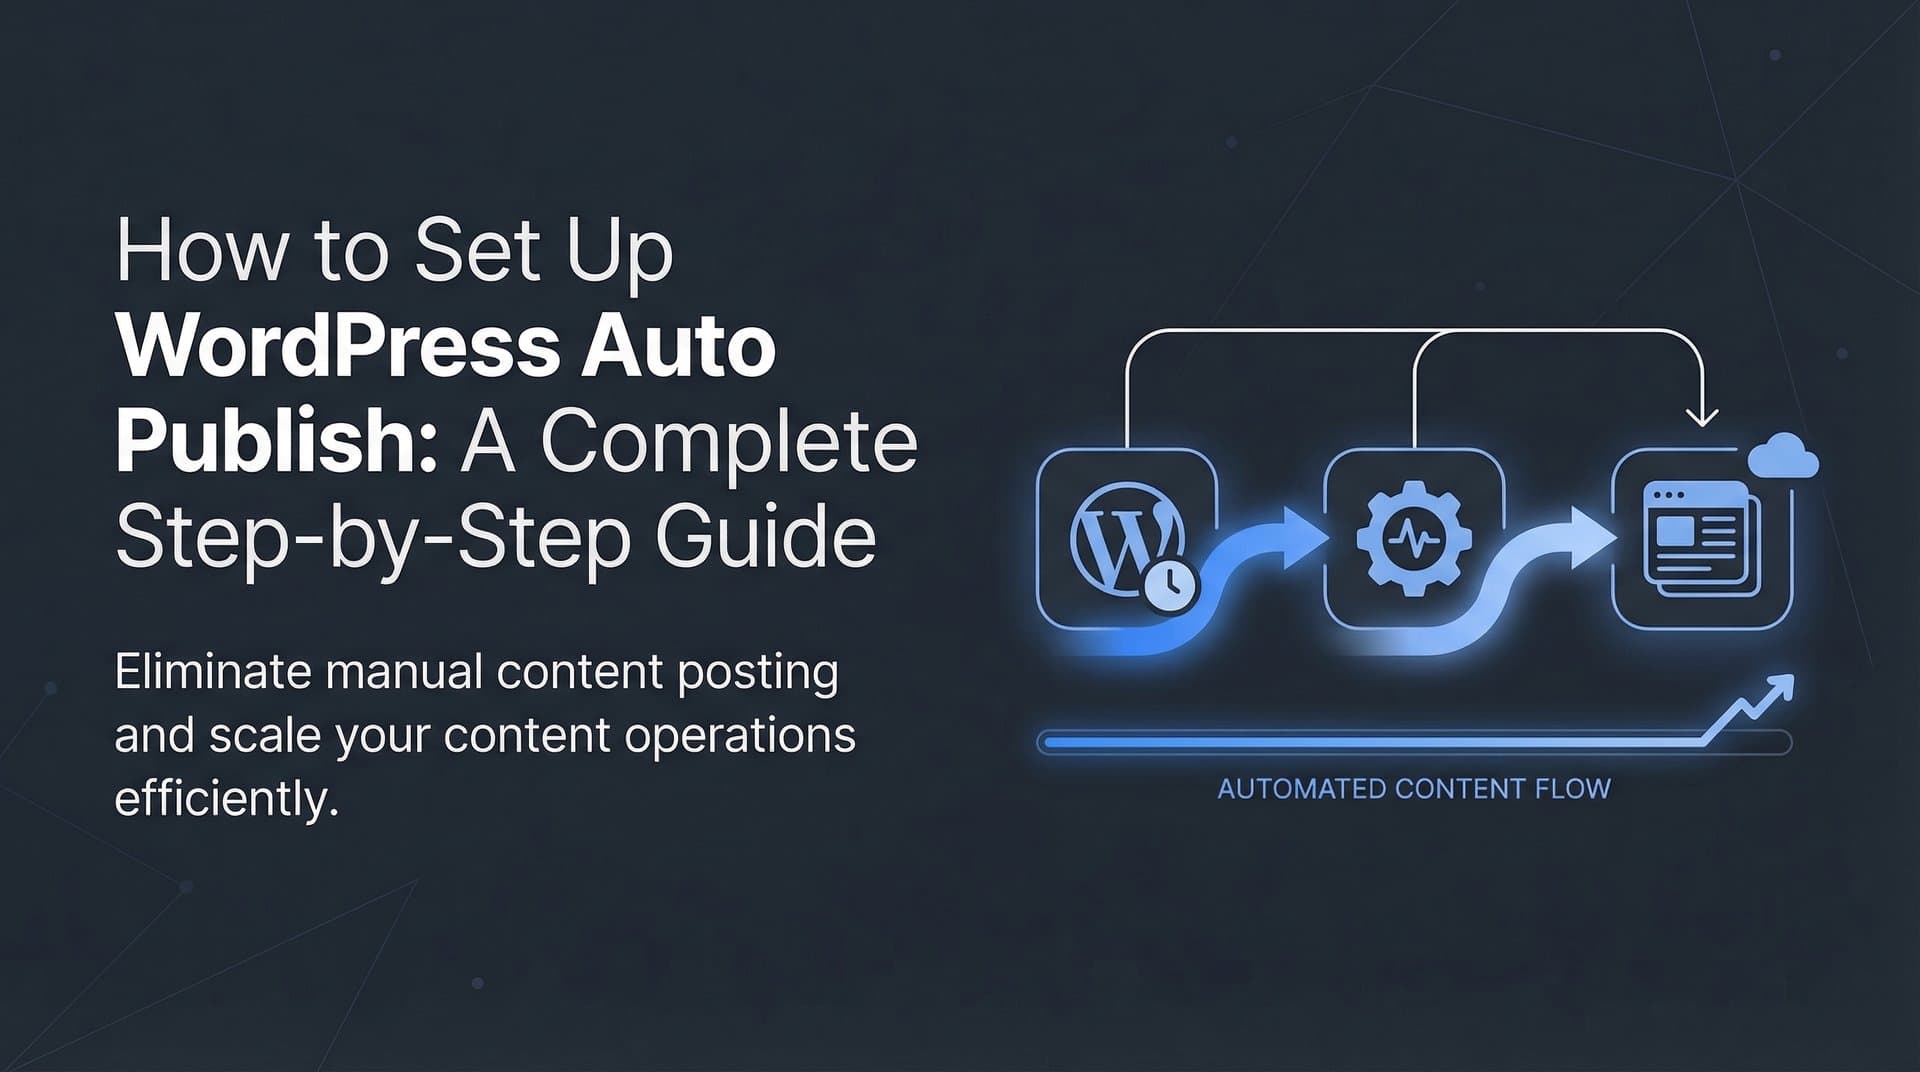
This guide walks you through setting up a complete automated publishing system, from choosing the right tools to configuring workflows that publish SEO-optimized content while you focus on growth. Whether you're a solo founder publishing weekly or an agency managing dozens of client sites, you'll learn exactly how to build a hands-off publishing pipeline that maintains quality and consistency.
The result? More content published, faster indexing, and hours reclaimed each week for the strategic work that actually moves your organic traffic numbers.
Step 1: Audit Your Current Publishing Workflow and Identify Automation Opportunities
Before you automate anything, you need a clear picture of where your time actually goes. Most teams underestimate how much manual work happens between "content ready" and "post live." Let's map it out.
Start by documenting every action in your current publishing process. A typical workflow looks like this: content creation in Google Docs or a writing tool, copy-paste into WordPress, format headings and paragraphs, upload and insert images, write alt text, add internal links, fill in SEO metadata (title, description, focus keyword), assign categories and tags, set featured image, schedule or publish, then manually update your sitemap.
That's at least 15 distinct actions per post. If each takes 2-3 minutes, you're looking at 30-45 minutes of pure mechanical work per article.
Now calculate your weekly time investment. Publishing three posts per week? That's 90-135 minutes spent on tasks a machine could handle. Scale that to daily publishing and you're burning 7-10 hours weekly on repetitive actions instead of automated blog content strategy or performance analysis.
Identify your specific bottlenecks. Image handling is usually the biggest time sink—downloading, uploading, resizing, writing alt text, setting featured images. SEO metadata entry comes next: crafting unique meta titles and descriptions for every post. Internal linking requires hunting through your archive for relevant posts to link. Category and tag assignment demands consistency across your content library.
Document your WordPress environment too. Note your hosting provider (some have API restrictions), your theme (custom themes may handle automation differently), essential plugins (especially SEO and image optimization tools), and user roles (you'll need appropriate permissions for automation).
Finally, define what success looks like. How many posts do you want to publish weekly? What quality standards must automation maintain? Which metadata fields are non-negotiable? What's your target timeline from content completion to live publication?
This audit gives you a baseline. You'll know exactly which tasks to automate first and how much time you stand to reclaim.
Step 2: Choose Your Automation Stack and Configure WordPress for API Access
Your automation system needs a secure way to talk to WordPress. The WordPress REST API is the standard method—it's built into WordPress core and allows external applications to create, read, update, and delete content programmatically.
First, enable API access and generate application passwords. In WordPress, navigate to Users, select your profile, scroll to Application Passwords. Create a new application password with a descriptive name like "Content Automation System." WordPress generates a unique password—save this immediately. You'll use it to authenticate your automation tool's connection to WordPress.
Never use your actual WordPress login password for automation. Application passwords are revocable, limited in scope, and don't compromise your main account if exposed.
Now evaluate your automation options. Purpose-built tools like Sight AI's auto-publishing feature handle the entire pipeline: content generation, SEO optimization, and direct WordPress publishing with IndexNow integration. These all-in-one solutions eliminate the need to connect multiple services. For a comprehensive overview, explore the best automated content platforms available today.
Alternatively, automated content workflow tools like Zapier or Make.com offer flexibility if you're integrating multiple content sources or need custom logic. These require more setup but work with virtually any content creation tool.
For teams with development resources, the WordPress REST API supports custom automation scripts. This approach offers maximum control but demands ongoing maintenance.
Install required WordPress plugins before connecting automation. If you're using Yoast SEO or Rank Math, ensure they're configured to accept programmatically submitted metadata. Install an image optimization plugin that processes uploads automatically—automation will push images directly to your media library, and you want them compressed without manual intervention.
Set up a staging environment if your host supports it. Test your entire automation workflow on staging before pointing it at your live site. This catches formatting issues, broken image uploads, or metadata problems before they affect your public content.
Create a dedicated WordPress user for automation. Don't use an admin account—create an Editor or Author role with just enough permissions to publish content. This limits potential damage if your automation credentials are ever compromised.
With WordPress configured and your automation tool selected, you're ready to establish the connection.
Step 3: Connect Your Content Source to WordPress
This step establishes the actual connection between your content creation tool and WordPress. You're building a bridge that carries finished content directly into your CMS without manual copy-paste.
Start by entering your WordPress site URL and the application password you generated in Step 2 into your automation platform. Most tools have a WordPress integration that walks you through this. You'll typically provide your site's REST API endpoint (usually yoursite.com/wp-json) and authenticate with your username and application password.
Test the connection immediately. Most platforms offer a "Test Connection" button that verifies API access and permissions. If it fails, double-check your application password, ensure your WordPress site isn't blocking REST API requests, and verify your automation user has sufficient permissions.
Once connected, map your content fields. This tells the automation system which piece of content data goes where in WordPress. Map your article title to the WordPress post title field, your main content to the post body, your summary or intro to the excerpt field. Configure category and tag assignments—you can set static categories for all automated posts or use dynamic rules based on content topics.
Featured image handling requires special attention. Your automation should upload images directly to your WordPress media library and set them as featured images automatically. Configure alt text generation—some tools can analyze images and create descriptive alt text, or you can pass alt text from your content source.
Set up image compression and optimization settings. Automation will push images as-is unless you configure processing rules. Specify maximum dimensions, compression quality, and whether to generate multiple sizes for responsive images.
Configure content formatting rules to maintain consistent HTML structure. WordPress expects specific HTML tags—paragraphs wrapped in paragraph tags, headings using H2 and H3 tags, bold and italic text properly formatted. Your automation tool should preserve or convert your content's formatting into clean WordPress-compatible HTML.
Run a test publish with a draft post. Create a simple piece of content in your source system, trigger the automation, and verify it appears correctly in WordPress as a draft. Check the title, body formatting, images, categories, tags, and excerpt. This dry run catches field mapping errors before you start publishing live content.
If everything looks correct, you're ready to build publishing rules.
Step 4: Build Your Automated Publishing Rules and Scheduling Logic
Now you'll define when and how content publishes automatically. This is where automation transforms from a simple connector into an intelligent publishing system.
Start by creating publishing triggers. Do you want content to go live immediately when it's marked "ready" in your content tool? Or should it queue for scheduled publication at specific times? Many teams prefer scheduled publishing—articles go live at optimal times for audience engagement without requiring manual intervention.
Set up time-based publishing rules. You might configure automation to publish new content every Tuesday and Thursday at 9 AM, or to space posts 48 hours apart automatically. This maintains consistent publishing cadence without calendar management.
Configure content routing rules for different content types. Send how-to guides to your "Tutorials" category, product comparisons to "Reviews," and industry analysis to "Insights." Automation can categorize content based on keywords, topics, or explicit tags in your source system.
Build SEO automation into your publishing rules. Configure automatic meta title generation—pulling from your article title with your brand name appended, staying within the 60-character limit. Set up meta description automation that pulls your article's first paragraph or a dedicated summary field, trimmed to 155-160 characters. For deeper guidance, review how automated SEO content generation can streamline this process.
Establish internal linking rules to automatically connect new posts to relevant existing content. Some automation platforms can analyze your new article's topic and insert links to related posts in your archive. This strengthens your site's internal link structure without manual hunting.
Implement quality gates to prevent subpar content from publishing automatically. Set minimum word count requirements—articles under 800 words might trigger a review flag instead of auto-publishing. Require specific fields like meta descriptions, featured images, and at least one category assignment before automation proceeds.
Configure approval workflows if multiple team members are involved. You might set up automation to publish certain content types immediately while flagging others for editorial review. This balances speed with quality control.
Test your rules thoroughly. Create sample content that should trigger different automation paths and verify each behaves correctly. Confirm scheduled posts appear in your WordPress calendar at the right times, categories assign properly, and quality gates catch content that doesn't meet standards.
With publishing rules configured, your automation system knows not just how to publish, but when and under what conditions.
Step 5: Implement IndexNow for Instant Search Engine Discovery
Publishing content is only half the battle. You need search engines to discover and index your new posts quickly. IndexNow protocol accelerates this process dramatically by notifying search engines the moment content goes live.
IndexNow is a protocol supported by Microsoft Bing and Yandex that allows sites to push URL updates directly to search engines instead of waiting for crawlers to discover changes. While Google doesn't officially participate in IndexNow, they monitor signals from participating search engines, so faster indexing on Bing often correlates with faster Google discovery.
Install an IndexNow plugin for WordPress or integrate IndexNow through your automation platform. Tools like Sight AI include built-in IndexNow integration that automatically pings search engines when content publishes. If you're using a standalone WordPress plugin, popular options include the official IndexNow plugin or SEO plugins like Rank Math that include IndexNow support.
Configure IndexNow to trigger automatically when your automation publishes new content. The workflow should be: content publishes to WordPress, IndexNow immediately sends the new URL to search engines, your sitemap updates to reflect the new post. This happens in seconds, without manual intervention. Learn more about automated content indexing tools that make this seamless.
Set up sitemap auto-updates alongside IndexNow. WordPress generates XML sitemaps automatically (or through your SEO plugin), but you want to ensure search engines are notified when your sitemap changes. Configure your automation to ping sitemap update services after publishing.
Verify IndexNow is working by checking your search engine webmaster tools. Bing Webmaster Tools shows IndexNow submissions and their status. You should see your new URLs appearing in the submission log within minutes of publishing. Check indexing status 24-48 hours later—IndexNow-submitted URLs typically index significantly faster than URLs discovered through normal crawling.
The combination of automated publishing and instant search engine notification creates a powerful content velocity engine. Your articles go from creation to indexed and discoverable in hours instead of days or weeks, maximizing your window for organic traffic capture and AI model discovery.
Step 6: Test, Monitor, and Optimize Your Automated Pipeline
Your automation system is configured, but before you scale up publishing, you need to verify everything works end-to-end and establish monitoring to catch issues before they impact your site.
Run comprehensive end-to-end tests with real content. Create a complete article in your content source system, trigger the automation, and follow it through to WordPress. Verify the published post matches your expectations: proper formatting with correct heading hierarchy, images uploaded and displayed correctly with alt text, featured image set, categories and tags assigned, SEO metadata populated, excerpt filled, and internal links working.
Check edge cases too. Test content with unusual formatting—tables, block quotes, code snippets if relevant to your content. Publish an article with multiple images to verify batch upload handling. Try content with special characters in titles to ensure encoding works correctly.
Set up monitoring alerts for automation failures. Most platforms offer notifications when workflows error out. Configure alerts for failed WordPress connections, image upload errors, or posts stuck in draft status when they should be published. You want to know immediately if automation breaks, not discover it days later when you notice content gaps.
Track key performance metrics for your automated pipeline. Monitor time saved—calculate hours previously spent on manual publishing versus current time investment. Track publishing consistency—are posts going live on schedule without gaps? Measure indexing speed by comparing time-to-index before and after implementing IndexNow. Analyze content performance to ensure automated posts perform as well as manually published content.
Iterate on your workflow as you identify additional manual tasks to automate. Maybe you're still manually creating social media posts for new articles—add social sharing automation. Perhaps you're manually updating old posts with links to new content—build retroactive internal linking into your automation. Understanding content publishing workflow automation helps you identify these optimization opportunities.
Document your automation workflows thoroughly. Create a reference guide that explains how content moves through your system, what triggers publishing, how to troubleshoot common issues, and where to find logs and monitoring data. This documentation is invaluable when onboarding team members or diagnosing problems months later.
Schedule regular audits of your automated content. Review a sample of recently published posts monthly to verify quality remains high. Check that SEO metadata is unique and relevant, internal links are contextually appropriate, and formatting is consistent. Automation should maintain or improve quality, never degrade it.
Your Publishing System is Ready to Scale
Your automated content publishing system is now ready to eliminate manual WordPress tasks and accelerate your content velocity. Let's verify everything is in place with a quick checklist.
WordPress API enabled with application passwords generated and securely stored. Automation tool connected and tested with successful draft post creation. Content field mapping configured for title, body, excerpt, categories, tags, images, and SEO metadata. Publishing rules established with scheduling logic, content routing, and quality gates. SEO metadata automation active and generating unique titles and descriptions. IndexNow integration pinging search engines immediately when content publishes. Sitemap auto-updates reflecting new content. Monitoring alerts configured for automation failures and API errors.
Start with a small batch of content to validate your workflow. Publish 3-5 articles through automation and monitor them closely. Verify formatting, check indexing speed, and confirm everything appears correctly on your live site. Once you're confident the system works reliably, scale up your publishing frequency.
The time you reclaim from manual publishing can now fuel strategy, optimization, and the creative work that actually moves the needle on organic traffic growth. Instead of spending hours copying and pasting content, you're analyzing performance data, optimizing high-traffic posts, and developing content strategies that capture emerging search opportunities. For startups looking to maximize this advantage, automated content marketing for startups provides a strategic framework.
But here's where it gets even more interesting. The content you're now publishing faster and indexing quickly doesn't just benefit traditional SEO. It positions your brand for discovery by AI models like ChatGPT, Claude, and Perplexity. These systems increasingly reference and cite web content when answering queries, and content that's fresh, well-optimized, and quickly indexed has better chances of being surfaced in AI-generated responses.
This is the new frontier of content marketing. Automated publishing gives you the velocity to produce content consistently. Fast indexing ensures search engines and AI models discover it quickly. And tracking how AI platforms mention your brand closes the loop, showing you exactly which content strategies earn AI visibility.
Stop guessing how AI models like ChatGPT and Claude talk about your brand. Get visibility into every mention, track content opportunities, and automate your path to organic traffic growth. Start tracking your AI visibility today and see exactly where your brand appears across top AI platforms.