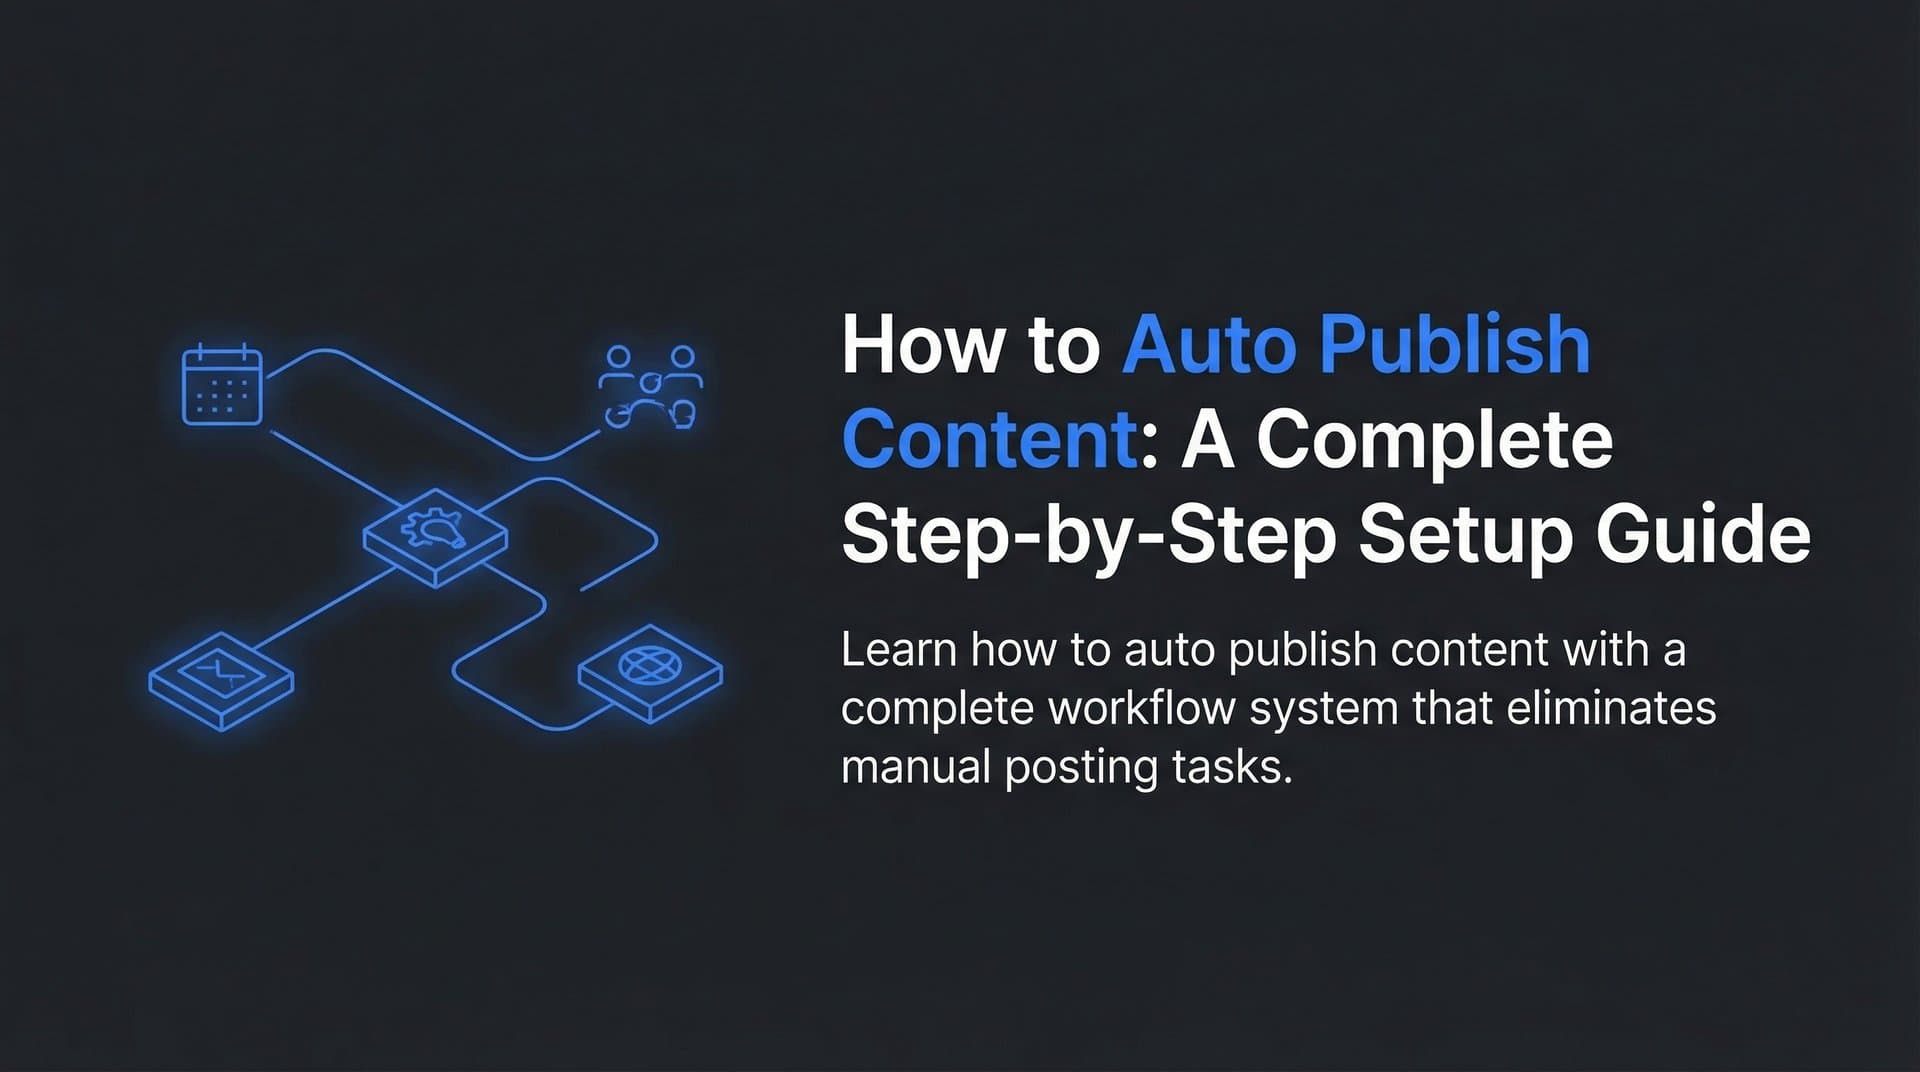
Publishing content consistently is one of the biggest challenges marketers face—especially when you're trying to scale organic traffic while maintaining quality. You know the drill: your content team creates amazing articles, but then someone has to manually copy them into WordPress, format the headings, add meta descriptions, schedule the publish date, and update the sitemap. Repeat this twenty times a month, and you've burned hours that could have been spent on strategy.
AI content auto publishing solves this by connecting your content generation workflow directly to your CMS, eliminating the manual copy-paste bottleneck that slows down most content teams.
This guide walks you through setting up an automated publishing pipeline from scratch. You'll learn how to configure your CMS integration, establish quality gates, schedule content strategically, and monitor performance—all while ensuring your content is optimized for both traditional search engines and AI platforms like ChatGPT and Perplexity.
By the end, you'll have a system that can publish SEO/GEO-optimized articles on autopilot, freeing your team to focus on strategy rather than manual publishing tasks.
Step 1: Audit Your Current Publishing Workflow
Before you automate anything, you need to understand exactly what you're automating. Think of this like mapping a hiking trail—you can't find shortcuts until you know the full route.
Start by documenting every step your content takes from first draft to live publication. Write it all down: who creates the content, who reviews it, who formats it, who adds images, who writes meta descriptions, who clicks the publish button. Most teams discover they have six to eight manual touchpoints they never consciously acknowledged.
Now identify the bottlenecks. Where does content sit waiting? Is it the formatting stage where someone has to manually adjust headings and add HTML tags? Is it the review process where articles wait three days for approval? Or is it the actual publishing step where one person handles all the CMS work?
Next, check your CMS capabilities. Log into your WordPress, Webflow, or headless CMS admin panel and look for API documentation. Most modern platforms offer API access, but you need to verify what's actually available. Can you publish via API? Can you set featured images? Can you assign categories and tags programmatically?
Finally, calculate your time savings potential. If your team publishes twenty articles monthly and each one takes thirty minutes of manual CMS work, that's ten hours every month. Over a year, that's 120 hours—three full work weeks—spent on repetitive tasks that content publishing automation workflow systems can handle.
Document everything in a simple spreadsheet: current process steps, time per step, who handles it, and whether it can be automated. This becomes your blueprint for the automation you'll build in the next steps.
Step 2: Choose and Configure Your AI Content Platform
Not all AI content platforms are created equal when it comes to auto publishing. Some generate great content but leave you copying and pasting. Others integrate directly with your CMS but produce generic articles. You need both capabilities in one system.
Look for platforms that offer native CMS integrations, not just export features. A platform that can publish directly to WordPress via API is fundamentally different from one that exports a text file you still have to manually upload. Check whether the platform supports your specific CMS—WordPress and Webflow are common, but if you're using a headless CMS like Contentful or Strapi, verify compatibility first.
When evaluating options, test the content quality before committing to the integration work. Most platforms offer trials—use them to generate a few articles in your niche. Does the output match your brand voice? Does it structure content the way your audience expects? Can you customize templates to maintain consistency?
Once you've selected a platform, set up your account and navigate to the CMS integration settings. You'll typically need to provide API credentials from your CMS. In WordPress, this means installing a plugin or generating application passwords. In Webflow, you'll create an API token from your site settings. In headless systems, you'll use your existing API keys.
Configure your content templates next. This is where you define how articles should be structured: heading hierarchy, paragraph length, use of bold and italic formatting, how lists should appear. Think of templates as the style guide your AI writer follows every time.
Before going live, run a complete test. Generate a draft article and publish it to a staging environment or as a private draft. Check that headings format correctly, links work, meta descriptions populate, and categories assign properly. This test reveals integration issues before they affect your live site.
Verify that your AI content automation platform can handle the full publishing workflow: setting featured images, assigning authors, scheduling publish dates, and updating post status from draft to published. If any piece is missing, you'll need workarounds or manual intervention.
Step 3: Establish Quality Gates and Approval Workflows
Automation without quality control is just faster chaos. You need guardrails that ensure only high-quality content reaches your audience, even when publishing happens automatically.
Start by defining your minimum quality thresholds. What makes an article good enough to publish? Create a checklist: Does it answer the target question completely? Is the keyword included naturally? Are headings descriptive and scannable? Does it include relevant examples? Is the tone appropriate for your audience?
Build these checks into your workflow as automated gates. Many AI platforms can score content against quality criteria before publishing. Set minimum scores—for example, content must score 85% or higher on readability and keyword optimization to auto-publish. Anything below that threshold goes to a human reviewer.
Configure human review triggers for sensitive content. If you're in healthcare, legal, or financial services, certain topics should always get human oversight regardless of quality scores. Create a list of trigger keywords or categories that automatically route content to your review queue instead of auto-publishing.
Set up your SEO verification checklist. Before any article publishes, automated systems should verify: target keyword appears in the title, meta description is 150-160 characters, at least one internal link exists, headings use proper H2/H3 hierarchy, and the article meets minimum word count. These checks prevent common SEO mistakes that hurt performance. For more on this, explore SEO content writing automation best practices.
Create fallback protocols for when content fails quality checks. What happens when an article doesn't meet your thresholds? Does it save as a draft for manual review? Does it trigger an alert to your content manager? Does the system attempt to regenerate it with different parameters? Define these workflows now so failures don't create confusion later.
Consider implementing a staged rollout. Start with 100% human review of auto-generated content. Once you've verified quality over twenty or thirty articles, watching the difference between content automation vs manual writing, you might only review content that triggers specific flags, but build trust in the system gradually.
Step 4: Configure Publishing Schedules and Content Queues
Consistency beats volume every time. Search engines and AI platforms favor sites that publish regularly over those that dump twenty articles one week and nothing for a month.
Determine your optimal publishing frequency based on your resources and audience expectations. If you're a B2B SaaS company, two to three articles weekly might be sustainable. If you're a news site, you might need daily content. The key is choosing a cadence you can maintain long-term—inconsistency signals abandonment to search algorithms.
Set up content queues that maintain this rhythm automatically. Think of it like a content assembly line: articles move from generation to review to scheduled publication without manual intervention. Configure your system to maintain a buffer—always have five to ten articles ready to publish so you're never scrambling to fill your calendar. Learn more about building an automated blog content pipeline that scales.
Configure time-zone appropriate scheduling if you serve global audiences. Publishing at 9 AM Eastern Time is great for US readers but terrible for European audiences who are already leaving work. Many platforms let you set different publication times for different content types or audience segments.
Build buffer capacity into your queue to handle content surges or dry spells. Maybe you generate extra content during slow news periods to bank for busy seasons when your team is stretched thin. Or perhaps you create evergreen content in batches during quiet months to maintain publishing frequency during high-demand periods.
Consider your content mix when scheduling. Don't publish three similar articles on consecutive days—vary topics, formats, and target keywords to keep your content feed diverse. Some content autopilot publishing tools can automatically distribute content types across your calendar to prevent clustering.
Set up calendar visibility so your team knows what's publishing when. Even with full automation, your marketing team should see upcoming content to coordinate social promotion, email campaigns, and other distribution channels. Integration with tools like Google Calendar or Slack can provide this visibility.
Step 5: Integrate Indexing for Faster Search Discovery
Publishing content is only half the battle—search engines need to discover and index it before it can drive traffic. Waiting for Google to naturally crawl your site can take days or weeks. Automated indexing notification changes that timeline to hours.
Connect IndexNow or similar protocols to notify search engines the moment new content publishes. IndexNow is supported by Microsoft Bing, Yandex, and other search engines, allowing you to ping them instantly when you publish. While Google doesn't officially support IndexNow, they do monitor sitemap changes and crawl patterns.
Configure automatic sitemap updates when new content goes live. Your sitemap is the roadmap search engines use to discover your content. When it updates automatically with each new article, search engines know exactly where to look. Most CMS platforms can regenerate sitemaps on publish, but verify this is actually happening in your setup.
Set up ping services to accelerate content discovery across multiple search engines. Services like Pingomatic or built-in CMS ping features notify search engines and blog directories when you publish. While less critical than they were a decade ago, they still provide incremental discovery speed improvements.
Verify indexing status through search console integration. Connect your Google Search Console and Bing Webmaster Tools to your publishing workflow. Many platforms can automatically submit URLs for indexing through these tools, and you can track indexing status to identify any content that's stuck. Check out the best automated content indexing software 2026 for current options.
Monitor your time-to-index metric. How long does it take from publication to appearance in search results? Track this over time—if it's increasing, you may have crawl budget issues or technical SEO problems that need attention. Healthy sites typically see indexing within 24-48 hours for new content.
Step 6: Monitor, Measure, and Optimize Your Automation
Your auto publishing system is live, but the work isn't done. The best content teams treat automation as a living system that needs regular optimization based on performance data.
Track your publish success rate as your primary health metric. What percentage of generated content actually publishes successfully? If you're seeing failures, diagnose whether they're quality gate rejections (good—your gates are working) or technical errors (bad—your integration needs fixing). Aim for 95%+ technical success rate.
Monitor time-to-index across your published content. Use Google Search Console to track when articles appear in search results after publication. If newer content is indexing slower than older content, you may have crawl budget issues or need to improve your internal linking structure.
Track traffic growth as your ultimate success metric. Are your auto-published articles driving organic traffic? Compare performance between auto-published and manually published content to verify quality isn't suffering. If auto-published articles underperform, revisit your templates and quality gates. Teams using content publishing automation for marketers typically see significant efficiency gains.
Set up alerts for publishing failures or quality issues. You want to know immediately if your automation stops working or if content quality drops below acceptable thresholds. Configure notifications through email, Slack, or your project management tool so problems get addressed quickly.
Review your AI visibility scores to ensure content gets mentioned by AI platforms. Traditional SEO metrics tell you about Google performance, but AI platforms like ChatGPT, Claude, and Perplexity are increasingly important traffic sources. Track whether your content appears in AI responses and adjust your content structure to improve visibility.
Iterate on templates and settings based on performance data. If articles with certain structures or lengths perform better, update your templates to favor those patterns. If specific topics consistently fail quality gates, adjust your generation parameters or add those topics to human review triggers.
Run regular quality audits even when automation is working smoothly. Pick five random articles monthly and review them with fresh eyes. Are they genuinely helpful? Would you share them with colleagues? This human check prevents gradual quality drift that metrics might miss.
Your Automated Publishing System Is Ready
You now have a complete AI content auto publishing system ready to scale your content output. Let's recap what you've built: a documented workflow with identified bottlenecks, a configured platform with CMS integration, quality gates that maintain standards, strategic publishing schedules, automated indexing for faster discovery, and monitoring systems that catch issues early.
Start with a small batch of articles to validate your workflow before scaling up. Publish five to ten pieces manually through your new system, watching each step to ensure everything works as expected. Once you've confirmed reliability, gradually increase volume while monitoring quality metrics.
Track your AI visibility alongside traditional SEO metrics to ensure your content resonates with both search engines and AI platforms. Start tracking your AI visibility today and see exactly where your brand appears across top AI platforms—you might discover content opportunities you're currently missing.
The teams seeing the best results treat auto publishing as a foundation, not a replacement, for content strategy. Use the time saved to focus on higher-value activities like audience research, competitive analysis, and strategic planning. Your automation handles the repetitive publishing work, freeing your team to think bigger about content strategy and distribution.
Remember that consistency matters more than volume. Publishing three high-quality articles weekly beats publishing fifteen mediocre ones monthly. Your automated system makes consistency achievable without burning out your team.
As you scale, continue optimizing based on performance data. The best publishing systems evolve continuously, improving quality gates, refining templates, and adjusting schedules based on what actually drives results for your audience.