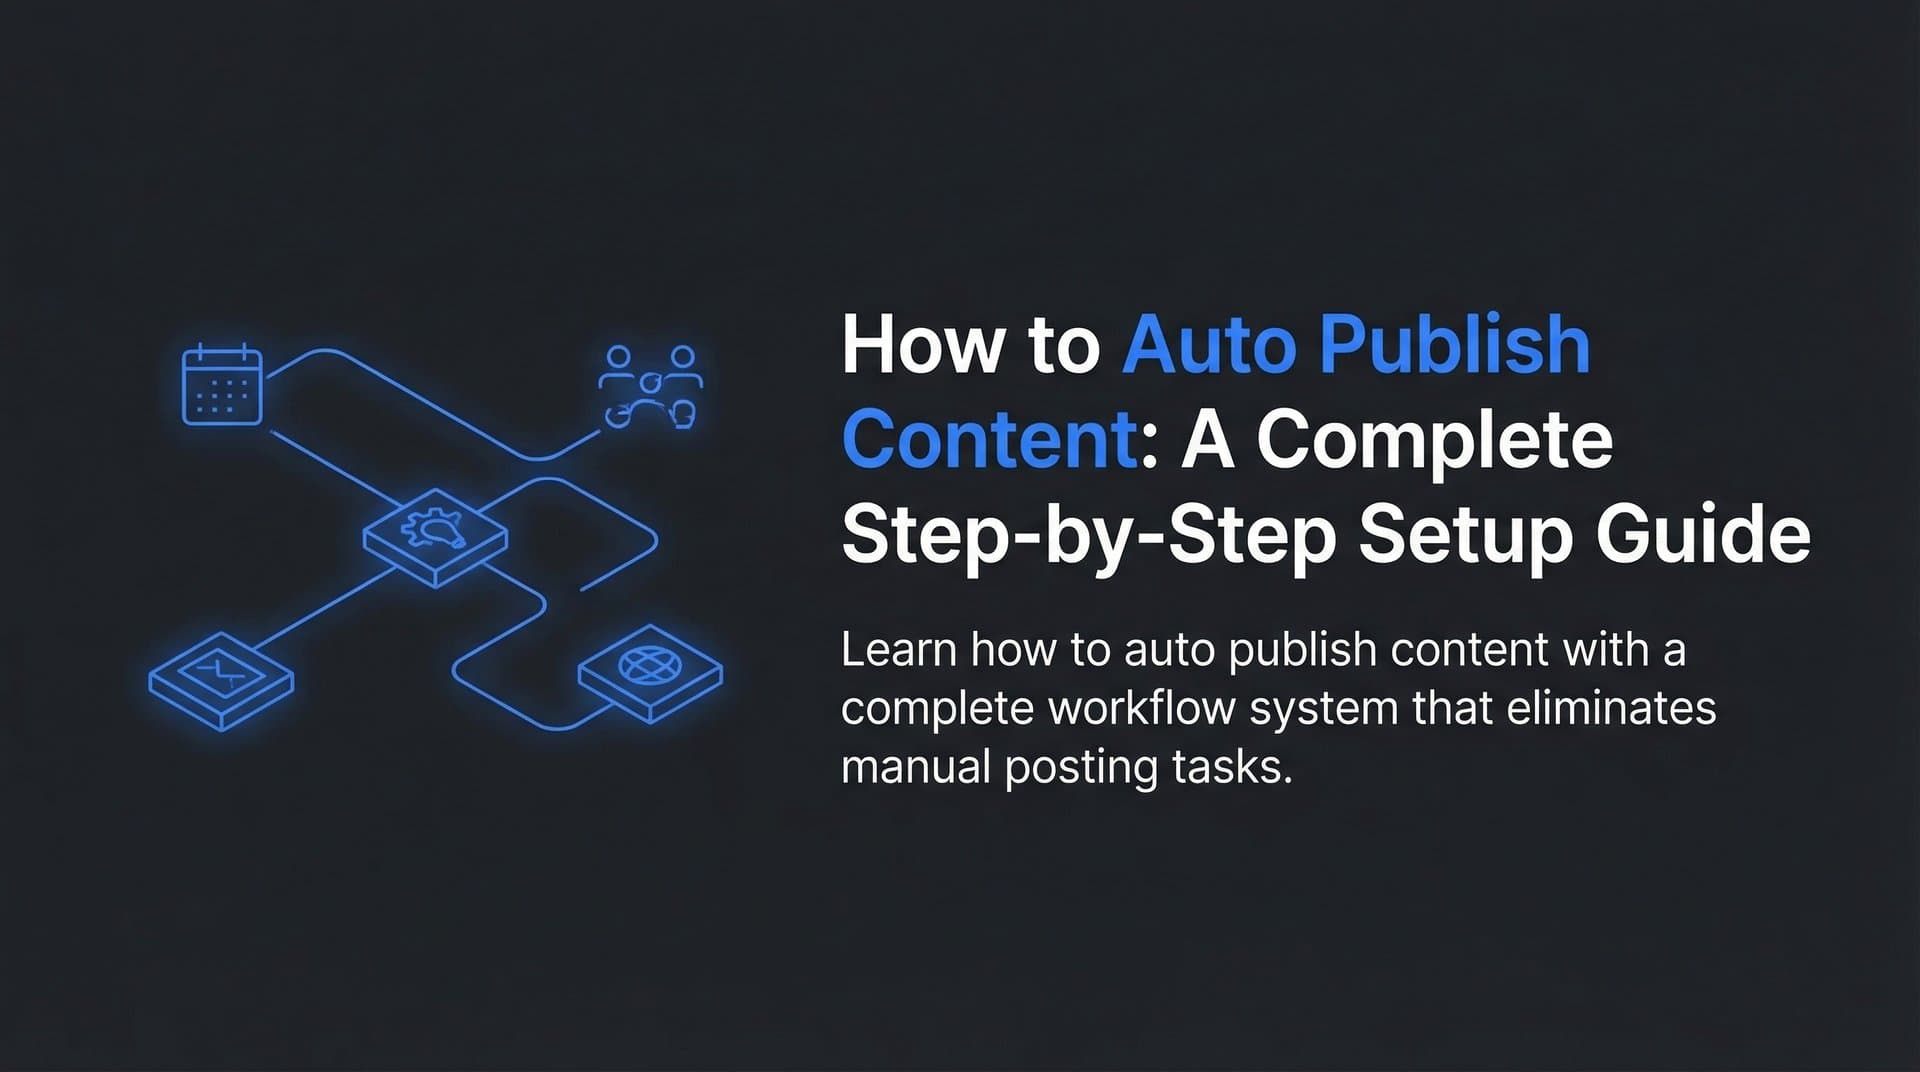
Manual content publishing is a time sink that pulls marketers away from strategy and creativity. Every minute spent logging into your CMS, formatting posts, and clicking publish is a minute not spent analyzing performance or planning your next campaign. Auto publish content workflows eliminate this friction entirely, allowing you to schedule, generate, and distribute content without touching a single button.
This guide walks you through setting up a complete auto-publishing system from scratch—whether you're managing a single blog or scaling content across multiple channels.
By the end, you'll have a hands-free publishing pipeline that keeps your content calendar running while you focus on growth.
Step 1: Audit Your Current Publishing Workflow
Before you automate anything, you need to understand exactly what you're automating. Think of this like mapping a road trip—you can't optimize the route until you know where the traffic jams are.
Start by documenting your complete content journey from creation to publication. Open a spreadsheet and trace every single touchpoint: where the content lives after writing, who reviews it, how it gets formatted, where images are stored, how you add meta descriptions, and finally, how you hit publish. Be brutally honest about the process—include those times you have to log in twice because you forgot to add a featured image.
Now identify your bottlenecks. Common friction points include waiting for CMS logins to load, manually formatting content that arrives from writers, scheduling posts one by one, and managing approval queues where content sits for days. Pay special attention to repetitive tasks that require zero creative judgment—these are your prime automation targets.
Here's where it gets interesting: calculate the actual time you spend on manual publishing tasks each week. Track yourself for five days. Log in, format a post, add images, schedule it, update your content calendar—how long did that take? Multiply by your weekly publishing frequency. Many content teams discover they're spending 6-10 hours per week on pure publishing mechanics.
Finally, list every platform where you publish content. Your main blog is obvious, but what about social media snippets, email newsletters, Medium cross-posts, or LinkedIn articles? Each platform represents a potential automation opportunity. The goal isn't to automate everything immediately—it's to see the full landscape so you can prioritize what saves the most time.
This audit becomes your automation baseline. When you implement auto-publishing and reclaim eight hours per week, you'll have concrete data proving the value. Understanding the difference between content automation vs manual writing helps you identify which tasks benefit most from automation.
Step 2: Choose Your Auto Publishing Platform
Not all auto-publishing platforms are created equal, and choosing the wrong one means rebuilding your workflow six months from now. Let's cut through the noise.
Start with CMS compatibility. If you're running WordPress, you have the most options—native plugins, third-party platforms, and custom API solutions all work seamlessly. Webflow users need platforms with official Webflow integrations or robust API support. Ghost CMS offers clean API access that many automation tools leverage. Custom CMS solutions require platforms with flexible webhook support and REST API capabilities.
The natural question becomes: what features actually matter? Prioritize scheduling flexibility first. You need granular control over publish times, time zone handling, and the ability to set different schedules for different content types. A platform that only offers "publish daily at 9 AM" won't cut it when you want guides on Tuesdays and news updates on Fridays.
Multi-channel support separates good platforms from great ones. Can you publish to your blog and automatically create social snippets? Does it handle newsletter distribution? The more channels you can manage from one dashboard, the more time you save. Explore the best automated content publishing tools to find platforms that match your multi-channel needs.
Content queue management might sound boring, but it's crucial. You need clear visibility into what's scheduled, the ability to reorder posts, and quick editing without breaking the automation. Look for platforms that let you drag and drop content in your queue and make last-minute changes without republishing manually.
Here's where modern platforms get powerful: AI-powered options that combine content generation with auto-publishing create end-to-end automation. Instead of writing content elsewhere and importing it, these platforms generate SEO-optimized articles and publish them automatically. An AI content writer with auto publishing eliminates multiple workflow steps entirely.
One feature that often gets overlooked: IndexNow integration support. This protocol notifies search engines the instant your content goes live, dramatically reducing the time between publication and indexing. Platforms with built-in IndexNow support automate this step, while others require manual configuration.
Test before you commit. Most platforms offer trials—use them to publish test content to a staging site and verify the workflow matches your needs.
Step 3: Connect Your CMS and Configure Integrations
This is where your auto-publishing system goes from concept to reality. The connection between your automation platform and CMS is the foundation everything else builds on.
Start by setting up API connections or native integrations. WordPress users typically install a plugin from their chosen platform, authenticate with an API key, and they're connected in minutes. If you're on WordPress, our guide on automated content publishing to WordPress covers the specific setup steps. Webflow requires generating an API token from your site settings and pasting it into your automation platform. Ghost CMS users create a custom integration through the Ghost admin panel and copy the integration credentials.
Authentication and permissions matter more than you might think. Don't just hand over admin access to your automation platform. Create a dedicated user account with editor-level permissions—enough to publish content but not enough to delete your entire site if something goes wrong. This approach limits risk while maintaining full publishing capabilities.
Before you enable full automation, test the connection with a draft post. Create a simple test article in your automation platform—something like "Test Post - Please Ignore"—and schedule it to publish as a draft in your CMS. Check that it appears correctly, formatting is preserved, and any custom fields or meta data transfer properly.
Here's the thing: connections fail. APIs time out, authentication tokens expire, and CMS updates occasionally break integrations. Set up webhook notifications to track successful publishes and catch failures immediately. Most platforms offer email or Slack alerts when content publishes successfully or when an error occurs.
Configure your webhook to notify you of both successes and failures. During your first week, you want confirmation that each post published correctly. After you build confidence in the system, you can switch to failure-only notifications.
Test the webhook by triggering a manual publish and verifying you receive the notification. Then break the connection intentionally—change your API key to an invalid value—and confirm you get a failure alert. This two-minute test prevents situations where your automation silently fails for days before you notice.
Step 4: Build Your Content Queue and Scheduling Rules
An empty auto-publishing system is just an expensive scheduler. The real power comes from building a content buffer that keeps your pipeline full.
Create a content buffer with 2-4 weeks of posts ready for auto-publishing. This buffer protects you from content creation slowdowns, writer availability issues, or those weeks when strategy work consumes all your time. Think of it like a savings account—you build it up during productive periods and draw from it during busy weeks.
Start by loading your existing unpublished content into the queue. Pull from your drafts folder, completed articles waiting for scheduling, and any evergreen content you've been meaning to publish. Aim for at least ten solid pieces before you activate automation. Building an automated blog content pipeline ensures you never run out of content to publish.
Now define your publishing frequency rules. Daily publishing works for news sites and high-volume blogs, but most businesses perform better with 2-3 posts per week focused on quality over quantity. Consider your audience's consumption patterns—B2B readers often engage more with Tuesday-Thursday content, while consumer audiences show stronger weekend engagement.
Set up category-based scheduling for different content types. Comprehensive guides might publish on Tuesdays when engagement is high and readers have time to digest long-form content. Quick tips or news updates could go out Thursdays for end-of-week reading. Product updates might target Mondays when decision-makers are planning their week.
Configure spacing rules to prevent content cannibalization. If you publish two articles about similar topics on the same day, they compete for attention and search visibility. Most platforms let you set minimum spacing between related categories or tags—use this to ensure each piece gets its moment.
Time zone optimization matters more than most marketers realize. Publishing at 9 AM in your company's timezone might mean 2 AM for half your audience. Set your automation to publish based on your primary audience's timezone, or stagger content for global reach.
The goal is consistent output without overwhelming your audience. Start conservative—you can always increase frequency later.
Step 5: Enable Instant Indexing for Published Content
Publishing content is only half the battle—getting search engines to discover and index it quickly is what drives traffic. Traditional crawl-based discovery can take days or weeks. Instant indexing protocols change that timeline to minutes.
Connect IndexNow or similar protocols to notify search engines immediately upon publish. IndexNow is supported by Microsoft Bing, Yandex, and other search engines, creating a direct notification channel. When your content goes live, IndexNow pings these engines instantly, triggering immediate crawling and indexing.
Setting this up varies by platform. Some auto-publishing tools include built-in IndexNow support—you simply enable it and provide your API key. Others require manual configuration through your CMS. WordPress users can install IndexNow plugins that automatically submit URLs on publication. Custom implementations use the IndexNow API to send POST requests with your published URLs. Check out the best automated content indexing software to find solutions with built-in instant indexing.
Automate sitemap updates to reflect new content within minutes of going live. Your XML sitemap tells search engines what content exists on your site. Static sitemaps that update weekly mean new content sits undiscovered for days. Dynamic sitemaps that regenerate on each publish ensure search engines always see your latest content.
Most modern CMS platforms handle this automatically, but verify your setup. Publish a test post and check your sitemap URL—does the new post appear immediately? If not, configure automatic sitemap generation or use a plugin that handles it.
Set up ping services for secondary discovery channels. While IndexNow handles major search engines, services like Pingmatic notify blog aggregators, RSS readers, and niche search engines. These notifications expand your content's reach beyond traditional search.
Verify indexing status through Search Console to confirm the automation works. Google Search Console shows exactly when Google discovers and indexes your content. After publishing a few auto-published posts, check Search Console to see if they're indexed within hours rather than days. This verification step confirms your instant indexing setup actually delivers results.
The difference is dramatic. Content that might take a week to index traditionally can appear in search results within hours when instant indexing works correctly.
Step 6: Test, Monitor, and Optimize Your Auto-Publish Pipeline
Your automation is configured, but launching at full scale without testing is asking for trouble. A pilot period lets you catch issues before they impact your entire content calendar.
Run a pilot week with 3-5 auto-published posts while monitoring for errors. Choose a mix of content types—a long-form guide, a quick tip, and a news update—to test how your automation handles different formats. Schedule them across different days and times to verify your scheduling rules work correctly.
Watch these posts like a hawk. Check that they publish at the exact scheduled time. Verify formatting remains intact—headings, paragraphs, images, and links all appear correctly. Confirm meta descriptions, featured images, and category assignments transfer properly. Open each post on mobile and desktop to catch responsive design issues.
Track key metrics that reveal system health. Publish success rate is your primary indicator—what percentage of scheduled posts actually go live without errors? Aim for 100%, but anything above 95% is acceptable once you're past initial setup. Time-to-index measures how quickly search engines discover your auto-published content. Traffic to auto-published content compared to manually published posts reveals whether automation impacts performance.
Set up alerts for failed publishes or content stuck in queue. Your automation platform should notify you immediately when a scheduled post doesn't publish. Configure these alerts to escalate if they're not addressed—an email alert that goes to Slack after 30 minutes, then to SMS after an hour ensures critical failures don't slip through.
But wait—monitoring isn't just about catching failures. It's about optimization. After two weeks of auto-publishing, analyze your data. Which publish times generated the most immediate engagement? Did certain content types perform better on specific days? Are there patterns in how quickly different posts get indexed?
Iterate on scheduling rules based on performance data. If Tuesday morning posts consistently outperform Thursday afternoon ones, shift more content to Tuesday. If guides take longer to index than news updates, prioritize instant indexing notifications for guides. If your queue occasionally runs dry, increase your content buffer target from two weeks to three. Developing an automated blog content strategy helps you make data-driven decisions about your publishing schedule.
The goal is continuous improvement. Your first auto-publishing setup won't be perfect—that's expected. What matters is catching issues quickly and refining the system based on real performance data.
Putting It All Together
Your auto publish content system is now operational. Let's verify everything is in place.
Quick checklist: workflow audited and bottlenecks identified, platform selected based on your CMS and feature needs, CMS connected with proper authentication and webhooks configured, content queue built with 2-4 weeks of buffer, scheduling rules defined for consistent publishing, indexing automated through IndexNow or similar protocols, and monitoring active with alerts for failures.
The initial setup takes a few hours, but you'll reclaim that time within the first week of hands-free publishing. Think about it—if you're currently spending eight hours per week on manual publishing tasks, automation pays for itself in days.
Start with a conservative publishing schedule. Two posts per week is a solid baseline that keeps your blog active without overwhelming your content creation capacity. Monitor your metrics for two weeks, then scale up frequency as you build confidence in the system.
The goal isn't just automation—it's freeing yourself to focus on content strategy while your pipeline handles distribution. Instead of spending Tuesday morning scheduling posts, you're analyzing which topics drive the most engagement. Instead of formatting articles on Thursday afternoon, you're planning next month's content calendar. Instead of manually updating sitemaps, you're researching emerging trends in your industry.
This shift from tactical execution to strategic thinking is where auto-publishing delivers its real value. The time savings are measurable and immediate. The strategic advantage compounds over months as you consistently outpace competitors still stuck in manual workflows.
As your content operation matures, consider expanding automation beyond publishing. Modern platforms combine content generation, optimization, and distribution into single workflows. Start tracking your AI visibility today and see exactly where your brand appears across top AI platforms—because auto-publishing is most powerful when paired with visibility into how AI models like ChatGPT and Claude talk about your brand, helping you identify content opportunities and automate your path to organic traffic growth.
Your auto-publishing system is ready. Time to let it run while you focus on what actually moves the needle—creating content that resonates, building relationships with your audience, and growing your brand's presence across both traditional search and emerging AI platforms.