You've just published your most important piece of content this quarter. Your competitors are covering the same topic. Who wins? The one whose content gets discovered first.
Here's the brutal reality: in 2026's AI-saturated content landscape, traditional search engine crawling operates on schedules that work for search engines, not publishers. Your breaking news analysis might sit invisible for days. Your product launch announcement could miss its entire relevance window. Your seasonal content might get discovered after the season ends.
The problem isn't your content quality—it's the discovery gap. Search engines allocate crawling resources based on site authority and historical patterns. If you're running a newer site or publishing in competitive spaces, you're fighting for crawl budget against established players who get checked multiple times daily. Meanwhile, your fresh content sits in digital limbo, generating zero traffic while competitors capture the audience.
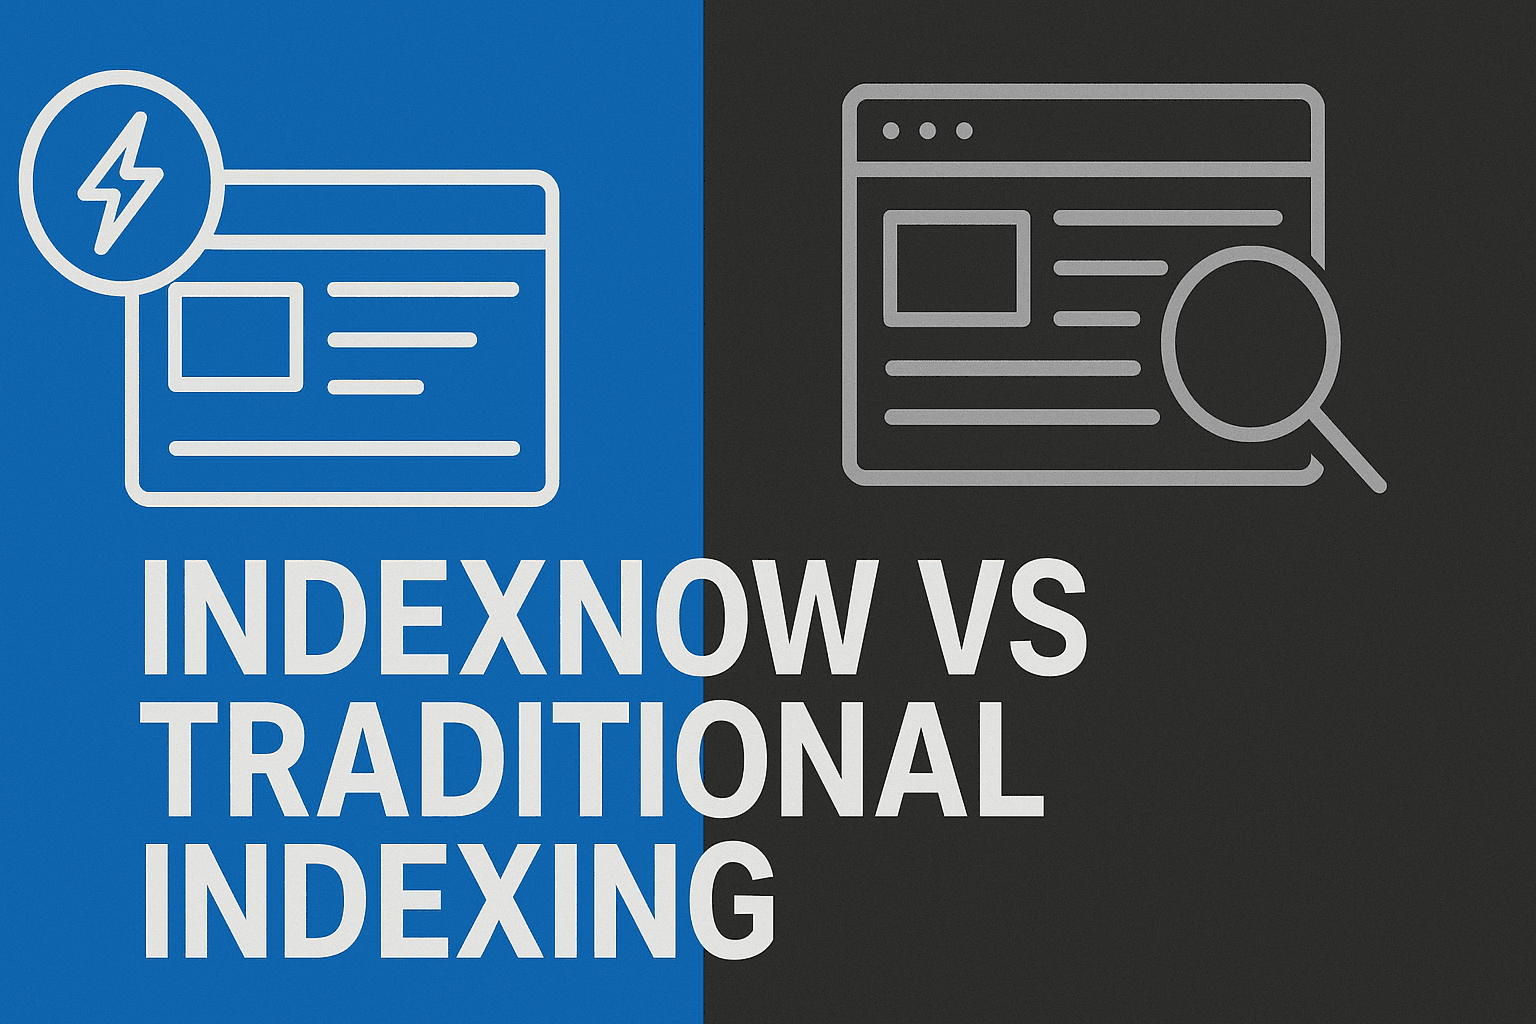
This timing paradox hits hardest exactly when speed matters most. Breaking news loses value exponentially with each passing hour. Product launches have narrow attention windows. Trending topics move faster than traditional crawl cycles. While there are multiple strategies to speed up website indexing, IndexNow represents the most direct and efficient protocol for instant search engine notification.
IndexNow flips this entire dynamic. Instead of waiting for search engines to discover your content, you notify them the moment you publish. It's the difference between hoping someone eventually finds your store versus sending them a direct invitation with your exact address.
The protocol works with major search engines including Bing, Yandex, and others who've adopted the standard. One notification reaches multiple platforms. No complex setup. No ongoing costs. Just instant discovery for every piece of content you publish.
This guide walks you through complete IndexNow implementation—from generating your API key to building automated submission systems that work seamlessly with your content workflow. By the end, you'll have instant search engine notification running automatically, eliminating the discovery gap that's costing you traffic right now.
Let's walk through how to do this step-by-step.
Step 1: Creating and Installing Your IndexNow API Key
Your IndexNow API key is your unique identifier with search engines—think of it as your digital signature that authenticates every content notification you send. Getting this right is non-negotiable because every downstream step depends on proper key setup.
The key itself is a simple text string, but it must follow specific format requirements. Search engines expect a hexadecimal string between 8 and 128 characters long. Most implementations use 32-character keys for the right balance of uniqueness and manageability.
Generating Your Unique API Key
You have three solid options for generating a compliant key. The fastest approach uses an online UUID generator—search for "UUID generator" and you'll find multiple free tools that create properly formatted keys instantly. Just generate a UUID and remove the hyphens to get your hexadecimal string.
If you prefer command-line tools, Linux and Mac users can run this simple command: openssl rand -hex 16. This generates a perfect 32-character hexadecimal key. Windows users can achieve the same result through PowerShell with a similar command.
The third option works for anyone: manually create a random string using characters 0-9 and a-f. While this works, it's the slowest method and introduces human error risk. Stick with automated generation unless you have specific requirements.
Here's what a valid key looks like: a1b2c3d4e5f6g7h8i9j0k1l2m3n4o5p6. Notice it's all lowercase letters (a-f) and numbers (0-9) with no special characters, spaces, or uppercase letters.
Creating and Installing Your Key File
Once you have your key, you need to create a text file that search engines can access. The file name must be your API key with a .txt extension. If your key is a1b2c3d4e5f6g7h8i9j0k1l2m3n4o5p6, your file must be named a1b2c3d4e5f6g7h8i9j0k1l2m3n4o5p6.txt.
Inside this file, place only your API key—nothing else. No explanatory text, no extra spaces, no line breaks. Just the key itself. Save the file with UTF-8 encoding to avoid character issues.
The file must live in your website's root directory. That's the top-level folder where your main index.html or index.php file lives. For WordPress sites, this is typically your public_html or www folder. The file should be accessible at: https://yourdomain.com/a1b2c3d4e5f6g7h8i9j0k1l2m3n4o5p6.txt
Upload the file using your FTP client, file manager in cPanel, or your hosting provider's file upload tool. Make sure file permissions are set to 644 so it's publicly readable but not writable.
Validating Your Installation
Test immediately by visiting your key file URL in a browser. You should see only your API key displayed as plain text. If you see a 404 error, the file isn't in the right location. If you see server errors, check file permissions. This validation step catches 90% of implementation problems before they cause submission failures.
Essential Prerequisites and Platform Compatibility Check
Here's what separates successful IndexNow implementations from failed attempts: preparation. Most implementation problems trace back to missing prerequisites or platform mismatches discovered halfway through setup. Let's eliminate those issues before you write a single line of code.
What You Need Before Starting
IndexNow is one component of comprehensive search engine indexing optimization, and proper implementation requires understanding how it fits into your broader technical SEO infrastructure. You'll need three fundamental access points to your website.
First, server-level file access with upload capabilities. This means FTP credentials, cPanel access, or equivalent file management permissions. You're going to place a text file in your website's root directory, and you need the ability to create and upload files to that exact location.
Second, administrative access to your content management system. Whether you're running WordPress, Shopify, or a custom platform, you need permissions to install plugins, modify publishing workflows, or add custom code. Read-only access won't cut it—you're integrating IndexNow into your content publishing process.
Third, basic understanding of your website's file structure. You don't need to be a developer, but you should know where your root directory lives and how to navigate your site's folder hierarchy. If terms like "public_html" or "www" folder mean nothing to you, spend 10 minutes with your hosting documentation first.
Time expectation: plan for 30-60 minutes for complete implementation. The actual technical work takes 15 minutes. The rest is testing, validation, and troubleshooting if something doesn't work immediately.
Platform Compatibility and Integration Options
IndexNow works across every major platform, but implementation methods vary dramatically. Understanding your platform's capabilities determines which implementation path you'll take.
WordPress users have the easiest path: multiple free plugins handle everything automatically. Install a plugin, add your API key, and you're done. The plugin manages file placement, endpoint configuration, and automatic submissions whenever you publish content.
For maximum search engine visibility, IndexNow works best alongside automated sitemap management—consider integrating sitemap automation software to ensure comprehensive coverage of your content discovery strategy.
Shopify, Wix, and similar hosted platforms require different approaches. These platforms restrict direct file system access, so you'll use app marketplace solutions or API integrations. Check your platform's app store for IndexNow-compatible tools before attempting manual implementation.
Custom CMS or static site generators need code-level integration. You'll implement IndexNow through your build process, deployment pipeline, or content management API. This requires development knowledge but offers maximum control over submission timing and logic.
Headless CMS architectures present unique opportunities. Since content and presentation are separated, you can integrate IndexNow directly into your content API, ensuring every content update triggers search engine notification regardless of where that content appears.
The critical question: can you upload a text file to your website's root directory and access it via direct URL? If yes, you can implement IndexNow. If no, you'll need platform-specific tools or API integrations to handle file management on your behalf.
Step 2: Configuring IndexNow Endpoints and Testing Connectivity
Your API key is installed—now you need to establish the communication channel between your site and search engines. Think of endpoints as the specific addresses where you'll send your content notifications. Getting this configuration right ensures your submissions actually reach search engines instead of disappearing into the void.
Choosing Your Primary Endpoint
Bing's IndexNow endpoint offers the most comprehensive coverage because of its partnership network. When you submit to Bing's endpoint at api.indexnow.org, your notification automatically propagates to all participating search engines. This means one submission reaches multiple platforms—no need to configure separate endpoints for each search engine.
The endpoint URL follows this exact format: https://api.indexnow.org/indexnow?url=[your-url]&key=[your-api-key]. You'll use this structure for every submission, whether manual or automated. Some implementations use Yandex's endpoint (yandex.com/indexnow) for specific geographic targeting, but for most publishers, Bing's endpoint provides maximum reach with minimum complexity.
Rate limiting varies by endpoint, though specific limits aren't publicly documented. The general guidance: batch submissions when possible, and implement exponential backoff if you receive rate limit errors. For typical publishing schedules (under 1,000 URLs per day), you'll never hit limits with standard implementation.
Testing Endpoint Connectivity
Before building automation, verify your endpoint configuration works correctly. The fastest test uses a simple HTTP GET request with your actual URL and API key. Open your browser and navigate to: https://api.indexnow.org/indexnow?url=https://yourdomain.com/test-page&key=your-32-character-key
A successful response returns HTTP 200 with minimal or no body content. That's it—no elaborate JSON response, just a 200 status code confirming the search engine received your notification. If you see 200, your configuration works perfectly.
Common error responses tell you exactly what's wrong. HTTP 400 means malformed request—check your URL encoding and key format. HTTP 403 indicates authentication failure—verify your key file is accessible at yourdomain.com/your-key-filename.txt and contains the exact key you're using in submissions. HTTP 429 means you've hit rate limits—implement delays between submissions.
For command-line testing, use curl for more detailed response information: curl -i "https://api.indexnow.org/indexnow?url=https://yourdomain.com/test-page&key=your-key". The -i flag shows response headers, helping you diagnose issues faster than browser testing.
Test with multiple URLs from your site to confirm consistent success. Try a homepage URL, a blog post, and a category page. All should return 200 responses. If some URLs fail while others succeed, you've likely got URL encoding issues—special characters need proper encoding before submission.
Document your successful test request. You'll use this exact format when building automated submission systems in the next step. The endpoint configuration you've just validated becomes the foundation for all future IndexNow submissions from your site.
Step 3: Implementing Automated URL Submission Systems
Manual IndexNow submissions work for testing, but they fail completely at scale. The moment you're publishing multiple pieces of content daily—or even weekly—manual notification becomes the bottleneck that defeats IndexNow's entire purpose. Automation isn't optional; it's the difference between IndexNow working for you versus becoming another forgotten technical task.
The good news? Most platforms offer straightforward automation paths that require minimal technical knowledge. The key is choosing the right approach for your specific setup and content workflow.
WordPress and CMS Plugin Integration
For WordPress users, plugin-based automation is the fastest path to hands-off IndexNow submissions. The IndexNow plugin (available in the WordPress repository) handles everything automatically once configured. Install it, paste your API key, and every new post or page triggers an immediate search engine notification.
Configuration takes under five minutes. Navigate to the plugin settings, enter your API key from Step 1, and enable automatic submissions. The plugin monitors your content publishing events and fires IndexNow notifications the moment you hit publish.
The plugin handles the technical complexity: it manages rate limiting, queues submissions if endpoints are temporarily unavailable, and logs all activity for troubleshooting. You can review submission history directly in your WordPress dashboard to verify everything's working correctly.
For other CMS platforms, check for native IndexNow support first. Shopify, Wix, and Squarespace have begun integrating IndexNow directly into their platforms. If your CMS lacks built-in support, look for third-party plugins specific to your platform—most major CMSs now have IndexNow extensions available.
Custom Implementation for Advanced Users
Custom code solutions provide maximum control and integration flexibility. If you're running a custom CMS, headless architecture, or need IndexNow to work with specific publishing workflows, building your own integration is straightforward.
The basic implementation requires three components: detecting when content is published or updated, formatting the IndexNow submission payload, and sending the HTTP POST request to your chosen endpoint.
For PHP-based systems, hook into your content save function. When content publishes, extract the URL, format it as a JSON payload with your API key and host information, then use cURL to POST to the IndexNow endpoint. The entire implementation is typically under 50 lines of code.
For publishers using comprehensive content generation software, IndexNow integration should be built directly into your content publishing pipeline, ensuring every piece of content triggers automatic search engine notification without manual intervention.
JavaScript implementations work similarly for static site generators like Gatsby or Next.js. Use build hooks or deploy webhooks to trigger IndexNow submissions whenever your site rebuilds. This ensures even statically generated content gets instant search engine notification.
The critical success factor is error handling. Your implementation must gracefully handle endpoint failures, retry failed submissions, and log errors for troubleshooting. Don't let a temporary API issue create a backlog of unsubmitted URLs—implement exponential backoff retry logic and alert systems for persistent failures.
Test your automation thoroughly before going live. Publish test content, verify submissions appear in your logs, and confirm search engines are receiving your notifications with proper response codes.
Step 4: Monitoring Performance and Troubleshooting Common Issues
IndexNow implementation doesn't end with automation setup. The protocol works silently in the background, which means problems can persist unnoticed for weeks if you're not actively monitoring submission success rates and search engine responses.
Effective monitoring catches issues before they impact your content discovery timeline. The difference between discovering a broken integration after one day versus one month is hundreds of URLs sitting in the discovery gap you implemented IndexNow to eliminate.
Setting Up Submission Monitoring
Your monitoring system needs to track three critical metrics: submission attempts, successful responses, and error rates. Most WordPress plugins include built-in logging that shows submission history with timestamps and response codes. Check these logs weekly at minimum.
For custom implementations, build logging into your submission code from day one. Log every submission attempt with the URL, timestamp, response code, and any error messages. Store these logs where you can easily query them—a simple database table works perfectly for most sites.
Set up alerts for sustained error rates. If your submission success rate drops below 95% for more than 24 hours, something needs attention. Email alerts or Slack notifications ensure you catch problems quickly rather than discovering them during your next manual check.
Search Console integration provides validation that your submissions are actually reaching search engines. While IndexNow doesn't directly report into Search Console, you should see faster indexing patterns for new content after implementation. Compare your average time-to-index before and after IndexNow to quantify the improvement.
Common Problems and Solutions
Authentication failures (HTTP 403) are the most frequent issue. This means search engines can't verify your API key. Check that your key file is accessible at yourdomain.com/your-key.txt and contains exactly your API key with no extra characters or spaces. File permissions should be 644.
Rate limiting errors (HTTP 429) indicate you're submitting too many URLs too quickly. Implement delays between submissions—one request per second is safe for most implementations. If you're batch-submitting large numbers of URLs, spread them across several hours rather than sending everything at once.
Malformed request errors (HTTP 400) usually stem from URL encoding issues. Special characters in URLs need proper encoding before submission. Use your programming language's built-in URL encoding functions rather than manual string manipulation.
If submissions succeed but you're not seeing faster indexing, verify you're submitting the correct URLs. The URL in your IndexNow submission must exactly match the URL search engines should index—including protocol (https://), subdomain (www or not), and any trailing slashes. Mismatches between submitted URLs and actual content URLs render IndexNow ineffective.
For sites using AI SEO software or automated content systems, ensure IndexNow submissions trigger after content is fully published and accessible, not during draft stages or preview modes.
Advanced IndexNow Strategies for Maximum Impact
Basic IndexNow implementation gets your content discovered faster. Advanced strategies ensure you're maximizing the protocol's value across your entire content operation, from breaking news to evergreen updates.
Strategic Submission Timing
Not all content updates deserve immediate IndexNow notification. Breaking news, time-sensitive announcements, and competitive content should trigger instant submissions. But minor typo fixes or formatting adjustments don't require search engine notification—you're just creating unnecessary API traffic.
Implement submission logic that distinguishes between major and minor updates. Major updates include new content, significant rewrites, or substantial additions. Minor updates are spelling corrections, small formatting changes, or metadata adjustments that don't affect the content's core value.
For content with scheduled publication times, trigger IndexNow submissions the moment content goes live, not when you upload it to your CMS. This ensures search engines receive notifications when content is actually accessible, not while it's still in draft or scheduled status.
Batch Submission Optimization
If you're publishing multiple pieces of content simultaneously—like a content series launch or site-wide update—batch your IndexNow submissions rather than firing them individually. The protocol supports submitting multiple URLs in a single request, reducing API overhead and potential rate limiting issues.
Format batch submissions as JSON arrays containing all URLs you want to notify about. This is particularly valuable for sites publishing 10+ articles daily or running large content refreshes across existing pages.
However, don't batch submissions across long time periods. If you publish content throughout the day, submit in small batches (5-10 URLs) rather than accumulating hundreds of URLs for a single end-of-day submission. The goal is fast discovery, and batching defeats that purpose if it introduces delays.
Integration with Content Workflows
The most effective IndexNow implementations integrate directly into content workflows rather than operating as separate systems. When writers publish content, IndexNow should fire automatically without requiring any additional steps or manual triggers.
For teams using AI content strategy tools or editorial calendars, build IndexNow triggers into your publishing workflow. The moment content moves from "scheduled" to "published" status, IndexNow should notify search engines automatically.
Stop guessing how AI models like ChatGPT and Claude talk about your brand—get visibility into every mention, track content opportunities, and automate your path to organic traffic growth. Start tracking your AI visibility today and see exactly where your brand appears across top AI platforms.