Publishing content manually is a time sink that pulls marketers away from strategy and creativity. Every hour spent copying posts between platforms, scheduling social shares, and updating sitemaps is an hour not spent analyzing performance or developing new campaigns. Content publishing automation eliminates these repetitive tasks by creating workflows that move your content from creation to live publication without constant manual intervention.
This guide walks you through building an automated publishing system from the ground up—covering tool selection, workflow design, CMS integration, indexing automation, and performance monitoring. By the end, you'll have a clear roadmap for creating a publishing pipeline that runs on autopilot while you focus on higher-value work.
Think of it like setting up a factory assembly line. Right now, you're probably hand-carrying each piece of content through every station. We're going to build conveyor belts.
Step 1: Audit Your Current Publishing Workflow
Before you automate anything, you need to see exactly where your time goes. Pull up your calendar and content management system, then trace the journey of your last five published pieces from first draft to live URL.
Map every manual touchpoint. Start with the obvious ones: writing in Google Docs, copying into your CMS, uploading featured images, filling in meta descriptions. But don't stop there. What about resizing images before upload? Manually adding internal links? Copying the URL to schedule social posts? Submitting your sitemap to Google Search Console?
Each of these steps represents time you could reclaim.
Now calculate the minutes. Be honest about how long each task actually takes, including the context-switching time when you jump between tools. If you publish three blog posts weekly and each one requires 45 minutes of pure distribution work (separate from writing), that's over two hours per week spent on mechanical tasks. Scale that across a team, and you're looking at dozens of hours monthly.
This becomes your automation ROI baseline. When you implement automated content publishing and reclaim those hours, you'll have concrete proof of value.
Next, identify your bottlenecks. Where does content sit waiting? Common culprits include approval workflows where posts languish in "pending review" status, platform-switching delays when you need to log into five different tools to distribute one piece, and manual sitemap submissions that you forget about until someone asks why the new content isn't ranking yet.
Document your content types and their unique requirements. Blog posts might need category assignment and related post suggestions. Landing pages require specific URL structures and conversion tracking. Product updates need to trigger email notifications. Each content type has its own publishing checklist, and that checklist is your automation blueprint.
Success indicator: You should end this step with a visual workflow map—even a simple flowchart in Google Drawings works—showing every manual step from draft to published. Circle the steps that happen identically every time. Those are your automation targets.
Step 2: Select Your Automation Stack
Your automation stack needs four core components: a content creation tool, a CMS with API access, a scheduling platform, and an indexing solution. The key is choosing tools that actually talk to each other.
Start with your CMS. If you're on WordPress, Webflow, Ghost, or another modern platform, you likely have API access already. Check your CMS documentation for terms like "REST API," "Content API," or "Webhooks." These are the technical bridges that let other tools publish content directly to your site without you touching the admin panel.
For content creation, look for tools that integrate with your CMS or connect through automation platforms. Sight AI's content writer, for example, can push finished articles directly to your CMS with all metadata intact. Google Docs works if you pair it with Zapier or Make to handle the transfer. The goal is eliminating copy-paste entirely.
Evaluate integration capabilities before committing to any tool. A powerful content generator that can't connect to your CMS just creates a different manual task. Check if tools offer native integrations, Zapier connections, or API documentation. If a tool is completely isolated, it's probably not worth adding to your stack.
Consider whether you want an all-in-one platform or a custom stack. All-in-one solutions like Sight AI combine content generation, publishing automation, and indexing in a single interface. Custom stacks using Zapier or Make give you more flexibility but require setup time and ongoing maintenance. For most teams, starting with an integrated platform and expanding strategically makes more sense than building from scratch. You can explore best automated content platforms to compare your options.
Key features to prioritize: direct CMS publishing without manual review steps, IndexNow support for instant search engine notification, bulk scheduling capabilities for planning content weeks in advance, and content queuing that automatically publishes based on your calendar.
Success indicator: You should have a shortlist of two to three tool combinations that cover your entire workflow. Write down exactly how content will flow between them—if you can't draw a clear line from creation to publication, keep researching.
Step 3: Configure CMS Auto-Publishing Connections
Now comes the technical setup that makes everything else possible. You're connecting your content tool to your CMS so articles can publish themselves.
Start by generating API credentials in your CMS. In WordPress, this might mean installing a plugin like Application Passwords or using the built-in REST API authentication. In Webflow, you'll create an API token in your site settings. In Ghost, you'll generate an integration in your admin panel. Each platform has slightly different steps, but they all result in a key or token that authorizes external tools to publish on your behalf.
Copy those credentials into your content tool's integration settings. This is where you'll typically enter your site URL, API key, and sometimes specify which collection or category new content should default to. Test the connection with a draft post before going live—most tools have a "test connection" button that verifies everything is configured correctly.
Configure your default settings carefully. Set up automatic category assignment based on content type or topic tags. Specify author attribution so posts don't all appear under "Admin." Map your featured image requirements—dimensions, file formats, compression levels. Fill in default meta description templates that your tool can populate with content-specific details.
Create content templates that auto-populate required fields. If every blog post needs tags, an excerpt, and a call-to-action section, build those fields into your template. This prevents publishing errors where content goes live missing critical elements. Think of templates as quality control checkpoints that run automatically.
Run a full test cycle. Create a piece of content in your tool, trigger the auto-publish function, and verify that it appears correctly in your CMS with all formatting intact, images in the right places, and metadata filled in. Check it on the front end of your site, not just in the CMS admin. Look for broken formatting, missing images, or incorrect URL structures. For WordPress users specifically, check out our guide on automated blog publishing to WordPress for platform-specific tips.
If something breaks, troubleshoot methodically. Check your API credentials, verify that your CMS permissions allow publishing (not just drafting), and confirm that your content tool is sending data in the format your CMS expects. Most integration issues come down to permission settings or field mapping mismatches.
Success indicator: Content moves from your creation tool to your CMS without you opening the admin panel. You should be able to write an article, click publish, and see it live on your site within seconds—fully formatted, properly categorized, and ready for readers.
Step 4: Build Automated Indexing into Your Pipeline
Publishing content to your CMS is only half the battle. If search engines don't know your content exists, it might as well be invisible. Traditional indexing relies on search engine crawlers discovering your content eventually, which can take hours or even days depending on your site's crawl frequency.
This is where IndexNow changes the game. IndexNow is a protocol supported by Microsoft Bing, Yandex, and other search engines that lets you notify them instantly when you publish, update, or delete content. Instead of waiting for a crawler to stumble across your new article, you ping the search engines directly: "Hey, I just published something new at this URL."
Implementing IndexNow is straightforward. Generate an API key through your search engine webmaster tools or use a plugin that handles it automatically. When your content publishes, your system sends a simple notification to the IndexNow endpoint with your new URL. The search engine receives the ping and prioritizes crawling that specific page.
Set up automatic sitemap updates that trigger with each new publication. Your sitemap is the master index of all your content, and keeping it current ensures search engines always have an accurate map of your site. Modern CMS platforms can regenerate sitemaps automatically when content changes, but verify this is actually happening. Some configurations require manual sitemap submission after updates.
Configure ping services to notify search engines immediately upon publishing. Beyond IndexNow, services like Google's Indexing API (for specific content types) and traditional XML-RPC pings provide additional notification channels. The more ways you tell search engines about new content, the faster it gets indexed. Learn more about how to improve content indexing speed with proven techniques.
The difference is dramatic. Without proactive notification, a new blog post might not appear in search results until the next scheduled crawl of your site. With automated indexing, that same post can show up in search results within minutes of going live. For time-sensitive content or competitive keywords, that speed advantage matters. Consider implementing automated content indexing tools to streamline this process.
Success indicator: New content appears in search indexes within minutes, not days. Test this by publishing a piece with a unique phrase, then searching for that exact phrase in Bing or other IndexNow-supporting engines. If it appears quickly, your automation is working.
Step 5: Create Scheduling Rules and Content Queues
With publishing and indexing automated, you need systems that decide when content goes live. This is where scheduling rules and content queues transform sporadic publishing into a consistent content machine.
Define your optimal publishing cadence based on audience engagement data. Check your analytics to see when your readers are most active. If your traffic peaks Tuesday through Thursday mornings, schedule your best content for those windows. If you're targeting a global audience, consider time zones and stagger publication across different regions.
Set up content queues that automatically publish at predetermined intervals. Load your queue with finished articles, assign each one a category or priority level, and let your system handle the timing. If you publish three times weekly, your queue should always have at least six pieces ready—two weeks of buffer protects you from creation slowdowns. Tools designed for bulk content publishing automation can help manage high-volume queues efficiently.
Create conditional rules for different content types. Time-sensitive content like news commentary or product launches should publish immediately. Evergreen guides and educational content can queue for optimal timing. Seasonal content needs date-specific scheduling. Your automation should route each piece appropriately based on tags or categories you assign during creation.
Build approval workflows that don't create bottlenecks. Traditional approval processes—where content sits in "pending review" until someone clicks approve—defeat the purpose of automation. Instead, implement async review where stakeholders can flag issues but content publishes on schedule unless explicitly stopped. Trust your team and your templates to maintain quality without manual gatekeeping at every step.
Consider load balancing across your content calendar. If you produce content in batches—say, writing five articles in one sprint—your queue should distribute them evenly rather than publishing all five at once. This maintains consistent presence in your audience's feeds and search results.
Success indicator: Content publishes on schedule without daily manual intervention. You should be able to load your queue on Monday with a week's worth of content, and it should distribute itself across your publishing schedule automatically. Check your calendar at week's end—if everything went live as planned, your scheduling automation is working.
Step 6: Monitor, Measure, and Optimize Your Automation
Automation isn't "set it and forget it"—it's "set it and monitor it." You need visibility into what's working, what's breaking, and where you can optimize further.
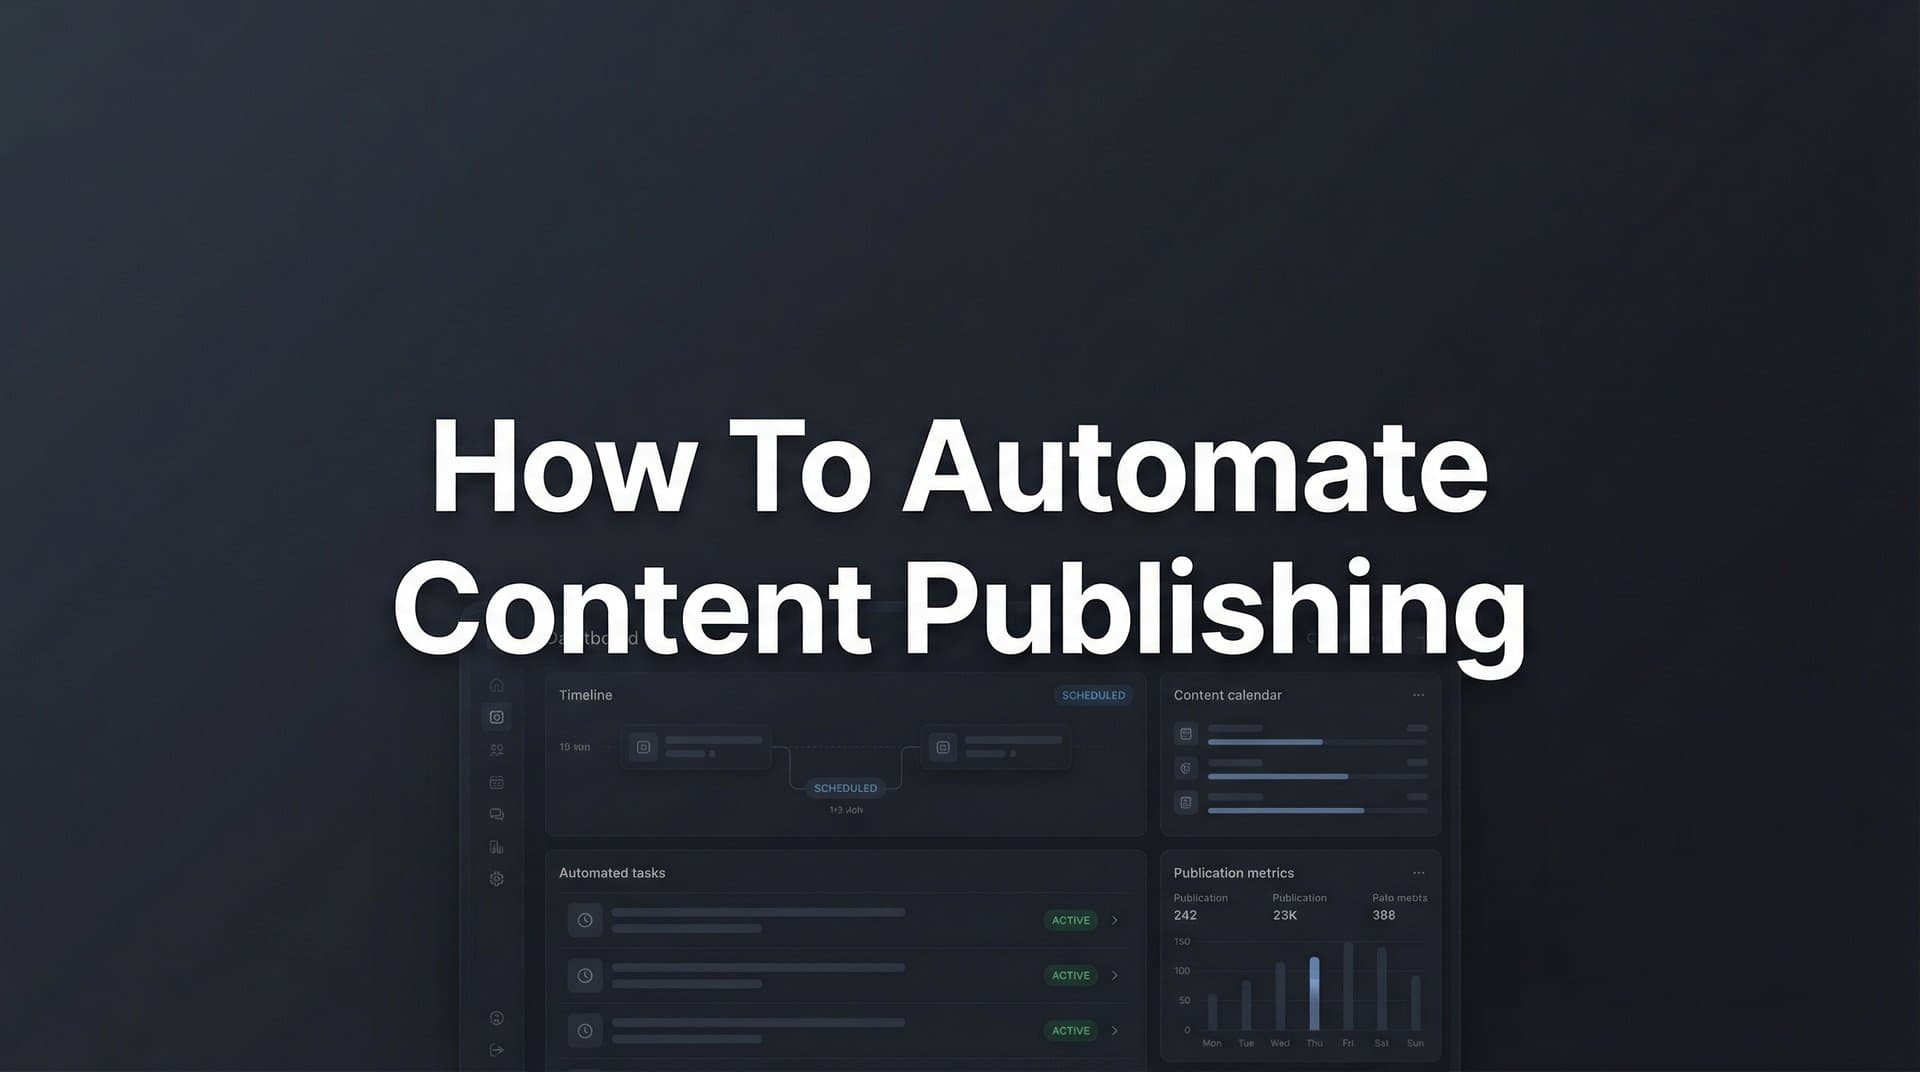
Set up dashboards tracking your key automation metrics. Publishing success rate shows what percentage of queued content actually goes live as scheduled. Indexing speed measures time from publication to search engine visibility. Time saved quantifies the hours you're reclaiming from manual tasks. Error rates reveal where your automation needs refinement. Understanding how to measure content performance will help you build more effective dashboards.
Create alerts for failures before they impact traffic. If a scheduled post doesn't publish, you want to know immediately, not when a reader emails asking where this week's content is. If IndexNow pings are failing, you need alerts so you can troubleshoot before your content sits unindexed for days. Most automation platforms support webhook notifications or email alerts when workflows encounter errors.
Review automation performance weekly during your first month, then shift to monthly reviews once everything stabilizes. Look for patterns in failures—do certain content types consistently cause issues? Do publications fail at specific times? Use these insights to refine your workflows and templates.
Iterate continuously. As you identify remaining manual tasks, add new automations. Maybe you start by automating CMS publishing, then add social media scheduling, then implement automatic internal linking. Each iteration compounds your time savings. The goal is progressive automation, not perfection on day one. Explore automated content distribution systems to expand beyond basic publishing.
Track your time savings with actual data. If you calculated 10 hours weekly spent on manual publishing before automation, measure that same metric monthly after implementation. Document what you're doing with the reclaimed time—better content strategy, deeper performance analysis, new campaign development. This quantifies ROI and justifies expanding your automation stack.
Success indicator: You have quantifiable proof that automation is working. Your dashboard shows consistent publishing, fast indexing, and measurable time savings. When someone asks if the automation investment was worth it, you can point to specific hours reclaimed and traffic improvements from faster indexing.
Putting It All Together: Your Content Automation Checklist
Building a content automation system feels complex when you're staring at the full scope, but breaking it into sequential steps makes it manageable. Here's your quick-start checklist to keep you on track:
□ Current workflow audited with time-per-task documented
□ Automation stack selected with confirmed integrations
□ CMS auto-publishing configured and tested
□ IndexNow and sitemap automation active
□ Publishing schedule and content queues established
□ Monitoring dashboard tracking key metrics
Start with Steps 1 through 3 this week to establish your foundation. Audit your workflow, choose your tools, and get CMS publishing working. These three steps alone will eliminate the majority of your manual work. Then layer in indexing and scheduling automation over the following week.
The goal isn't to automate everything on day one—it's to systematically eliminate manual work until publishing runs itself. Each step builds on the previous one, creating a publishing pipeline that gets more efficient with every iteration.
Track your time savings monthly to quantify the ROI and justify expanding your automation stack. When you can show concrete evidence that automation reclaimed 15 hours monthly, getting approval for additional tools or integrations becomes straightforward.
Remember that automation serves your content strategy, not the other way around. The hours you reclaim should go toward creating better content, analyzing what's working, and developing campaigns that actually move your business forward. That's where the real value lives.
But here's something most automation guides don't tell you: the content you publish still needs to reach the right audiences. While you're building publishing automation, you should also be tracking how AI models like ChatGPT and Claude talk about your brand. These platforms are becoming primary research tools, and if your content isn't optimized for AI visibility, you're missing a massive opportunity.
Start tracking your AI visibility today and see exactly where your brand appears across top AI platforms. Combine automated publishing with AI visibility tracking, and you'll have a complete system that not only publishes content efficiently but ensures it reaches audiences through both traditional search and emerging AI channels.
Your automated publishing system is the foundation. What you build on top of it—the strategy, the optimization, the continuous improvement—that's where you'll see exponential returns on the time you've reclaimed.