Publishing content consistently is one of the biggest challenges for marketers and agencies managing multiple clients. You've created great content, but the manual process of logging into WordPress, formatting posts, adding images, and hitting publish eats up hours every week. Automated blog publishing to WordPress eliminates this bottleneck entirely.
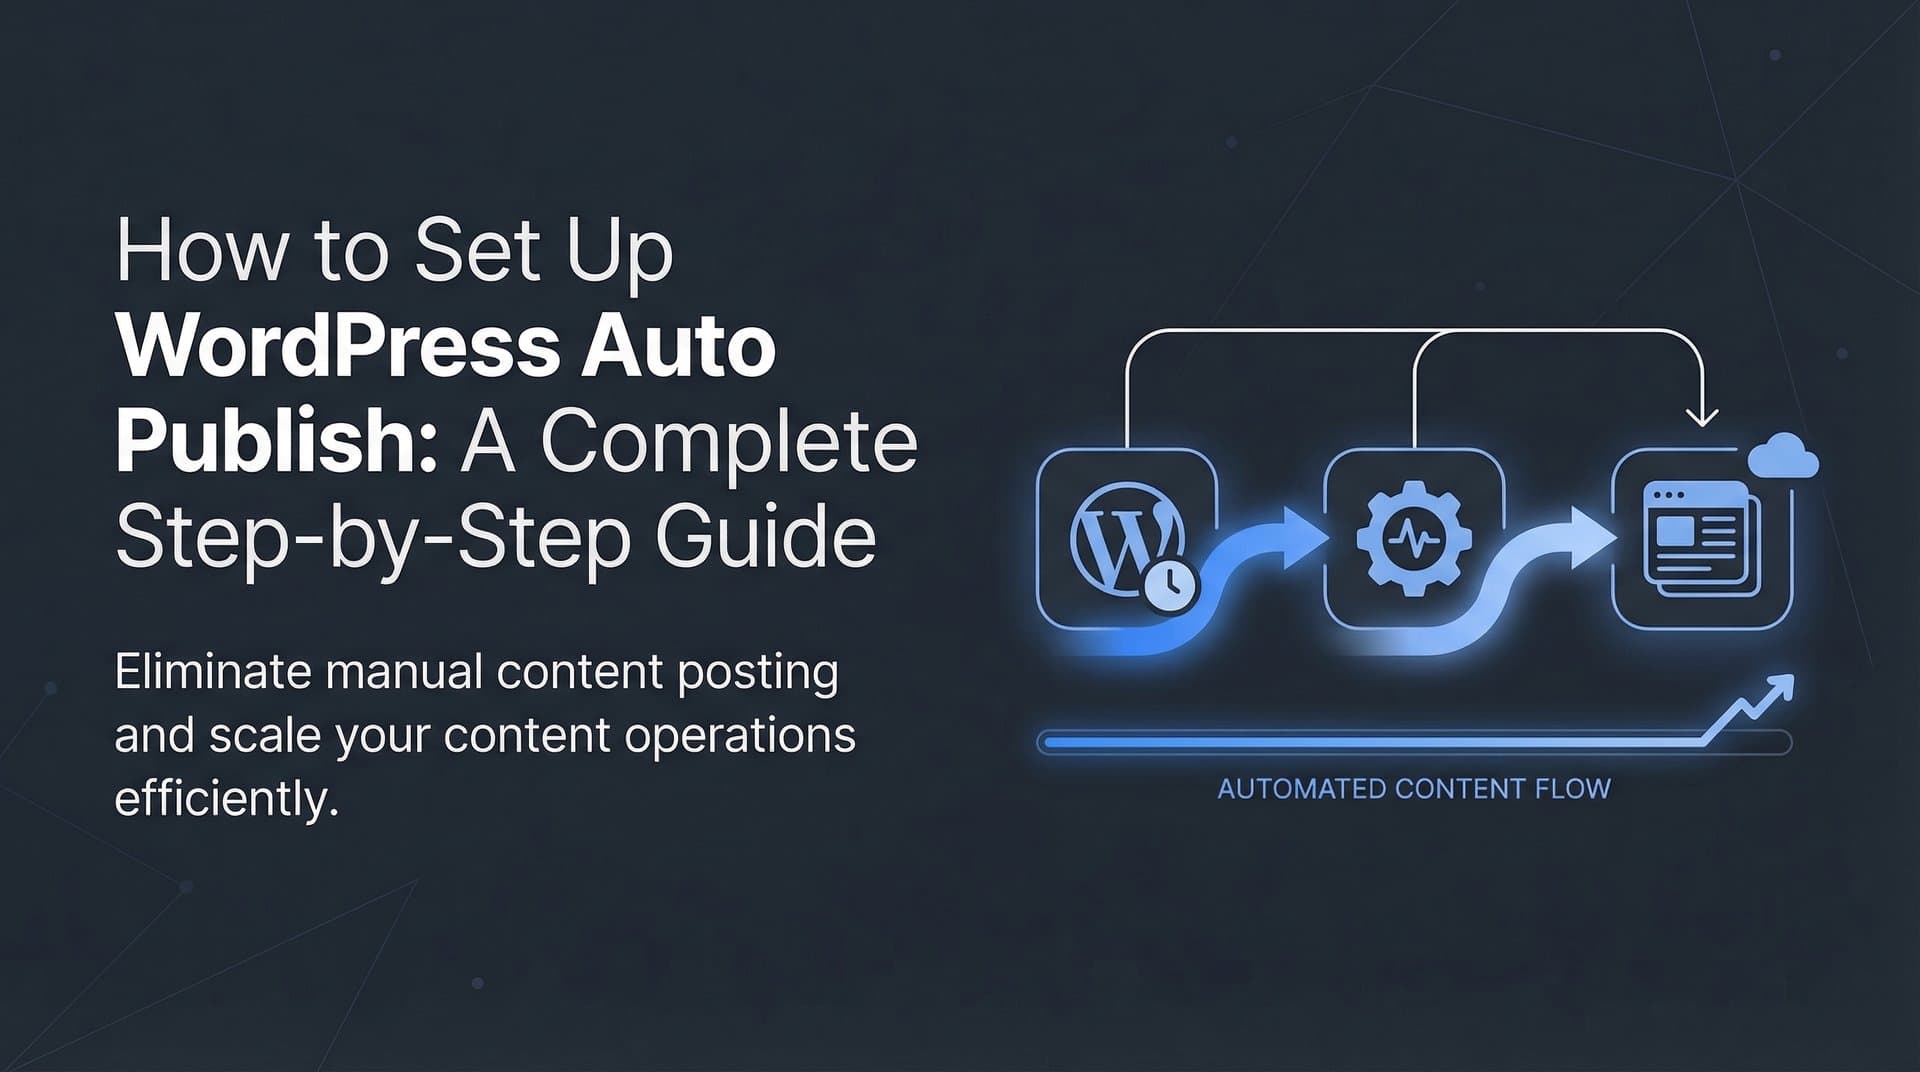
Instead of copying and pasting content between tools, you can create a seamless pipeline that takes your articles from creation to publication without manual intervention. This guide walks you through setting up automated WordPress publishing from scratch—whether you're using native integrations, API connections, or dedicated content platforms.
By the end, you'll have a working automation that publishes content on your schedule while you focus on strategy and growth.
Step 1: Audit Your Current Publishing Workflow
Before automating anything, you need to understand exactly what you're automating. Map out every step in your current content-to-publish process. This typically includes writing, editing, formatting, uploading to WordPress, adding images, setting categories and tags, configuring SEO fields, and scheduling publication.
The biggest time sinks usually hide in plain sight. Formatting content from Google Docs or other writing tools into WordPress often requires fixing broken formatting, adjusting heading styles, and cleaning up spacing issues. Image handling is another major bottleneck—downloading images, uploading them to WordPress, setting featured images, and adding alt text can take 10-15 minutes per post.
Document your WordPress setup thoroughly. Note your hosting provider, because some hosts have security configurations that affect API access. List every plugin you're running, particularly security plugins like Wordfence or Jetpack, which may flag automated publishing as suspicious activity. Record your user roles and permissions—you'll need administrator access to create application passwords later.
Determine your publishing volume and frequency. Are you publishing three posts per week or thirty? Managing a single site or ten client sites? This matters because different automation approaches scale differently. A Zapier workflow might work fine for occasional publishing but becomes expensive at high volumes, while a native integration handles unlimited posts at a flat rate.
Take screenshots of your current process and time yourself completing a full publish cycle. This baseline measurement will prove the value of your automation later when you can show "we went from 45 minutes per post to 2 minutes."
Step 2: Choose Your Automation Method
Three main approaches exist for automating WordPress publishing, each with distinct advantages. Your choice depends on technical skill, budget, and how much control you need over the process.
Option A: Native CMS Integrations Platforms built specifically for content workflows often include direct WordPress publishing. Tools like Sight AI's content writer publish directly to WordPress with pre-configured field mapping and automatic indexing. The advantage is simplicity—connect once, publish forever. These integrations typically handle image uploads, meta descriptions, categories, and featured images automatically. They're purpose-built for content teams, so they anticipate common issues like HTML formatting preservation and SEO field population.
Option B: Zapier or Make Workflows General automation platforms let you connect almost any content tool to WordPress. You create a "zap" or "scenario" that triggers when new content appears in your source system, then creates a WordPress post. This approach offers maximum flexibility—you can connect Google Sheets, Airtable, Notion, or custom databases to WordPress. The downside is complexity. You'll manually map every field, handle image uploads separately, and troubleshoot authentication issues yourself. Cost scales with usage, which can become expensive at high publishing volumes.
Option C: WordPress REST API Custom Integration If you have development resources, building directly on the WordPress REST API gives you complete control. You can create exactly the workflow you need, handle edge cases specific to your setup, and avoid ongoing subscription costs. This requires PHP or JavaScript knowledge and ongoing maintenance as WordPress updates. It's overkill for most teams but makes sense for agencies with unique requirements or very high publishing volumes.
Compare these options based on your situation. If you're non-technical and publishing regularly, native integrations offer the best reliability-to-effort ratio. If you're connecting unusual systems or need custom logic, Zapier/Make provides flexibility. If you're a development team building a proprietary content system, the REST API gives you full control.
Most teams should start with native integrations or Zapier, then move to custom development only if those options don't meet specific needs.
Step 3: Configure WordPress for Automated Publishing
WordPress has supported automated publishing through its REST API since version 4.7, but you need to configure a few settings before external systems can publish content. The good news is that the REST API is enabled by default in modern WordPress installations—you don't need to install additional plugins or modify code.
Your first task is creating a dedicated application password for your automation. This is different from your regular WordPress login password. Application passwords let external applications authenticate without exposing your main credentials. To create one, log into WordPress as an administrator and navigate to Users, then click your profile. Scroll down to the Application Passwords section.
Give your application password a descriptive name like "Content Automation" or "Sight AI Publisher" so you remember what it's for later. Click Add New Application Password, and WordPress generates a long random string. Copy this immediately and store it securely—WordPress won't show it again. This password works only for API authentication, not for logging into the WordPress admin, which limits security risk if it's ever compromised.
Next, audit your installed plugins for potential conflicts. Security plugins like Wordfence sometimes flag API requests as suspicious and block them. If you're using Wordfence, you may need to whitelist your automation tool's IP addresses or adjust the firewall rules. Jetpack's security features can also interfere with REST API access. Check your plugin settings and temporarily disable aggressive security rules while testing your automation.
Set up default categories, tags, and author assignments for automated posts. In Settings > Writing, you can configure defaults that apply when your automation doesn't specify these fields. This prevents posts from ending up in "Uncategorized" or assigned to the wrong author. Create a dedicated author account for automated posts if you want to distinguish them from manually published content.
If you're using Yoast SEO or another SEO plugin, verify that it supports REST API access to its meta fields. Modern versions of Yoast expose their fields through the API, allowing your automation to set meta descriptions, focus keywords, and other SEO data. Older versions may require manual updates.
Step 4: Connect Your Content Source to WordPress
The connection process varies significantly based on which automation method you chose, but the underlying principle remains the same: authenticate your content source with WordPress, then map content fields so information flows to the right places.
For native integrations like Sight AI's content platform, the process is straightforward. In your content platform's settings, find the WordPress integration section. Enter your WordPress site URL—make sure you include the full URL including https://. Then paste the application password you created in Step 3. The platform typically tests the connection immediately and confirms whether authentication succeeded.
These native integrations usually auto-detect your WordPress configuration, including installed plugins and available categories. They'll show you a field mapping interface where you can specify which content elements go where. Map your article title to the WordPress post title, your article body to the post content, and your meta description to Yoast's meta description field if you're using that plugin.
For Zapier or Make workflows, you're building this mapping manually. Create a new zap and select your content source as the trigger—this might be "New Row in Google Sheets" or "New Document in Notion." Then add a WordPress action: "Create Post." Zapier will prompt you to connect your WordPress site by entering your site URL, username, and application password.
The critical step is field mapping. Zapier shows you all available WordPress fields on the left and your content source fields on the right. Map them carefully. Your content's title field should map to WordPress's Post Title. Your article body maps to Post Content. If your content source includes categories or tags, map those to WordPress's taxonomy fields. For featured images, you'll need to provide a direct URL to the image file—Zapier can't upload images from your computer, so they must already be hosted somewhere accessible.
Pay special attention to HTML formatting. If your content source outputs rich text or Markdown, ensure your automation converts it to HTML that WordPress understands. Some tools do this automatically, others require you to specify the format. Test with a simple post that includes bold text, headings, and a link to verify formatting survives the journey.
Before going live, test the connection with a draft post. Most platforms let you specify whether automated posts should publish immediately, schedule for later, or save as drafts. Start with drafts so you can review the output in WordPress before it goes live. Publish your test post through the automation, then check WordPress to verify everything appeared correctly.
Step 5: Set Up Scheduling and Publishing Rules
Automation without strategy just means you're publishing chaos faster. Configure when and how your content publishes to maintain consistency and quality. The goal is creating a predictable publishing cadence that serves your audience while giving you flexibility to adjust as needed.
Start by deciding your publication timing approach. Immediate publishing works well when you're confident in your content quality and want posts live as soon as they're created. Scheduled publishing lets you maintain a consistent calendar—publish every Tuesday and Thursday at 9 AM, for example. Draft mode gives you a review step where automated posts land in WordPress as drafts, and you manually publish after a final check.
Most content teams benefit from a hybrid approach. Routine content like weekly roundups or product updates can publish immediately, while in-depth guides or thought leadership pieces go to drafts for review. Configure these rules in your automation platform based on content type, category, or custom fields.
Content queues are powerful for maintaining publishing consistency. Instead of publishing everything as soon as it's ready, queue content and release it at predetermined intervals. If you create five articles on Monday but want to publish one per day throughout the week, a queue handles this automatically. Some platforms let you set rules like "publish one post from the queue every weekday at 10 AM." Implementing a reliable blog content scheduler can transform how you manage your editorial calendar.
Create publishing rules for different content types. Guides might publish on Tuesdays when your audience has time to read long-form content. Listicles could go out on Fridays for lighter weekend reading. Product announcements publish immediately because timing matters. These rules turn your content calendar from a manual spreadsheet into an automated system.
Enable notifications so you know what's happening. Configure your automation to email you when posts publish successfully, when they fail, or when they're queued for review. This visibility prevents surprises—you won't discover a week later that your automation stopped working because of an authentication error.
Step 6: Test and Troubleshoot Your Automation
Testing separates working automation from broken automation that wastes more time than it saves. Run a complete test cycle from content creation through published post, checking every element along the way. Don't assume anything works until you've verified it.
Create a test post that includes every element you'll use in real content. Add multiple headings, bold and italic text, bulleted lists, links, and at least one image. Include special characters and formatting edge cases. Set categories, tags, and a meta description. Then publish this test post through your automation and examine what appears in WordPress.
Check formatting first. Do headings appear at the correct levels? Is bold text actually bold? Did links survive the transfer? HTML formatting problems are the most common automation issue. If formatting breaks, you may need to adjust how your content source exports HTML or how WordPress interprets it.
Verify image handling next. Did your featured image upload correctly? Does it appear at the right size? Are image alt texts preserved? Image upload failures happen frequently, often because the automation can't access the image URL or the file size exceeds WordPress limits. If images fail, check that image URLs are publicly accessible and consider resizing large images before upload.
Confirm that meta data populated correctly. Check your post's categories, tags, author assignment, and publication date. If you're using Yoast SEO, verify that meta descriptions, focus keywords, and social media previews all appeared. Missing meta data usually indicates incorrect field mapping—go back to Step 4 and adjust your mappings.
Common authentication errors occur when application passwords expire or security plugins block API requests. If your automation suddenly stops working after running successfully, check whether WordPress security settings changed or whether a plugin update modified API access. Wordfence and similar security plugins often flag automated publishing as suspicious activity and block it without notification.
Test that indexing automation triggers post-publish. If you're using IndexNow or automated sitemap updates, verify that new posts trigger these systems. Check your sitemap to confirm new posts appear, and monitor your indexing dashboard to see if search engines receive notifications. Fast indexing is a key benefit of automated blog publishing—don't lose it to misconfiguration.
Your Publishing Engine is Live
With automated blog publishing configured, you've eliminated one of the most time-consuming parts of content marketing. Your content now flows from creation to your WordPress site without manual copying, formatting, or scheduling. This isn't just about saving time—it's about creating consistency and removing friction from your content workflow.
Quick checklist to verify your setup is production-ready. WordPress application password created and stored securely in your password manager. Content source connected and authenticated with successful test posts. Field mapping tested for title, body, categories, tags, featured images, and meta descriptions. Scheduling rules configured for your publishing cadence with appropriate review workflows. Test post successfully published with correct formatting, images, and SEO fields populated.
The next step is optimizing what happens after publication. Automated publishing is only half the equation—you also need search engines to discover your new content quickly. Ensure your WordPress site uses automated sitemap updates and IndexNow integration so that new posts get indexed within hours instead of days. This combination of consistent automated content publishing and fast indexing creates a content engine that compounds your organic traffic over time.
But here's what most marketers miss: publishing content is just the beginning. In 2026, AI models like ChatGPT, Claude, and Perplexity are answering millions of queries every day—and they're either mentioning your brand or they're not. Start tracking your AI visibility today and see exactly where your brand appears across top AI platforms. Stop guessing how AI models talk about your brand and get visibility into every mention, track content opportunities, and automate your path to organic traffic growth. Your automated publishing workflow ensures consistent content creation, but AI visibility tracking shows you whether that content is actually getting your brand mentioned where it matters most.