Your content calendar shows 20 articles scheduled for this month. Your team has written 18 of them. They're sitting in Google Docs, perfectly researched and beautifully written. But here's the problem: only 6 have actually been published.
The bottleneck isn't the writing. It's everything that comes after.
Your content manager spends 3 hours formatting each article for WordPress. Your designer queues up featured images while juggling five other projects. Your SEO specialist manually adds meta descriptions, internal links, and schema markup. Your social media coordinator creates promotional posts for each piece. By the time one article goes live, you're already behind on the next one.
This is the content publishing time trap, and it's costing you more than missed deadlines. Every day your content sits unpublished, your competitors are ranking for your target keywords. Your audience is finding answers elsewhere. Your content investment is generating zero return.
The math is brutal: if your team spends 8 hours writing an article but 12 hours publishing it, you're spending 60% of your content budget on logistics instead of strategy. Scale that across 20 articles per month, and you're burning 240 hours on tasks that could be automated.
But here's what most content teams don't realize: the publishing workflow you're manually executing right now can run on autopilot. Not with a patchwork of disconnected tools that create new problems. With a systematic automation approach that transforms your team from manual publishers into strategic orchestrators.
By the end of this guide, you'll have a complete blueprint for automated content publishing—from the moment your content is created to the second it appears on your website, social channels, and AI search platforms. You'll learn how to build the infrastructure, configure the automation, and scale the system without sacrificing quality or brand consistency.
Let's walk through how to build this automated publishing system step-by-step.
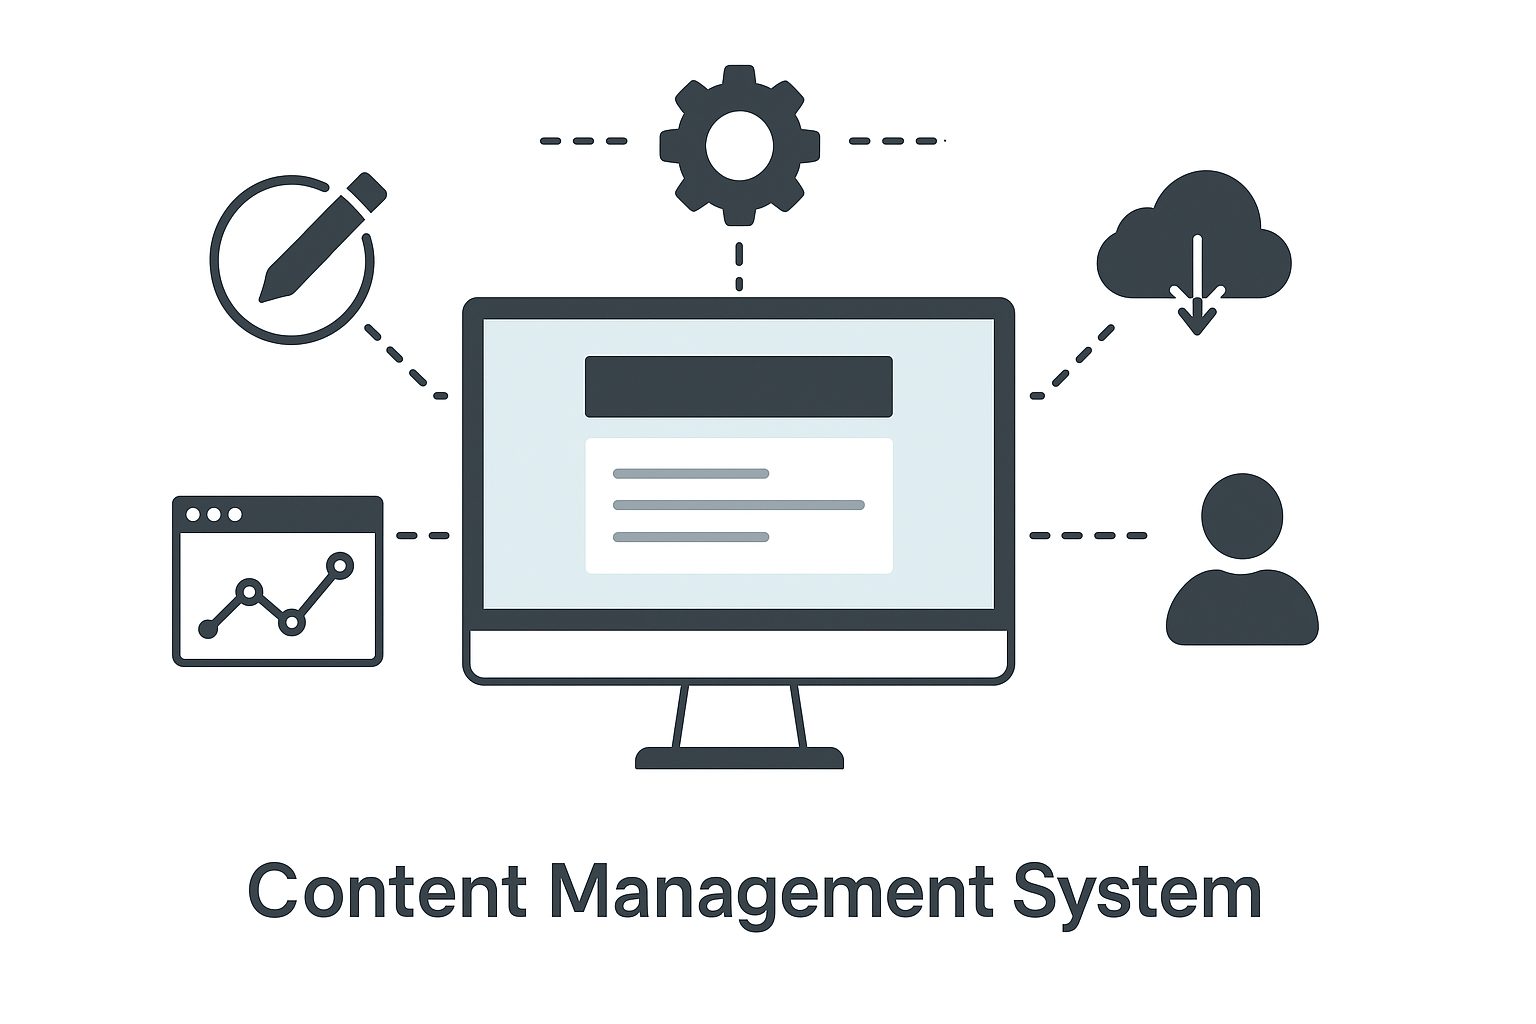
Step 1: Choose Your Content Management System Foundation
Your automation infrastructure starts with selecting the right content management system. This isn't about picking the most popular platform—it's about choosing the system that supports programmatic publishing through robust APIs and webhook capabilities.
WordPress remains the dominant choice for automated publishing, powering 43% of all websites. The platform's REST API enables full CRUD operations (Create, Read, Update, Delete) on posts, pages, media, and metadata. You can programmatically publish content, upload images, assign categories, add tags, and configure SEO settings without touching the dashboard.
But WordPress isn't your only option. Webflow offers a sophisticated CMS API that supports automated publishing with design flexibility. Contentful provides a headless CMS architecture that separates content from presentation, ideal for multi-channel publishing. Ghost delivers a streamlined API focused specifically on publishing workflows.
The critical evaluation criteria for your CMS selection include API completeness (can you automate every publishing task?), authentication security (OAuth 2.0 or API key management), rate limiting (how many automated requests per hour?), webhook support (real-time notifications for content events), and plugin ecosystem (pre-built integrations with automation tools).
For WordPress specifically, you'll need to enable the REST API (enabled by default in WordPress 4.7+), install an authentication plugin like Application Passwords or JWT Authentication, and configure user permissions to allow API access. Your automation system will authenticate using these credentials to publish content programmatically.
The CMS you choose becomes your publishing endpoint—the destination where your automated content workflow delivers finished articles. Every subsequent automation step builds on this foundation, so invest time in proper configuration now to avoid migration headaches later.
Step 2: Set Up Your Content Creation Pipeline
Your content creation pipeline determines what gets published and when. This is where you transform content ideas into publication-ready articles that flow automatically into your CMS.
Start by establishing your content source. Many teams use ai content creation tools that generate articles based on keyword targets and content briefs. Others integrate with human-written content stored in Google Docs, Notion, or dedicated writing platforms. The key is creating a consistent content format that your automation can reliably process.
Your content pipeline needs a structured workflow with clear stages: draft creation, editorial review, SEO optimization, and publication approval. Each stage should have defined triggers that move content to the next step. For example, when a writer marks a Google Doc as "Ready for Review," that triggers the editorial stage. When an editor approves the content, that triggers SEO optimization.
Implement a content queue system that manages publication timing. This queue holds approved articles and releases them according to your publishing schedule—whether that's daily at 9 AM, three times per week, or based on traffic patterns. Your automation pulls from this queue and publishes content without manual intervention.
For teams using ai content writer tools, the pipeline includes content generation parameters: target keywords, article length, tone of voice, and structural requirements. These parameters ensure consistency across all automated content while maintaining quality standards.
The content creation pipeline also handles asset management. Featured images, in-article graphics, screenshots, and diagrams need to be generated or selected, optimized for web delivery, and associated with the correct article. Your automation should handle image processing—resizing, compression, alt text generation—before publication.
Build in quality checkpoints that prevent substandard content from reaching publication. These might include automated readability scoring, plagiarism detection, broken link checking, and brand guideline compliance. Content that fails these checks gets flagged for human review rather than automatically published.
Step 3: Configure Your Publishing Automation Platform
Your publishing automation platform connects your content pipeline to your CMS, executing the actual publication process. This is the orchestration layer that transforms approved content into live articles.
Zapier, Make (formerly Integromat), and n8n represent the three primary automation platforms for content publishing. Zapier offers the simplest setup with 5,000+ pre-built integrations but limited customization. Make provides more complex workflow capabilities with conditional logic and data transformation. n8n delivers self-hosted automation with complete control but requires technical setup.
Your automation workflow should follow this sequence: trigger detection (new content in queue), content retrieval (pull article data and assets), content formatting (convert to HTML, apply styling), metadata preparation (SEO fields, categories, tags), media upload (featured image and in-article images), content publication (create post via API), and confirmation logging (record successful publication).
When you automate content creation and publishing together, you create an end-to-end system that requires minimal human intervention. The automation platform becomes your content operations center, managing the entire flow from creation to publication.
Configure error handling for common failure scenarios: API authentication errors, rate limit exceeded, missing required fields, image upload failures, and network timeouts. Your automation should retry failed operations, log errors for review, and alert your team when manual intervention is required.
Set up scheduling logic that respects your publication calendar. If your queue contains 10 articles but you only publish twice weekly, your automation should space publications accordingly. Include logic for priority content that bypasses the normal schedule for time-sensitive topics.
Implement version control that tracks content changes. Before publishing updates to existing articles, your automation should save the previous version. This creates an audit trail and enables quick rollback if updates introduce problems.
Step 4: Automate SEO Optimization and Metadata
SEO optimization transforms good content into discoverable content. Your automation should handle all technical SEO requirements before publication, ensuring every article is optimized for search engines and AI platforms.
Start with automated meta description generation. Your system should extract the article's key points and create a compelling 150-160 character description that includes your target keyword. This can be done through AI summarization or by pulling the first paragraph and optimizing it for search snippets.
Title tag optimization ensures your headlines are search-friendly. Your automation should verify title length (50-60 characters), confirm target keyword placement, and add modifiers like "Guide," "2025," or "Step-by-Step" that improve click-through rates. If the original title exceeds length limits, the system should intelligently truncate while preserving meaning.
Internal linking automation identifies relevant existing content and adds contextual links within your new article. The system scans your content for keywords that match other published articles, then inserts links with appropriate anchor text. This builds your site's link architecture without manual link building.
Schema markup generation adds structured data that helps search engines understand your content. For articles, this includes Article schema with headline, author, publication date, and featured image. For how-to guides, add HowTo schema with step-by-step instructions. For reviews, include Review schema with ratings and product details.
Image optimization automation handles alt text generation, file name optimization, and image compression. Your system should analyze each image, generate descriptive alt text that includes relevant keywords, rename files from "IMG_1234.jpg" to "automated-content-publishing-workflow.jpg," and compress images to reduce page load time.
URL slug optimization ensures clean, keyword-rich URLs. Your automation should convert article titles into URL-friendly slugs, remove stop words, handle special characters, and verify uniqueness. The slug should be readable, concise, and include your target keyword.
Category and tag assignment can be automated through keyword analysis. Your system examines article content, identifies primary topics, and assigns appropriate categories and tags from your taxonomy. This maintains consistent content organization without manual classification.
Step 5: Implement Multi-Channel Distribution
Publishing to your website is just the beginning. Your automation should distribute content across all channels where your audience discovers information—social media, email, AI search platforms, and content syndication networks.
Social media automation publishes promotional posts to LinkedIn, Twitter, Facebook, and other platforms immediately after article publication. Your system should customize the message for each platform: LinkedIn gets professional framing with key insights, Twitter gets attention-grabbing hooks with relevant hashtags, Facebook gets community-focused messaging with questions that encourage engagement.
Email distribution sends new content to your subscriber list through your email marketing platform. Your automation should segment subscribers based on content preferences, personalize subject lines with subscriber data, and schedule sends for optimal open rates. Include article summaries, featured images, and clear calls-to-action that drive traffic back to your site.
AI search optimization submits your content to platforms like Perplexity, SearchGPT, and other AI-powered search engines. These platforms increasingly serve as discovery channels, so your automation should format content for AI consumption, submit sitemaps, and monitor indexing status.
Content syndication networks like Medium, LinkedIn Articles, and industry-specific platforms can extend your reach. Your automation should republish content to these platforms with canonical tags pointing back to your original article, preserving SEO value while reaching new audiences.
RSS feed updates happen automatically when you publish, but your automation should verify feed validity, submit updates to feed aggregators, and notify feed subscribers. Many readers still discover content through RSS, making this a valuable distribution channel.
Slack and team communication tools should receive publication notifications so your team knows when content goes live. Include article links, performance dashboards, and next steps for promotion. This keeps everyone aligned on content operations without manual status updates.
Step 6: Set Up Performance Monitoring and Analytics
Your automated publishing system needs visibility into performance metrics. Without monitoring, you can't identify problems, optimize workflows, or demonstrate ROI.
Publication success tracking monitors every automated publication attempt. Your system should log successful publications, record failures with error details, track publication timing, and measure time from content creation to live publication. This data reveals bottlenecks and reliability issues.
Content performance analytics track how published articles perform. Integrate with Google Analytics to monitor page views, time on page, bounce rate, and conversion events. Track search rankings for target keywords. Monitor social engagement metrics like shares, comments, and click-through rates. This data informs content strategy and identifies high-performing topics.
SEO monitoring tracks search visibility for your automated content. Monitor keyword rankings, organic traffic growth, featured snippet appearances, and backlink acquisition. Compare performance between automated and manually published content to validate your automation quality.
System health monitoring ensures your automation infrastructure remains operational. Track API response times, error rates, rate limit consumption, and system uptime. Set up alerts for critical failures that require immediate attention.
Cost tracking measures the financial efficiency of your automation. Calculate cost per published article, including platform fees, API usage, and infrastructure costs. Compare this to your previous manual publishing costs to quantify ROI.
Quality metrics assess whether automation maintains content standards. Track readability scores, SEO optimization completeness, image quality, and user engagement signals. If quality metrics decline, adjust your automation parameters or add additional quality checkpoints.
Step 7: Scale Your Automation System
Once your core automation is operational, scaling means increasing publication volume while maintaining quality and efficiency.
Content velocity scaling increases your publication frequency. If you're currently publishing 5 articles per week, your automation can handle 20+ with the same team resources. The key is ensuring your content creation pipeline can feed the increased publication rate. When automating content creation processes, you remove the bottleneck that prevents scaling.
Multi-site publishing extends your automation to manage multiple websites from a single system. If you operate several brands or regional sites, your automation should handle content distribution, localization, and site-specific customization. This transforms your team from managing individual sites to orchestrating a content network.
Content format expansion adds new content types to your automation. Start with standard articles, then add support for case studies, whitepapers, product comparisons, and data-driven reports. Each format requires specific templates and automation logic, but the core publishing infrastructure remains the same.
Team collaboration scaling adds more content creators, editors, and strategists to your workflow without increasing complexity. Your automation should handle role-based permissions, parallel workflows, and content approval routing. As your team grows, automation prevents coordination overhead from slowing publication.
Integration expansion connects additional tools to your automation ecosystem. Add best content ai tools for enhanced content generation, connect advanced SEO platforms for deeper optimization, integrate customer data platforms for personalization, and link project management tools for workflow visibility.
Stop guessing how AI models like ChatGPT and Claude talk about your brand—get visibility into every mention, track content opportunities, and automate your path to organic traffic growth. Start tracking your AI visibility today and see exactly where your brand appears across top AI platforms.