You've just finished writing a great blog post. Now comes the tedious part: logging into your CMS, copying the content, formatting headings, adding meta descriptions, uploading images, setting categories, scheduling the publish time, and finally hitting that button. Twenty minutes later, you're done with one article. If you're publishing three posts a week, that's an hour of pure manual labor. Scale that to daily publishing, and you're looking at multiple hours every week spent on repetitive tasks that add zero creative value.
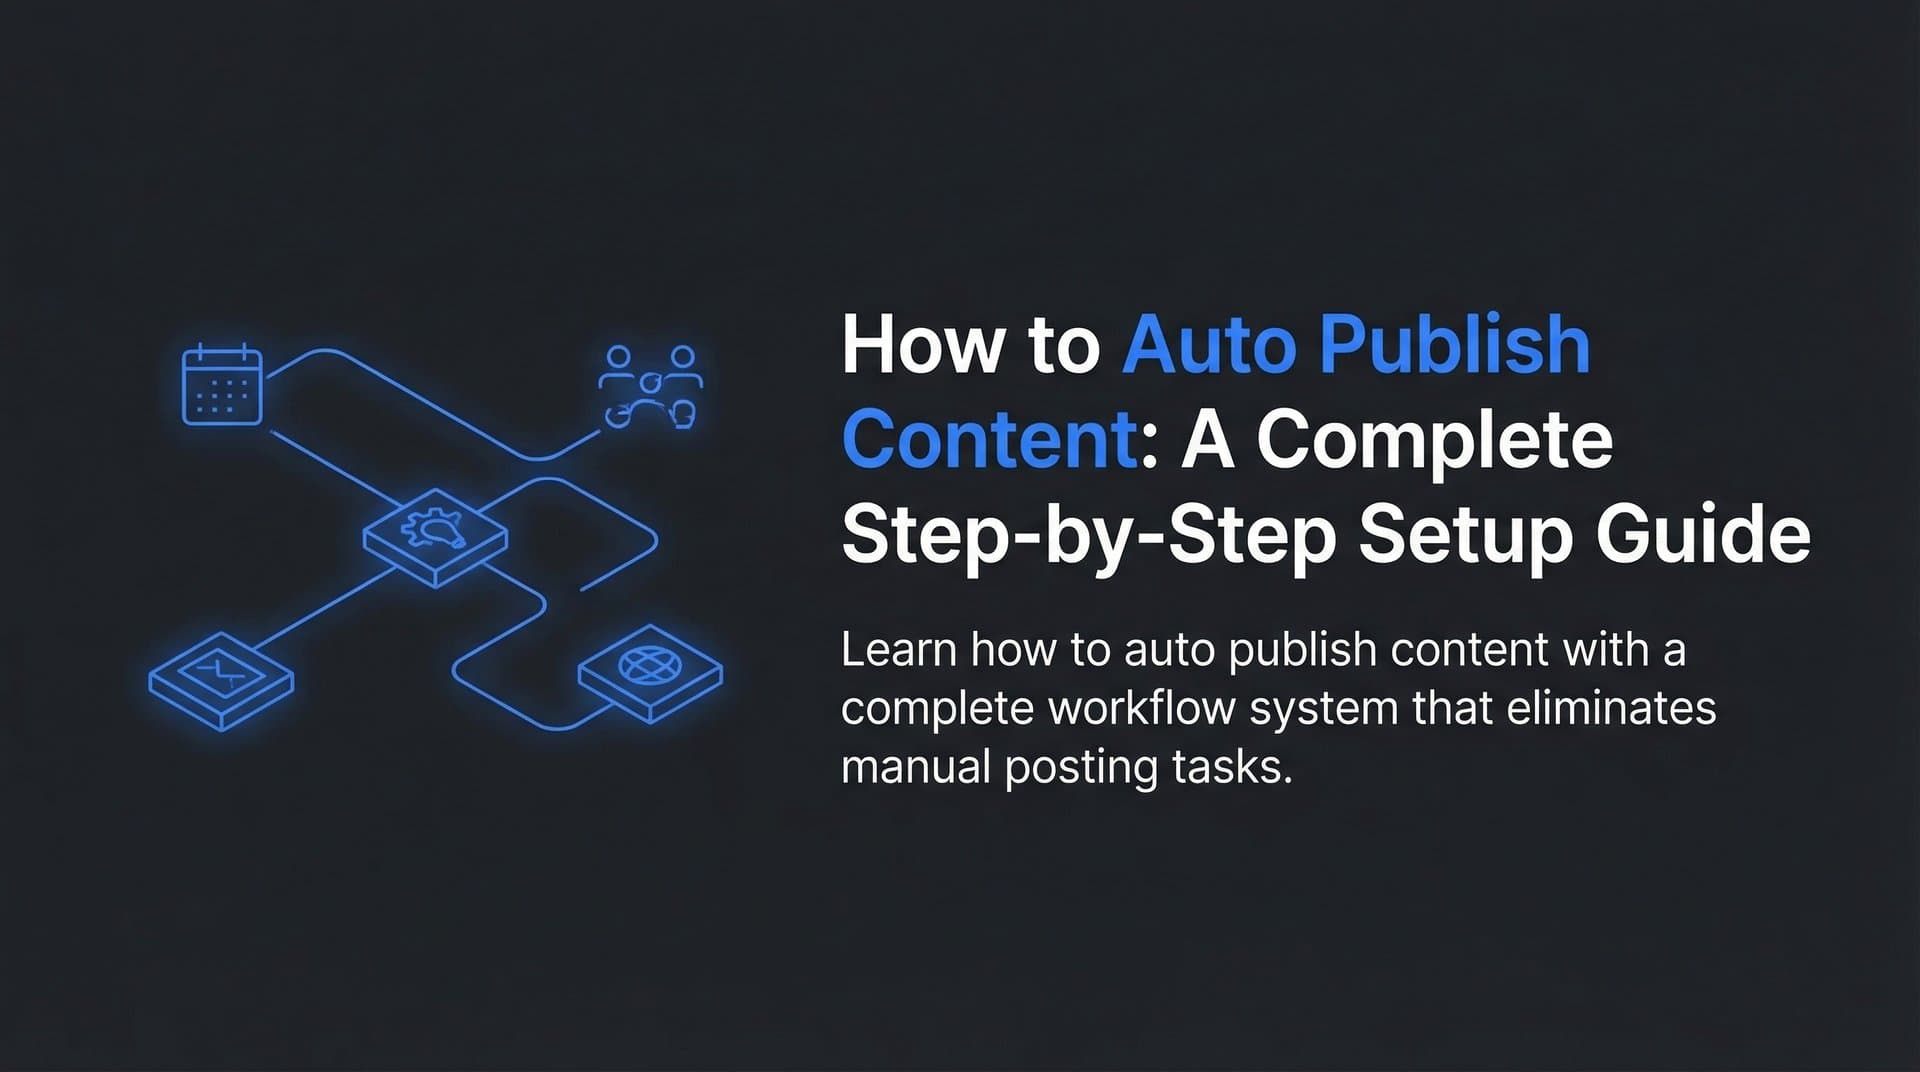
Auto publishing changes this equation completely. Instead of manually pushing content through your CMS interface, you connect your content creation workflow directly to your publishing platform. Finished articles flow automatically from wherever you create them—whether that's Google Docs, an AI content tool, or a dedicated content platform—straight into your CMS with proper formatting, SEO metadata, and scheduling already configured.
The result? What used to take 20-30 minutes per post shrinks to maybe two minutes of quick review. Your content goes live faster, your team stops context-switching between tools, and you reclaim hours every week for actual content strategy instead of copy-paste busywork.
This guide walks you through building that automated publishing system from scratch. We'll cover the technical setup for popular CMS platforms, show you how to map content fields correctly, and get you publishing automatically whether you're on WordPress, Webflow, Ghost, or another platform. By the end, you'll have a working automation that takes content from creation to live publication without touching your CMS dashboard.
Step 1: Audit Your Current Publishing Workflow
Before automating anything, you need to understand exactly what you're automating. Grab a notepad and document every single step in your current publishing process. Start from the moment your content is "finished" and track each action until it's live on your site.
Your workflow probably looks something like this: open your content document, copy the title and body text, log into your CMS, create a new post, paste the content, reformat headings that lost their styling, add the meta title and description, generate or paste a URL slug, upload your featured image, add alt text, select categories and tags, set the author, choose a publish date and time, preview to check formatting, and finally hit publish. That's at least 15 distinct actions, and each one is an opportunity for inconsistency or error.
Now identify your content sources. Where do your finished articles actually live before publishing? Are you drafting in Google Docs? Using an AI content generator? Working in a dedicated content platform? Maybe you're copying from email or Notion. Write down every tool in your content creation chain because these will become your automation starting points.
Next, confirm your CMS supports automated publishing. Most modern platforms do, but the implementation varies. WordPress has the REST API built in since version 4.7. Webflow provides a CMS API for collection items. Ghost includes an Admin API with authentication. If you're on a proprietary or heavily customized CMS, check the documentation for API access or webhook support.
Finally, calculate your time investment. Count how many posts you publish per week and multiply by your average time per post. If you're spending 25 minutes per article and publishing 12 posts monthly, that's five hours of manual work every month. That number becomes your baseline for measuring automation success and justifying any tool costs.
Step 2: Choose Your Auto Publishing Method
You have three main paths to automated publishing, each with different trade-offs between control, complexity, and cost. Understanding these options helps you pick the right approach for your team's technical capabilities and content volume.
Direct API Integration: This approach connects your content source directly to your CMS through its application programming interface. You write code or configure scripts that authenticate with your CMS and push content programmatically. WordPress uses the REST API with application passwords or OAuth. Ghost requires Admin API keys and JWT token generation. Webflow provides a CMS API where you POST to specific collection endpoints. Direct integration gives you maximum control over formatting, field mapping, and error handling, but requires technical knowledge or developer resources.
Middleware Automation Platforms: Tools like Zapier, Make (formerly Integromat), or n8n sit between your content source and CMS, handling the connection without custom coding. You build visual workflows that trigger when content is ready and push it to your CMS using pre-built integrations. These platforms handle authentication, field mapping through dropdown menus, and error notifications. The trade-off is less customization than direct API work and potential monthly costs based on automation volume. However, most marketing teams can set these up without engineering help.
All-in-One Content Platforms: Solutions like Sight AI combine content creation and publishing in a single workflow. You generate content within the platform, and it includes native CMS publishing as a built-in feature. These eliminate the need to connect separate tools because the content creation and publishing happen in the same system. The advantage is seamless integration and fewer moving parts. The consideration is whether the platform's content creation capabilities match your needs.
Your decision factors should include technical resources (do you have developers, or do you need no-code solutions?), budget (free API access versus paid middleware subscriptions), content volume (high-volume publishing justifies more complex setups), and desired automation depth (simple publishing versus complex workflows with approval stages and content variations).
For most teams without dedicated engineering resources, middleware platforms offer the best balance. They're accessible to marketers, handle the technical complexity, and work with almost any CMS. If you're already using an AI content writer with auto publishing, that's often the fastest path to automation.
Step 3: Configure Your CMS for Automated Publishing
Your CMS needs proper configuration before external tools can publish content automatically. This setup varies by platform, but the core principle is the same: generate secure credentials that allow publishing access without exposing your main admin login.
WordPress Setup: Navigate to Users, then your profile settings. Scroll to Application Passwords and create a new password specifically for your automation. Name it something descriptive like "Content Automation" so you can revoke it later if needed. Copy this password immediately because WordPress only shows it once. This application password works with the REST API without requiring your main account password. If you need extended functionality beyond core WordPress features, install plugins like Advanced Custom Fields REST API or WP REST API Controller to expose additional content fields.
Webflow Configuration: Open your project settings and navigate to the Integrations tab. Generate a new API token and copy it to a secure location. Next, you need your Collection IDs for blog posts. Open your CMS Collections, click on your blog collection, and note the Collection ID from the URL or settings panel. You'll need this ID to tell your automation where to publish content. Webflow's API requires both the token and collection ID for every publishing request.
Ghost Admin Setup: Go to Settings, then Integrations, and create a new custom integration. Name it after your automation tool and generate both the Admin API Key and API URL. Ghost uses JWT (JSON Web Tokens) for authentication, which your automation tool will handle automatically once you provide these credentials. Make sure to copy both the key and URL because you need them together for successful authentication.
Regardless of platform, create a dedicated user account for automation rather than using your personal admin credentials. In WordPress, create a new user with Editor or Author role depending on whether you want automated posts to publish immediately or require approval. In Webflow and Ghost, API tokens are tied to specific permission levels, so generate tokens with the minimum access needed for publishing.
Document these credentials securely. Store them in a password manager, not in a spreadsheet or unencrypted document. If you're working with a team, use a shared credential vault so multiple people can access automation settings without passing passwords through email or chat.
Test your API access before building complex automations. Most CMS platforms provide API documentation with test endpoints. Send a simple GET request to verify your credentials work and you can read existing content. This confirms your setup is correct before you start pushing new posts.
Step 4: Set Up Content Mapping and Metadata Rules
Content mapping determines how information from your content source translates into CMS fields. Get this wrong, and you'll publish posts with missing metadata, broken formatting, or content in the wrong fields. Proper mapping ensures every piece of content lands exactly where it should.
Start with the essential fields that every blog post needs. Your title from the content source maps to the post title field in your CMS. The main content body maps to the post content or body field. Your excerpt or summary maps to the excerpt field (or meta description if your CMS combines these). These core mappings are usually straightforward because the field names match their purpose.
Featured images require more attention. You need rules for how images get uploaded and associated with posts. Some automations can upload images directly from URLs, while others require images to already exist in your media library. Set up automatic alt text generation based on image filenames or content context. Configure your featured image selection—either the first image in the content, a specifically designated image, or a default fallback if no image is provided.
SEO metadata needs careful mapping to avoid missing crucial optimization fields. Your meta title might come from your content title or a separate field if you optimize titles differently for search. Meta descriptions should map from your excerpt or a dedicated SEO description field. URL slugs can generate automatically from titles (most CMS platforms do this by default) or come from a custom slug field if you prefer manual control. For guidance on optimizing these elements, review best practices for writing SEO friendly blog posts before finalizing your mapping rules.
Categories and tags require decision rules because content sources often handle these differently than CMS platforms. If your content includes category names as text, you need to map these to actual category IDs in your CMS. Set up default categories for content that doesn't specify one. For tags, decide whether to create new tags automatically or only use existing ones to prevent tag proliferation.
Author attribution matters for multi-author blogs. Map content authors to CMS user accounts, or set a default author for all automated posts. Publication status is critical—decide whether automated content publishes immediately (status: published) or lands as drafts for review (status: draft). Most teams start with draft status until they trust their automation completely.
Create a mapping document that lists every field in your content source and its corresponding CMS destination. Include default values for optional fields and specify what happens when a field is empty. This document becomes your reference for troubleshooting when content doesn't appear correctly after publishing.
Step 5: Build Your Automation Trigger and Test the Connection
Your automation needs a trigger—an event that tells it when to publish content. The right trigger depends on your content workflow and how much control you want over the publishing process.
Manual triggers give you complete control. You finish content, review it, and click a button or run a command that pushes it to your CMS. This works well when you want human approval before anything goes live. In middleware platforms, this might be a "Run Now" button. In content platforms with built-in publishing, it's usually a "Publish to CMS" option in your content editor.
Scheduled triggers publish content at predetermined times. You can set up automations that run daily at specific times, checking for new content marked "ready to publish" and pushing it live. This works well for teams that batch-create content and want consistent publishing schedules without manual intervention. Configure your schedule based on your content calendar and optimal publishing times for your audience.
Webhook triggers offer real-time automation. When content reaches a certain status in your content tool—like moving from "in review" to "approved"—it fires a webhook (an HTTP callback) that immediately triggers your publishing automation. This creates a seamless flow where approved content publishes within seconds without anyone clicking publish buttons.
Now build your automation flow. In middleware platforms, this means creating a new "Zap" or "Scenario" that connects your trigger to your CMS action. Select your content source as the trigger app, authenticate it, and choose the trigger event. Then add your CMS as the action app, authenticate with the credentials you set up earlier, and select "Create Post" or equivalent action.
Map your content fields to CMS fields using the platform's interface. Most middleware tools show dropdown menus where you match source fields to destination fields. Fill in any required fields that don't come from your content source with default values.
Before publishing anything live, test with draft status. Change your automation to create posts with "draft" status instead of "published." Run a test with real content and check your CMS. Does the content appear correctly formatted? Are headings the right size? Did images upload properly? Is the metadata complete? Open the draft post and review every field to catch mapping errors before they affect live content.
Common issues to check: HTML formatting sometimes breaks if your content source uses different HTML standards than your CMS expects. Image paths might be relative instead of absolute, causing broken images. Special characters like quotes or em dashes can encode incorrectly if character encoding isn't set properly. Fix these issues in your automation configuration, then test again until everything appears correctly.
Step 6: Add Scheduling and IndexNow for Faster Discovery
Publishing content is only half the equation. You also need to control when posts go live and ensure search engines discover them immediately. This step adds scheduling logic and search engine notification to your automation.
Scheduling within your automation works two ways. First, you can set publish dates during content creation and pass those dates to your CMS through the automation. Your CMS then holds the post until the scheduled time. This approach uses your CMS's built-in scheduling features. Second, you can schedule the automation itself to run at specific times, publishing whatever content is queued. This approach gives you more control over publishing cadence but requires content to be ready in advance.
For most teams, passing publish dates to the CMS is simpler. Add a "publish date" field to your content source, set it when creating content, and map it to your CMS's publish date field in your automation. Your CMS handles the rest, holding posts until their scheduled time.
IndexNow integration supercharges your content discovery. IndexNow is a protocol that lets you notify search engines the moment new content goes live, rather than waiting for crawlers to find it naturally. Microsoft Bing and Yandex support IndexNow natively, and other search engines are adopting it. Understanding the fastest way to index new blog posts can dramatically reduce the time between publishing and ranking.
To implement IndexNow, you need to send an HTTP POST request to the IndexNow endpoint whenever content publishes. The request includes your site URL, the new content URL, and an API key. Many CMS platforms now include IndexNow plugins that handle this automatically. For WordPress, install an IndexNow plugin that triggers on post publication. For custom implementations, add an IndexNow notification step to your automation that fires after successful publishing.
Automatic sitemap updates ensure new content appears in your XML sitemap without manual regeneration. Most modern CMS platforms update sitemaps automatically when you publish new posts, but verify this is working. Check your sitemap after publishing a test post to confirm the new URL appears. If your CMS doesn't update sitemaps automatically, add a sitemap regeneration step to your automation or install a plugin that handles dynamic sitemap updates.
Set up notification alerts so you know when content publishes successfully and when something fails. Configure email or Slack notifications that trigger after each automation run. Success notifications should include the post title and URL so you can quickly verify everything worked. Failure notifications need error details so you can troubleshoot issues without digging through automation logs.
Putting It All Together
Your auto publishing system is now ready to eliminate manual CMS work. Before you switch to full automation, run through this quick verification checklist: CMS API access configured with proper permissions and secure credentials stored safely, content field mapping matches your CMS structure with all required fields accounted for, test post published successfully with correct formatting and complete metadata, scheduling and IndexNow integration active for immediate search engine notification.
Start with a few posts in draft mode to build confidence in your automation. Review each draft post carefully, checking formatting, images, metadata, and categories. Once you're consistently seeing perfect results, switch to direct publishing. Most teams see their per-article publishing time drop from 20-30 minutes to under two minutes of quick review.
For maximum efficiency, pair this setup with automated blog writing tools that output publish-ready articles. When your content creation and publishing both run automatically, you create a true end-to-end content pipeline. Write or generate content, review it once, and let automation handle everything else.
The time savings compound quickly. If you were spending five hours monthly on manual publishing and you cut that to 30 minutes, you've reclaimed 4.5 hours for content strategy, keyword research, or creating more content. Scale that across a year, and automation gives you back 54 hours—more than a full work week.
Your automation will need occasional maintenance. API credentials expire, CMS platforms update their APIs, and content requirements change. Schedule quarterly reviews of your automation to verify everything still works correctly and update field mappings if you add new content types or metadata fields. For a deeper dive into maintaining these systems, explore comprehensive guides on content publishing workflow automation.
But here's what most teams miss: publishing content faster only matters if that content actually reaches your audience. Search engine visibility is changing rapidly as AI platforms like ChatGPT, Claude, and Perplexity become primary research tools. Your content might publish perfectly to your CMS, but are AI models mentioning your brand when users ask relevant questions?
Start tracking your AI visibility today and see exactly where your brand appears across top AI platforms. Stop guessing how AI models talk about your brand—get visibility into every mention, track content opportunities, and automate your path to organic traffic growth. When you combine automated publishing with AI visibility tracking, you create a complete content system that not only publishes efficiently but ensures your content drives real traffic and brand awareness.