You've published fresh content, optimized every meta tag, and crafted compelling copy—but none of it matters if search engines can't find your pages. The gap between publishing and indexing can stretch from hours to weeks, leaving valuable content invisible to potential visitors.
For marketers and founders focused on organic growth, this delay directly impacts traffic, leads, and revenue. Picture this: your competitor publishes similar content and gets indexed within hours, while your superior piece sits in limbo for days. They capture the traffic, the backlinks, and the conversions—all because their content reached search results first.
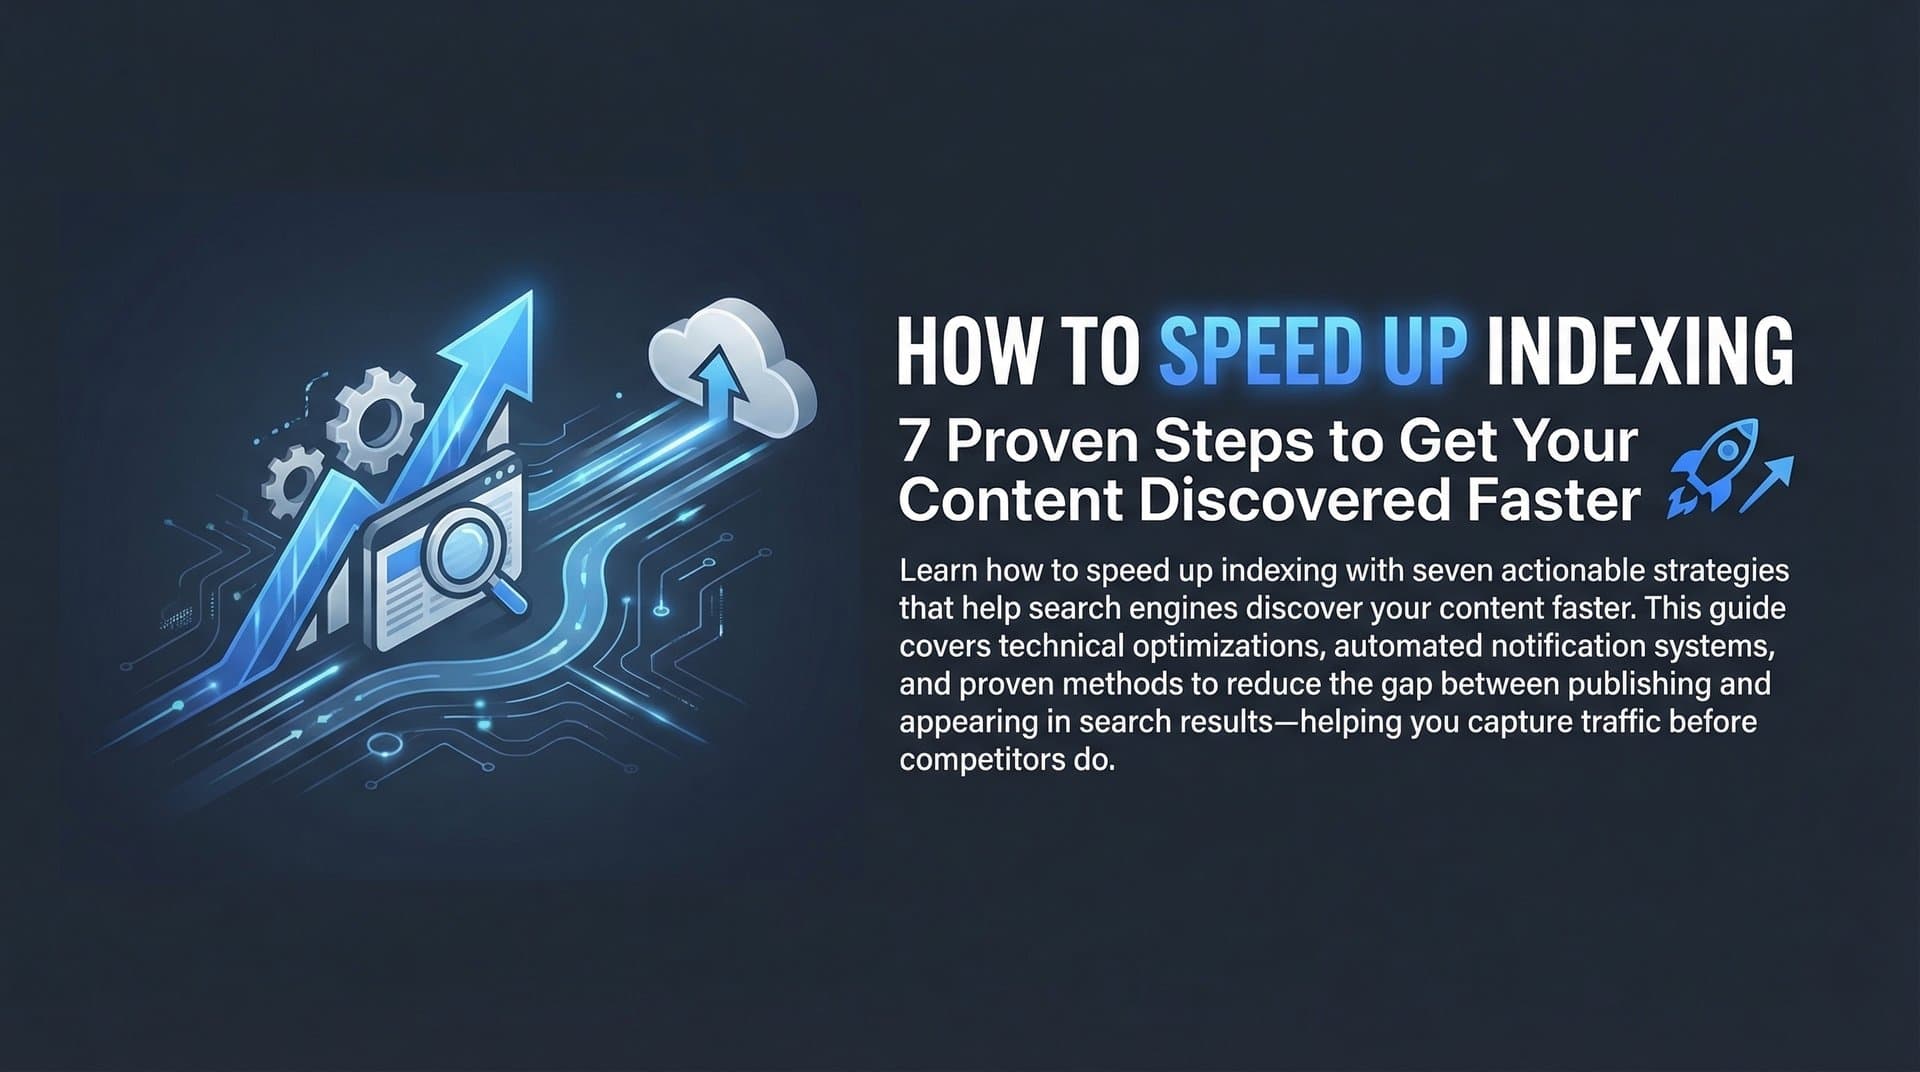
The good news: you can dramatically accelerate how quickly search engines discover and index your content. This guide walks you through seven actionable steps to speed up indexing, from technical optimizations to automated solutions that notify search engines the moment you publish. Whether you're launching a new site or scaling content production, these strategies will help your pages appear in search results faster.
Step 1: Audit Your Current Indexing Status and Identify Bottlenecks
Before you can fix indexing issues, you need to understand what's actually happening with your pages. Think of this like running diagnostics before repairing a car—you need to know where the problem lies.
Start by opening Google Search Console and navigating to the Index Coverage report. This shows you exactly which pages Google has discovered, crawled, and indexed. Pay special attention to two categories: "Discovered - currently not indexed" and "Crawled - currently not indexed." These are your problem children.
Pages stuck in "Discovered" status mean Google knows they exist but hasn't bothered crawling them yet. Pages in "Crawled - currently not indexed" are even more frustrating—Google visited but chose not to add them to the index. Common culprits include thin content, duplicate material, or pages Google deems low-quality.
Next, check your Crawl Stats report. Look for declining crawl frequency or high response times. If you notice Googlebot visiting less often or encountering slow server responses, you've identified a crawl budget issue. This matters most for larger sites—Google's documentation confirms that crawl budget becomes a significant factor primarily for sites with 10,000+ pages or those with substantial duplicate content.
Now dig into technical barriers. Run a quick audit for robots.txt blocks that might be preventing crawlers from accessing important pages. Check for accidental noindex tags in your page headers or meta tags. Review canonical tags to ensure they're pointing to the correct versions of your pages. Search for orphan pages—content with zero internal links pointing to it—because if your own site doesn't link to a page, search engines struggle to discover it.
Create a prioritized list of high-value pages that need immediate attention. Focus on content that drives revenue, captures important keywords, or represents your core offerings. These are the pages where faster Google indexing delivers the biggest impact.
Step 2: Optimize Your XML Sitemap for Faster Discovery
Your XML sitemap is essentially a roadmap you hand to search engines, saying "Here's everything important on my site." But here's the thing: most sitemaps are cluttered with URLs that shouldn't be there, which dilutes their effectiveness.
Start by ensuring your sitemap only includes indexable, canonical URLs. Remove any redirects—if a URL redirects somewhere else, it shouldn't be in your sitemap. Strip out noindex pages, because why would you tell search engines about pages you don't want indexed? Eliminate duplicate content variations. Your sitemap should be a curated list of your best, most important content.
Add lastmod dates that accurately reflect when content was meaningfully updated. Don't update this timestamp for minor tweaks like fixing a typo. Search engines use lastmod to prioritize crawling recently changed content, so make it count. When you publish genuinely new information or substantially revise a piece, that's when you update the lastmod date.
For larger sites, split your sitemap into smaller, category-based files. If you're managing 10,000+ pages, a single massive sitemap becomes unwieldy. Create separate sitemaps for blog posts, product pages, category pages, and so on. Then use a sitemap index file that points to all your individual sitemaps. This organization helps search engines process your content more efficiently.
Submit your sitemap directly in Google Search Console and Bing Webmaster Tools. Don't just add it to your robots.txt file and hope search engines find it—actively submit it. In Google Search Console, navigate to Sitemaps in the left sidebar, enter your sitemap URL, and click Submit. Do the same in Bing Webmaster Tools. This direct submission ensures search engines know exactly where to find your content roadmap.
Step 3: Implement IndexNow for Instant Search Engine Notifications
While Google relies on traditional discovery methods, other major search engines have adopted a faster approach. IndexNow, launched by Microsoft in 2021, allows publishers to notify participating search engines immediately when content changes. Currently, Bing, Yandex, Seznam, and Naver support this protocol.
Setting up IndexNow starts with generating an API key. This is typically a long string of random characters that identifies your site. You'll need to create a text file containing this key and host it at the root of your domain. For example, if your key is "abc123xyz," you'd create a file named "abc123xyz.txt" and place it at yourdomain.com/abc123xyz.txt. This verifies you own the domain.
Next, configure automatic pings whenever content is published, updated, or deleted. Many modern CMS platforms offer IndexNow plugins or integrations that handle this automatically. When you publish a new blog post, the system sends an HTTP POST request to the IndexNow endpoint with your URL and API key. The search engines receive this notification instantly, rather than waiting to discover the change through regular crawling.
The beauty of IndexNow is its simplicity. You send one ping, and it propagates to all participating search engines. You don't need separate submissions for Bing, Yandex, and others—one notification reaches them all. This approach is central to real-time indexing solutions that modern marketers rely on.
Verify successful submissions by monitoring response codes. A 200 status code means your submission was accepted. A 202 indicates it was received and queued for processing. Error codes in the 400 or 500 range signal problems you need to fix. Many IndexNow-compatible tools provide dashboards showing submission history and success rates, making it easy to spot issues.
While Google hasn't joined IndexNow, implementing it still accelerates indexing across multiple search engines. For marketers focused on diversifying traffic sources beyond Google, this instant notification system delivers measurable results.
Step 4: Strengthen Internal Linking to Boost Crawl Priority
Search engines discover new content by following links. The more pathways leading to your new page, the faster crawlers find it. This is where strategic internal linking becomes your secret weapon.
Start by linking new content from high-authority pages that already get frequent crawls. Your homepage typically gets crawled multiple times per day. Category pages and popular blog posts also receive regular attention. When you publish something new, add contextual links from these high-traffic pages. This signals to search engines that your new content matters.
Create contextual links within existing content that point to new pages. Let's say you publish a guide about speeding up indexing. Go back to related articles about SEO, technical optimization, or content marketing, and add relevant links to your new guide. These aren't forced or awkward—they provide genuine value to readers while creating discovery paths for crawlers.
Use descriptive anchor text that helps search engines understand what the linked page covers. Instead of "click here" or "read more," use phrases like "learn how to optimize your XML sitemap" or "strategies for faster content indexing." This contextual information helps search engines categorize and prioritize your content.
Avoid orphan pages by ensuring every new URL has at least 2-3 internal links pointing to it. Pages with no internal links are like islands—search engines might eventually discover them through your sitemap, but they'll crawl them less frequently and assign them lower priority. Multiple internal links from different pages create a web of connections that speeds discovery and signals importance.
Step 5: Improve Page Speed and Server Response Times
When Googlebot visits your site, slow loading times waste precious crawl budget. If your server takes too long to respond, crawlers move on to other sites. Google's guidelines recommend keeping Time to First Byte (TTFB) under 200ms for optimal crawling.
Reduce server response time by upgrading your hosting if necessary. Shared hosting plans often struggle under traffic spikes or when multiple sites on the same server get crawled simultaneously. Consider managed WordPress hosting, VPS, or cloud hosting solutions that offer better performance and reliability.
Implement caching to serve pages faster when Googlebot visits. Server-side caching stores pre-rendered versions of your pages, eliminating the need to generate them from scratch for each request. Browser caching helps with repeat visits. Object caching reduces database queries. Together, these techniques dramatically improve response times.
Deploy a Content Delivery Network (CDN) to serve static assets like images, CSS, and JavaScript from servers geographically closer to the crawler. While Googlebot primarily crawls from US data centers, a CDN improves overall site performance and reliability.
Optimize images by compressing them without sacrificing quality. Large, unoptimized images slow page loads and consume crawl budget. Use modern formats like WebP when possible, and implement lazy loading for images below the fold.
Fix any 5xx server errors immediately. When Googlebot encounters repeated server errors, it reduces crawl frequency to avoid overwhelming your site. Monitor your server logs and error reports in Search Console. Set up alerts for sudden spikes in 500, 502, or 503 errors so you can respond quickly. These types of slow website indexing fixes can dramatically improve your crawl efficiency.
Monitor Core Web Vitals as a proxy for overall crawl experience quality. While these metrics primarily measure user experience, they also indicate server health and page performance—factors that affect how efficiently search engines can crawl your site.
Step 6: Use Manual URL Inspection for High-Priority Pages
Sometimes you can't wait for normal crawling schedules. When you publish time-sensitive content, Google Search Console's URL Inspection tool becomes your fast-track option.
Navigate to the URL Inspection tool in Search Console and enter the URL of your newly published page. Click "Request Indexing" to submit it directly to Google. This tells Google "Hey, I just published something important—please check it out now rather than waiting for your next scheduled crawl."
Understand the daily limits. Google restricts manual indexing requests to approximately 10-20 per day per property. This isn't documented officially, but it's the observed limit reported by SEO professionals. Because of this constraint, prioritize your most valuable content. Use manual requests for product launches, important announcements, trending topic coverage, or revenue-critical pages.
This tool works best for time-sensitive content. If you're publishing evergreen content that doesn't need immediate indexing, save your daily quota for truly urgent submissions. The manual request doesn't guarantee indexing, but it significantly speeds up the review process for eligible pages.
After submitting a request, check the Coverage section in the URL Inspection results. This shows whether the page is indexable or if there are blocking issues. You might discover problems like noindex tags, canonical conflicts, or robots.txt blocks that prevent indexing. Fix these issues before wasting another manual request.
For maximum impact, combine manual URL inspection with the other steps in this guide. Request indexing for pages that are already optimized, properly linked, and technically sound. This increases the likelihood that Google will actually index them quickly. If you're dealing with persistent issues, explore our guide on Google not indexing your site for deeper troubleshooting.
Step 7: Automate Your Indexing Workflow for Consistent Results
Manual processes work when you're publishing occasionally, but they break down at scale. If you're producing content regularly, automation ensures nothing falls through the cracks.
Set up automated sitemap updates that regenerate whenever content is published or modified. Most modern CMS platforms can handle this natively or through plugins. When you hit "Publish," your sitemap automatically updates to include the new URL with a current lastmod date. This happens in the background without requiring manual intervention.
Integrate IndexNow with your CMS for hands-off notifications to search engines. Tools like RankMath for WordPress, Yoast SEO Premium, or custom integrations can automatically ping IndexNow endpoints whenever you publish or update content. You set it up once, and it runs forever. Check out our comparison of indexing tools for WordPress to find the right solution for your setup.
Use indexing tools that combine sitemap management, IndexNow, and monitoring in one platform. Solutions like Sight AI offer automated sitemap updates with IndexNow integration, eliminating the need to manage multiple systems. When you publish content through their AI Content Writer, it automatically handles indexing notifications—no additional steps required.
Create alerts for indexing failures or pages stuck in limbo so you can intervene quickly. Set up Search Console to email you when coverage issues arise. Monitor your IndexNow submission logs for error responses. Use website indexing status monitoring to catch server errors before they impact crawl frequency. These early warning systems let you fix problems before they accumulate.
Automation also provides consistency. Every piece of content gets the same treatment—proper sitemap inclusion, IndexNow notification, and monitoring. You eliminate the risk of forgetting to submit a sitemap or missing an important indexing opportunity because you were busy with other tasks.
Putting It All Together
Speeding up indexing isn't a one-time fix—it's an ongoing process that combines technical optimization with smart automation. Start by auditing your current indexing status to understand where bottlenecks exist. Then work through each step systematically: optimize your sitemap to include only your best content, implement IndexNow for instant notifications to participating search engines, strengthen internal links to create discovery paths, improve server performance to maximize crawl efficiency, and use manual submissions strategically for high-priority pages.
The final step—automation—ensures these practices scale with your content production. When you're publishing multiple pieces per week, manual processes become unsustainable. Automated workflows handle the heavy lifting while you focus on creating great content. Understanding the indexing speed impact on traffic will help you prioritize these optimizations effectively.
Here's your quick checklist: ✓ Audit indexing status in Search Console ✓ Clean and submit optimized sitemap ✓ Set up IndexNow API integration ✓ Add internal links to new content ✓ Maintain fast server response times ✓ Use URL Inspection for priority pages ✓ Automate sitemap updates and notifications.
With these systems in place, your content reaches search results faster, driving organic traffic sooner and maximizing the ROI of every piece you publish. But search isn't just about traditional engines anymore. AI models like ChatGPT, Claude, and Perplexity are becoming major discovery channels, and they need to find and understand your content too.
Start tracking your AI visibility today and see exactly where your brand appears across top AI platforms. Stop guessing how AI models talk about your brand—get visibility into every mention, track content opportunities, and automate your path to organic traffic growth. The faster your content gets discovered by both search engines and AI models, the faster you capture the attention and traffic that drives real business results.